
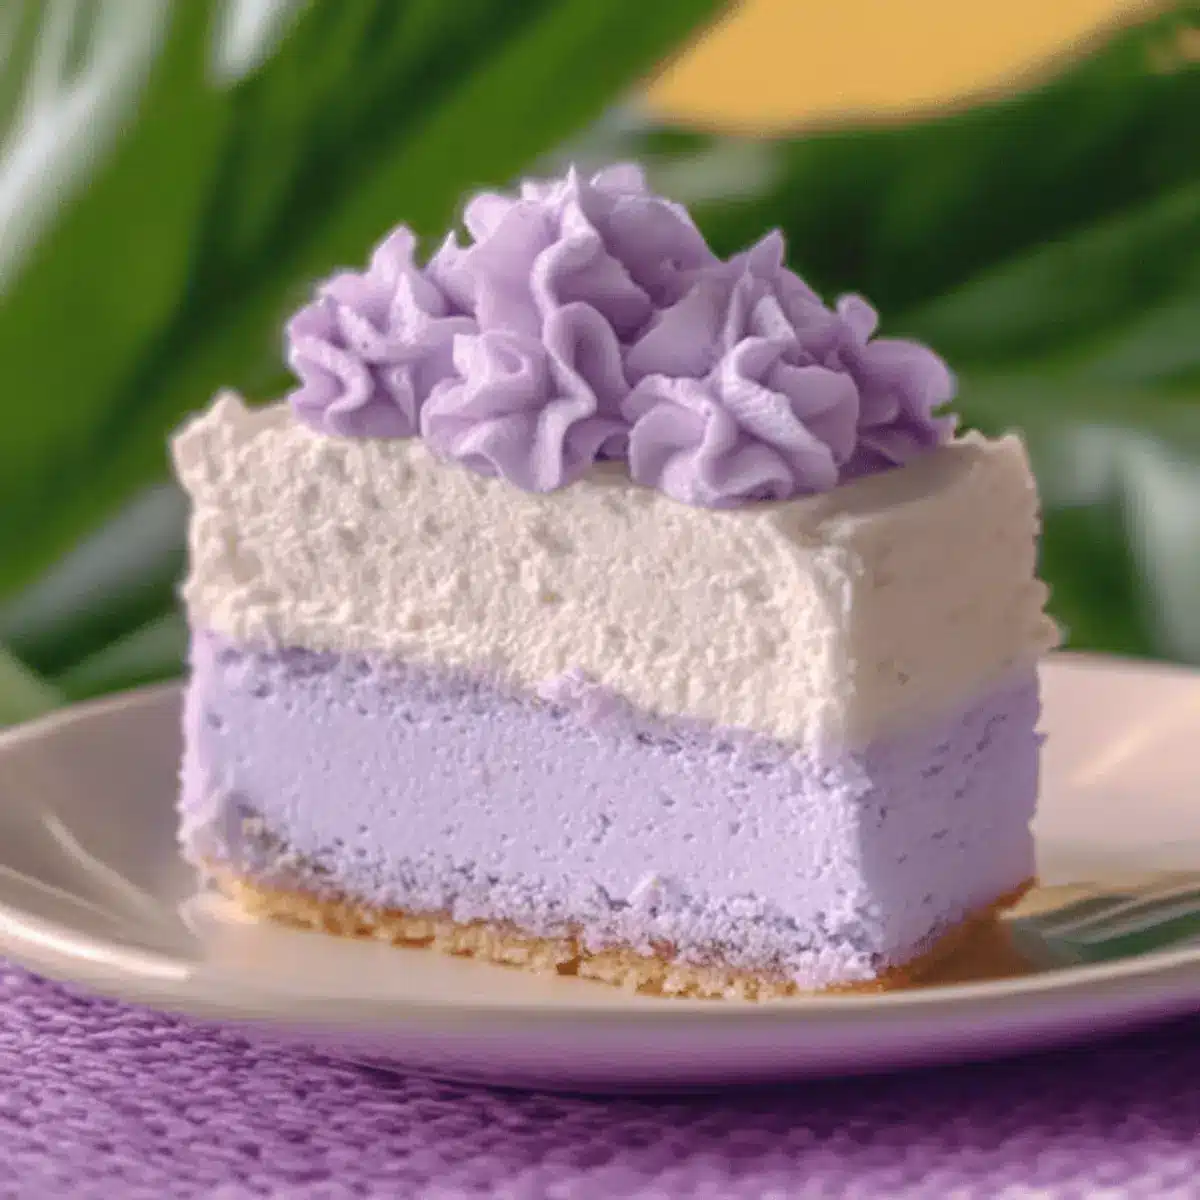
As I pulled the Taro Ube Cloud Cake from the oven, a light, pastel lavender hue greeted me like a whisper of spring. This delicate chiffon-style dessert effortlessly combines the enchanting flavors of taro and ube, creating a celebration in every bite. Not only is this cake a stunning centerpiece for gatherings, but it’s also make-ahead friendly, ensuring your hosting experience is a breeze. Imagine impressing your guests with a treat that’s both visually captivating and delightfully airy. Trust me, whether it’s a birthday or just a cozy Sunday afternoon, this Taro Ube Cloud Cake is bound to steal the show. Are you ready to dive into this creative culinary adventure?
Why is Taro Ube Cloud Cake a Must-Try?
Unique Flavors: The delightful combination of taro and ube elevates this cake with a touch of nostalgia and an explosion of flavor.
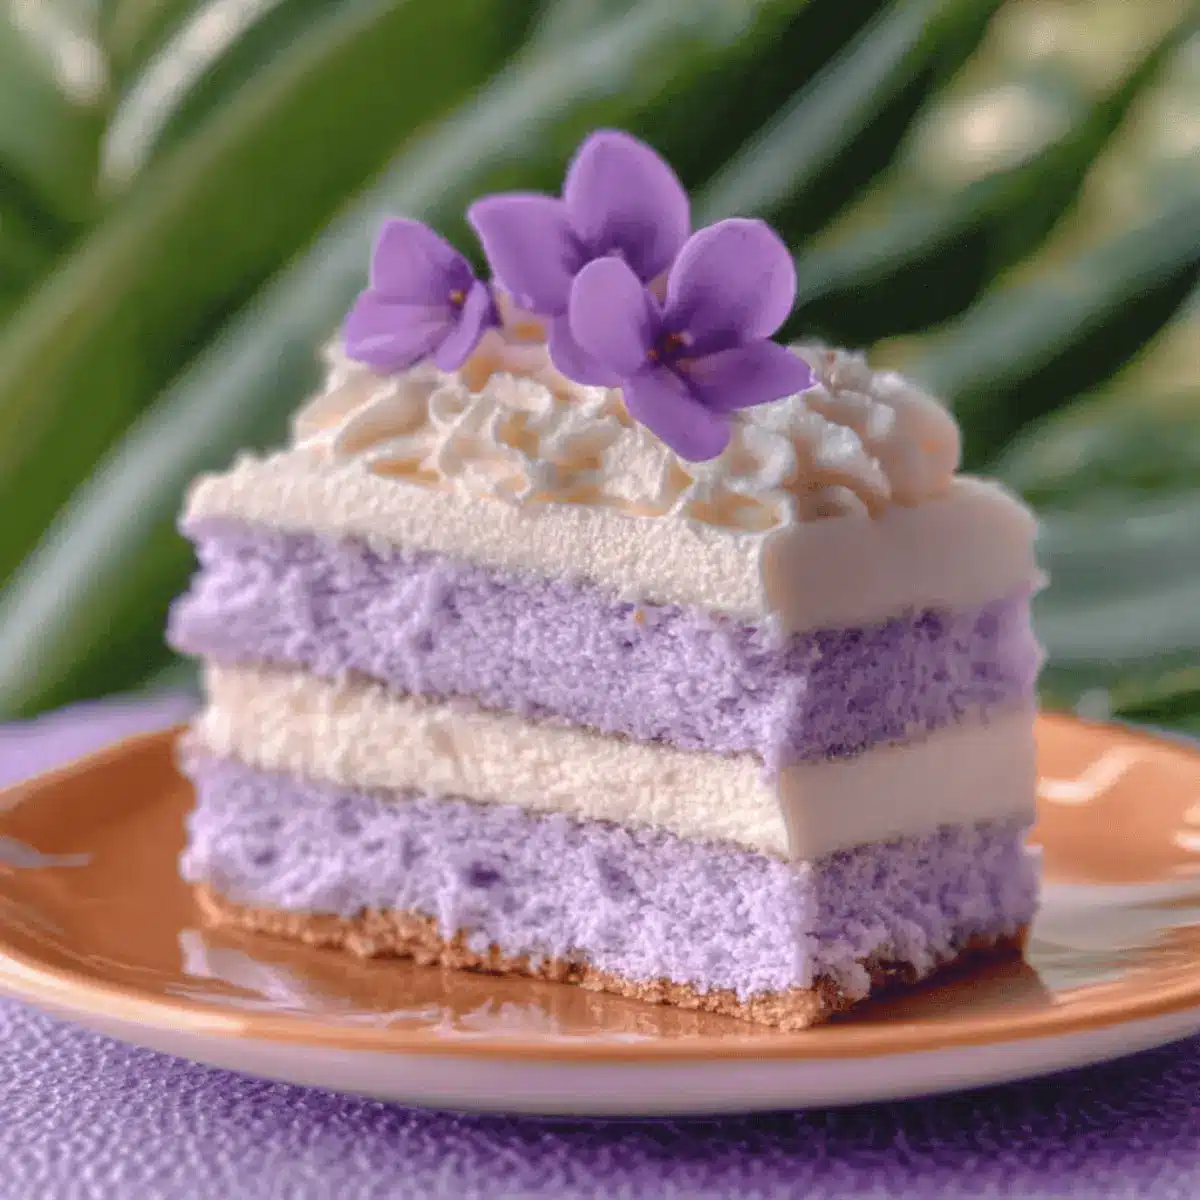
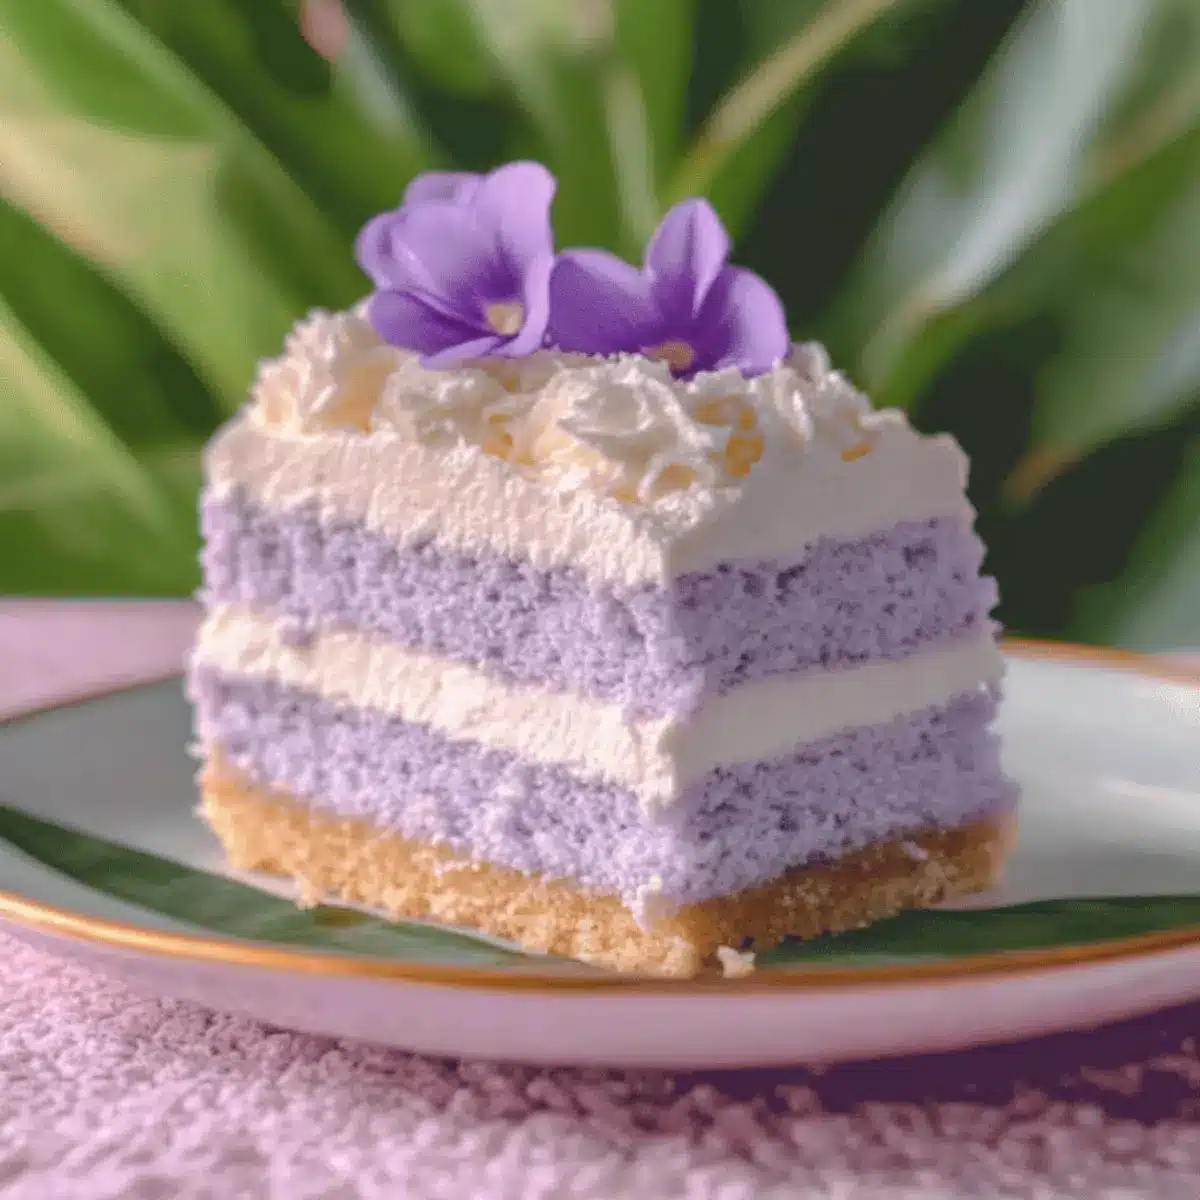
Showstopper Appearance: With its inviting pastel lavender color, this cake is a visual feast that will wow your friends and family at any gathering.
Effortless Baking: Perfect for bakers of all skill levels, this cake requires simple ingredients and straightforward steps, so you can impress without stress.
Versatile Serving Options: Whether you enjoy it plain or topped with ube halaya whipped cream, this cake adapts beautifully to your flavor preferences.
Make-Ahead Friendly: Bake ahead of time and simply whip up the topping last minute for a stress-free hosting experience.
For a touch of added sweetness, consider pairing it with a slice of Moist Carrot Cake Delight or indulge your guests with Fruitcake Cookies Festive!
Taro Ube Cloud Cake Ingredients
For the Cake
• Cake Flour – Essential for a light, airy texture; substitute with a gluten-free blend if needed.
• Cooked, Mashed Taro – Adds moistness and flavor; ensure it is cooled before using.
• Ube Halaya (ube jam) – Introduces a distinct sweet, earthy flavor; can replace with high-quality ube powder dissolved in milk.
• Eggs (separated) – Vital for volume; whipped egg whites create the cake’s light texture.
• Granulated Sugar – Sweetens the cake; divide into two parts for meringue and yolk mixtures to maintain balance.
• Whole Milk – Moistens the batter; for a tropical twist, replace half with coconut milk.
• Vegetable Oil – Contributes moisture; a neutral flavor is preferred, but coconut oil can add depth.
• Vanilla Extract – Enhances flavor; optional, yet recommended for extra warmth.
• Cream of Tartar – Stabilizes whipped egg whites; crucial for achieving stiff peaks.
• Salt (pinch) – Balances sweetness and enhances overall flavor.
For the Topping
• Ube Halaya Whipped Cream – Complements the cake’s natural sweetness with a light, fluffy finish; beat together ube halaya and whipped cream for a perfect topping.
Make it a delightful centerpiece at your next celebration with this Taro Ube Cloud Cake!
Step‑by‑Step Instructions for Taro Ube Cloud Cake
Step 1: Preheat the Oven
Begin by preheating your oven to 325°F (163°C). This ensures that your Taro Ube Cloud Cake cooks evenly. While the oven heats up, prepare a 9-inch chiffon pan—there’s no need to grease it, as the cake relies on its delicate structure to rise beautifully during baking.
Step 2: Prepare the Yolk Mixture
In a large mixing bowl, whisk together the egg yolks with half of the granulated sugar until the mixture turns pale and creamy. Next, add in the whole milk, vegetable oil, vanilla extract, cooled mashed taro, and ube halaya, mixing until everything is smooth and well combined. This mixture lays the flavorful foundation for your cloud cake.
Step 3: Beat the Egg Whites
In a clean, dry bowl, begin whipping the egg whites with a pinch of salt until they become foamy. Gradually sprinkle in the remaining sugar, and then add the cream of tartar to help stabilize the whites. Continue whipping until stiff peaks form, which is crucial for giving your Taro Ube Cloud Cake its ethereal texture.
Step 4: Combine Yolk and Meringue
Gently fold one-third of the whipped egg whites into the yolk mixture using a spatula—this lightens the mixture. Next, carefully fold in the remaining egg whites, ensuring that you do this gently to avoid deflating the airy meringue. The final batter should be light and have no streaks of white remaining, creating a beautifully homogenous mixture.
Step 5: Bake the Cake
Pour the batter into the prepared chiffon pan, smoothing the top with a spatula for an even surface. Place the pan in the oven and bake for 30-35 minutes. The cake is ready when it turns golden and springs back lightly to the touch, filling your kitchen with the sweet aroma of baked goodness.
Step 6: Cool Upside Down
Once baked, immediately invert the chiffon pan onto a bottle or a cooling rack. This cooling method is essential for maintaining the height and texture of your Taro Ube Cloud Cake, preventing it from collapsing. Allow it to cool completely upside down for about an hour.
Step 7: Release and Serve
When the cake is fully cooled, run a knife around the edges of the pan to gently release the cake. Carefully turn it out onto a serving plate. For the finishing touch, whip the ube halaya together with cream until fluffy, and spread it over the top of your Taro Ube Cloud Cake, creating a delightful and colorful presentation.
How to Store and Freeze Taro Ube Cloud Cake
Fridge: Store your Taro Ube Cloud Cake in an airtight container for up to 3 days to maintain its freshness and delicate texture.
Freezer: For longer storage, freeze individual slices wrapped tightly in plastic wrap and then placed in a freezer-safe bag, where they can last up to 1 month.
Thawing: When ready to enjoy, simply thaw the frozen slices overnight in the refrigerator for the best results.
Reheating: If you prefer your cake warm, gently heat slices in the microwave for about 10-15 seconds; this will enhance the flavors without drying it out.
Make Ahead Options
These Taro Ube Cloud Cakes are perfect for meal prep enthusiasts! You can make the cake base up to 3 days in advance. Just bake the cake, then allow it to cool completely before storing it in an airtight container in the refrigerator to keep it fresh and moist. The ube halaya whipped topping can also be prepared up to 24 hours in advance and refrigerated; just give it a quick whisk before spreading. When you’re ready to serve, simply remove the cake from the fridge, add the topping, and enjoy restaurant-quality results with minimal effort! This way, you can savor your time with family and friends instead of worrying about last-minute baking!
Expert Tips for Taro Ube Cloud Cake
Perfect Peaks: Ensure egg whites are free from yolk contamination while beating; this step guarantees stiff peaks for a light cake.
Gentle Folding: Fold the meringue into the yolk mixture carefully to maintain volume; over-mixing may lead to a dense cake.
Watch the Bake: Keep an eye on baking time; overbaking can dry out your Taro Ube Cloud Cake and compromise its airy texture.
Cooling Is Key: Inverting the cake during cooling is essential; this technique preserves its height and prevents collapsing.
Flavor Variations: Feel free to experiment with toppings and fillings—adding coconut or macapuno can give your cake a delightful twist!
Taro Ube Cloud Cake Variations
Feel free to get creative with your Taro Ube Cloud Cake! Each twist offers a delightful way to enjoy this already magical dessert.
- Macapuno Addition: Fold in chopped macapuno for added texture. This chewy coconut twist adds a nostalgic touch reminiscent of Filipino sweets.
- Cheesy Twist: Top with grated cheddar for a sweet-savory contrast. The unexpected combination really takes your taste buds on a journey!
- Coconut Cream Swap: Use coconut milk instead of regular milk and garnish with toasted coconut flakes. The tropical essence enhances the overall flavor beautifully.
- Matcha Swirl: Add matcha powder to the yolk batter for a unique flavor and stunning marble effect. This not only changes the taste but also adds an extra layer of elegance to your cake.
- Fruity Topping: Fresh mango or passion fruit puree can elevate your dessert. The acidity of the fruit complements the sweetness of the cake wonderfully.
- Choco Drizzle: Drizzle melted dark chocolate over the top for a luxurious finish. The bitterness of the chocolate perfectly balances the lightness of the cake.
- Almond Essence: Swap vanilla for almond extract for a delightful, nutty flavor twist. This subtle change can create a new sensory experience with each bite.
And if you’re looking to pair this dreamy cake with another sweet treat, consider making Apple Crumble Cupcakes for an additional layer of flavor!
What to Serve with Taro Ube Cloud Cake
Serving up your Taro Ube Cloud Cake brings an opportunity for delightful culinary partnerships that elevate your dessert experience.
- Fruity Sorbet: Pair with a refreshing mango or coconut sorbet to balance the cake’s rich flavors with a cool, fruity contrast.
- Coconut Cream Pudding: The creamy texture adds richness while softening the sweet notes of taro and ube; a dreamy combination.
- Roasted Fruit Medley: Warm roasted fruits like peaches or pineapple complement the ethereal cake with caramelized notes and vibrant colors.
- Green Tea: A cup of fragrant green tea not only refreshes but its earthy tones beautifully enhance the cake’s nutty undertones.
- Matcha Latte: Creamy and slightly bitter, this drink contrasts well against the cake’s sweetness, creating a harmonious balance.
- Passion Fruit Sauce: Drizzle this tart sauce over each slice for a zesty kick, perfectly complementing the cloud-like cake’s texture.
- Cheesecake Bites: Mini bites provide a delightful contrast; their denser texture juxtaposes with the airy qualities of the Taro Ube Cloud Cake.
- Rainbow Fruit Skewers: Colorful fresh fruits add a burst of freshness and bright flavors that delight the palate with each bite.
- Lemon Tart: The tangy, zesty notes of a lemon tart provide a delicious contrast to the sweetness, making for an elegant dessert tray.
- Coconut Macaroons: Chewy, sweet macaroons echo the coconut flavors in the cake, harmonizing beautifully for a tropical-feeling pairing.

Taro Ube Cloud Cake Recipe FAQs
How do I choose ripe taro and ube?
Absolutely! For taro, select firm, unblemished roots with no dark spots or sprouting—these usually indicate freshness. A ripe ube should have a smooth skin and a deep purple color. Look for ube that is firm, as soft spots indicate it may be overripe.
How should I store leftover Taro Ube Cloud Cake?
To keep your Taro Ube Cloud Cake fresh, refrigerate it in an airtight container for up to 3 days. This protects the delicate texture while preventing it from absorbing any unwanted odors from the fridge. If you have many leftovers, it’s always beneficial to freeze individual slices for later enjoyment!
Can I freeze Taro Ube Cloud Cake? If so, how?
Yes, you can! To freeze your Taro Ube Cloud Cake, slice it into individual servings. Wrap each slice tightly in plastic wrap, and then place them in a freezer-safe bag to prevent freezer burn. These slices can be stored for up to 1 month. When you’re ready to enjoy, simply thaw overnight in the refrigerator for the best texture!
What should I do if my meringue doesn’t reach stiff peaks?
Very! If your meringue isn’t reaching stiff peaks, there might be traces of yolk in the egg whites. I recommend starting over with clean equipment and ensuring no eggshell bits interrupt the whites. Be patient, and whip until the mixture is glossy and holds firm peaks. This step is crucial for giving your cake that light texture!
Is there a way to make Taro Ube Cloud Cake gluten-free?
Absolutely! You can substitute the cake flour with a gluten-free blend that includes xanthan gum if your blend doesn’t already contain it. This will help achieve a similar structure and lightness. Just make sure to measure carefully and follow the instructions specific to the gluten-free flour you use to get the desired outcome.
Dreamy Taro Ube Cloud Cake for a Whimsical Sweet Treat
Ingredients
Equipment
Method
- Preheat the oven to 325°F (163°C). Prepare a 9-inch chiffon pan without greasing it.
- Whisk together the egg yolks and half of the sugar until pale and creamy. Add milk, oil, vanilla, taro, and ube halaya; mix until smooth.
- In a clean bowl, whip egg whites with a pinch of salt. Gradually add remaining sugar and cream of tartar until stiff peaks form.
- Gently fold one-third of the whipped egg whites into the yolk mixture, then carefully fold in the remaining egg whites until no white streaks remain.
- Pour the batter into the chiffon pan, smoothing the top. Bake for 30-35 minutes until golden and springs back to touch.
- Immediately invert the pan onto a bottle to cool upside down for about an hour.
- Once cool, run a knife around edges to release the cake. In a bowl, whip ube halaya with cream until fluffy and spread over the cake.
Leave a Reply