
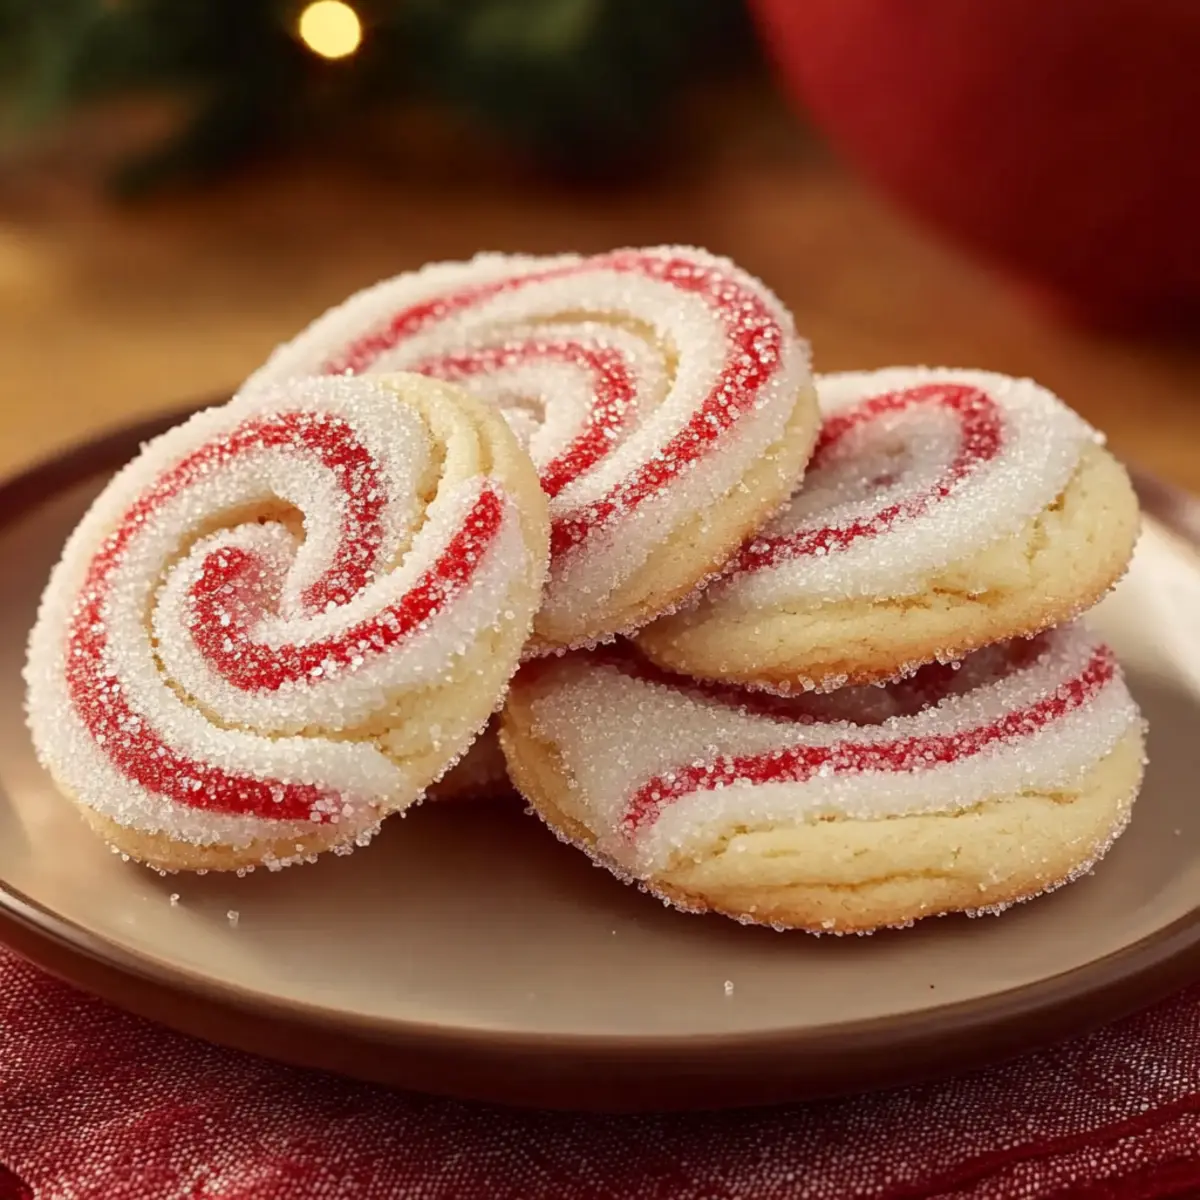
The kitchen buzzed with excitement as I unwrapped a shiny red package that revealed my secret weapon for the season: Peppermint Swirl Cookies! These delightful treats not only bring a vibrant splash of festive color to your holiday spread, but they’re also a joyous escape from the mundane fast food routine. With their luscious peppermint flavor and tender texture, they’re truly a crowd-pleaser, making every gathering merrier. Plus, they double as charming gifts for friends and family. Ready to embrace the magic of holiday baking? Let’s dive into the swirling delight of creating these colorful, minty cookies that are sure to leave everyone craving more!
Why Are Peppermint Swirl Cookies Irresistible?
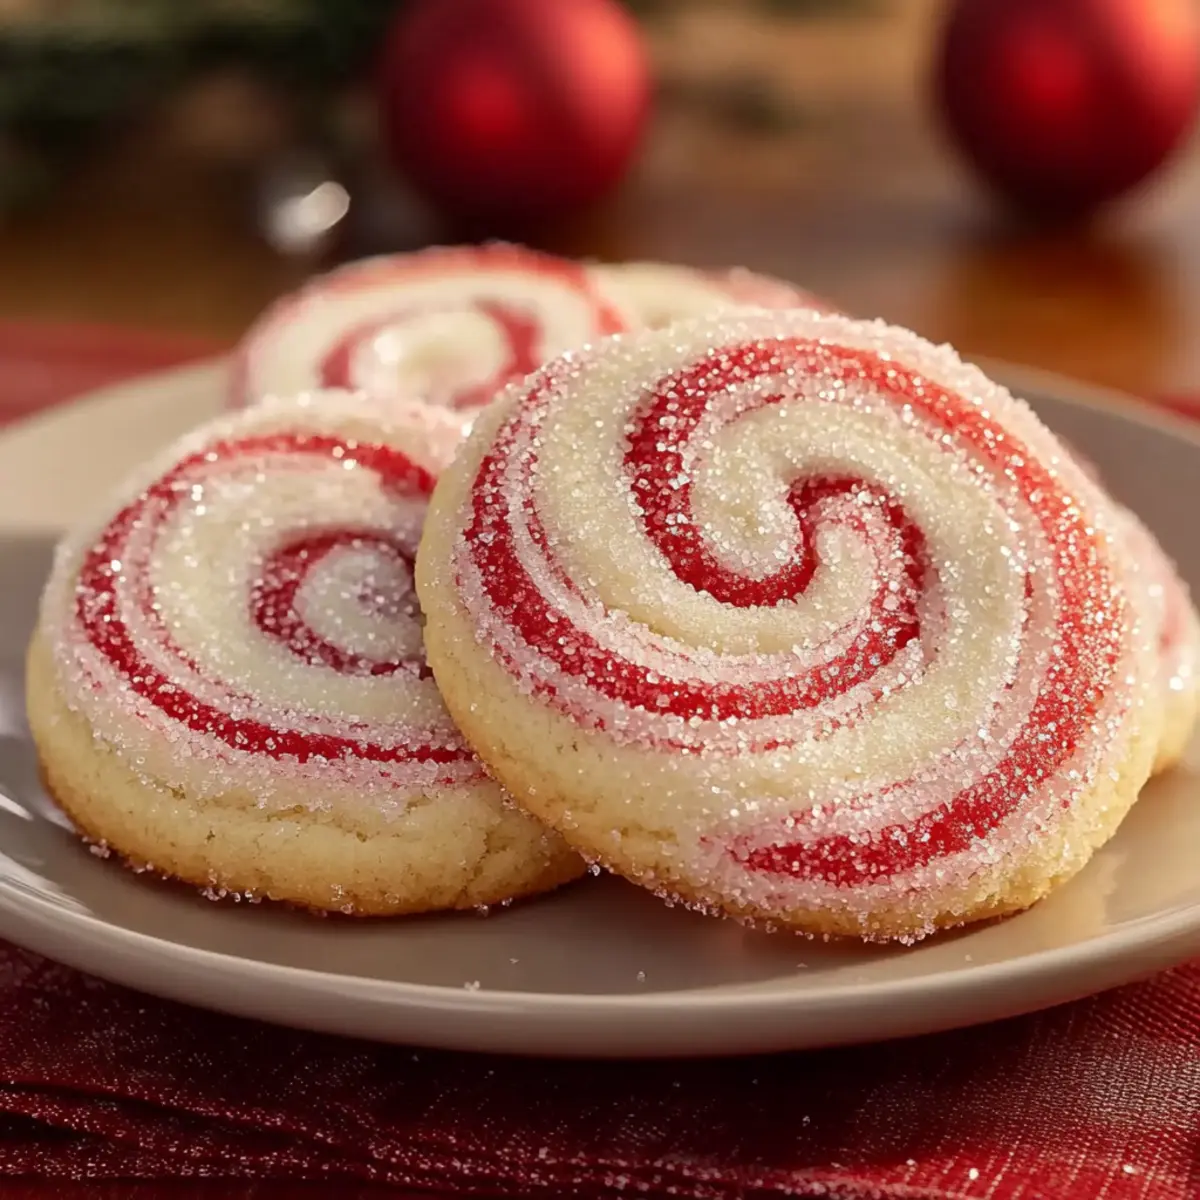
Vibrant Appearance: With their festive red swirls, these cookies are a feast for the eyes and perfect for celebrating the holiday spirit.
Minty Freshness: The refreshing peppermint flavor transforms ordinary cookies into a winter wonderland delight!
Easy to Make: Even beginner bakers can achieve bakery-quality results with simple steps and readily available ingredients.
Perfect for Gifting: Share the joy! These cookies make for sweet gifts and unforgettable treats at any holiday gathering. Pair them beautifully with hot cocoa or coffee for a cozy experience. For more delightful cookie options, don’t miss my Chocolate Chip Cookies or Chewy Ingredient Cookies.
Crowd-pleaser: Their irresistible taste and charming look will keep everyone coming back for seconds!
Peppermint Swirl Cookies Ingredients
• Get ready to create a festive delight!
For the Dough
- All-Purpose Flour – Provides structure to the cookies; make sure to measure accurately for the best texture.
- Baking Powder – Essential for a light lift, helping achieve that tender crumb.
- Salt – A small quantity enhances flavor and balances sweetness beautifully.
- Unsalted Butter – Softened at room temperature, it adds richness and a tender crumb; don’t skip this step!
- Granulated Sugar – Adds just the right sweetness and contributes to a light, fluffy texture.
- Large Egg – Binds the ingredients while adding necessary moisture; bring it to room temperature for better mixing.
- Vanilla Extract – Balances the peppermint’s coolness with warm, aromatic notes to elevate the flavor.
- Peppermint Extract – Gives your cookies that refreshing mint flavor; opt for high-quality extract for the best results.
- Red Gel Food Coloring – Ensures vibrant swirls without adding extra moisture; a must for those eye-catching designs.
For the Topping
- Coarse Sugar or Crushed Peppermint Candies – Adds texture and a festive touch; choose according to your desired appearance and taste!
These Peppermint Swirl Cookies are not only delightful to eat but also a joy to prepare! Enjoy the spirit of the holidays with each colorful bite.
Step‑by‑Step Instructions for Peppermint Swirl Cookies
Step 1: Prepare the Dry Ingredients
In a medium bowl, whisk together 2 cups of all-purpose flour, 1 teaspoon of baking powder, and a pinch of salt until well combined. This step establishes the dry foundation for your Peppermint Swirl Cookies. Make sure to aerate the flour by gently fluffing it with a whisk, which helps achieve a light texture in your final cookies.
Step 2: Cream the Butter and Sugar
In a large mixing bowl, cream together ¾ cup of softened unsalted butter and 1 cup of granulated sugar using a hand mixer or stand mixer. Beat on medium speed for about 3-5 minutes until the mixture is light and fluffy, turning pale in color. This will create a rich base for your cookies that ensures tenderness and sweetness.
Step 3: Add the Egg and Extracts
Once creamy, add 1 large egg, 1 teaspoon of vanilla extract, and ½ teaspoon of peppermint extract to the butter and sugar mixture. Beat on low speed until all ingredients are well combined and fully incorporated, about 1 minute. The combination of extracts will infuse your dough with the delightful flavors of peppermint and vanilla, creating a wonderful aroma.
Step 4: Combine Dry and Wet Ingredients
Gradually add the flour mixture to the wet ingredients, mixing on low speed until just combined. Aim for a smooth dough without overmixing, as this ensures your Peppermint Swirl Cookies remain tender. Stop mixing when you see no dry flour; a few small lumps are perfectly fine for a soft cookie texture.
Step 5: Color the Dough
Divide the dough in half, placing one half in a separate bowl. To the second half, add a few drops of red gel food coloring. Use your hands or a spatula to blend the color in until fully incorporated. This vibrant color will create the beautiful swirls in your cookies, making them visually stunning holiday treats.
Step 6: Chill the Dough
Wrap each half of the dough tightly in plastic wrap and place them in the refrigerator to chill for at least 30 minutes. Chilling is crucial as it firms up the dough, making it easier to handle later. This step also prevents the colors from bleeding, allowing your Peppemint Swirl Cookies to retain their striking appearance after baking.
Step 7: Roll Out the Dough
After chilling, lightly flour your working surface and roll out each half of the dough into rectangles measuring about 10×12 inches and ¼-inch thick. The dough should be pliable and easy to roll, resembling a smooth surface. This is the fun part where you’ll create the layers for your peppermint swirls!
Step 8: Assemble the Dough Layers
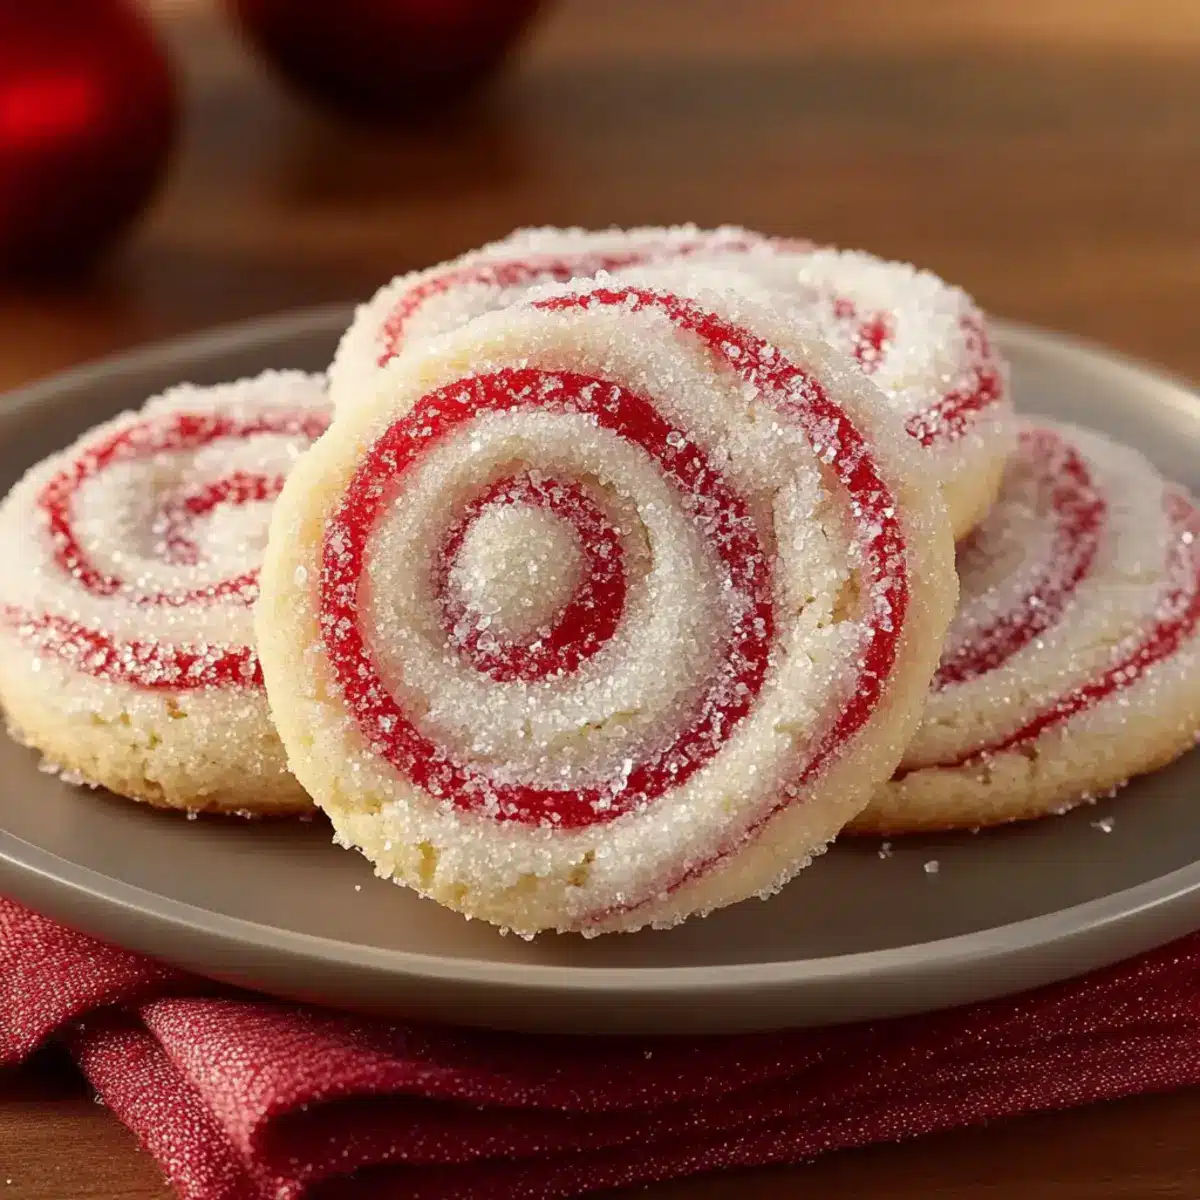
Place the red dough on top of the plain dough and carefully press them together. Starting from one edge, roll the layers tightly into a log shape, ensuring no air bubbles are trapped inside. This technique will create the beautiful swirls in your Peppermint Swirl Cookies, so take your time and roll it evenly.
Step 9: Chill the Rolled Log
Wrap the rolled log in plastic wrap again and return it to the refrigerator for at least 2 hours, or until it feels firm to the touch. This second chilling ensures clean slices when you cut the dough, making your cookies look as delightful as they taste.
Step 10: Preheat and Prepare Baking Sheets
Preheat your oven to 375°F (190°C) and line your baking sheets with parchment paper. As the oven heats, prepare for baking by ensuring you have everything ready. The parchment paper will prevent your Peppermint Swirl Cookies from sticking, resulting in an easy cleanup.
Step 11: Slice the Chilled Dough
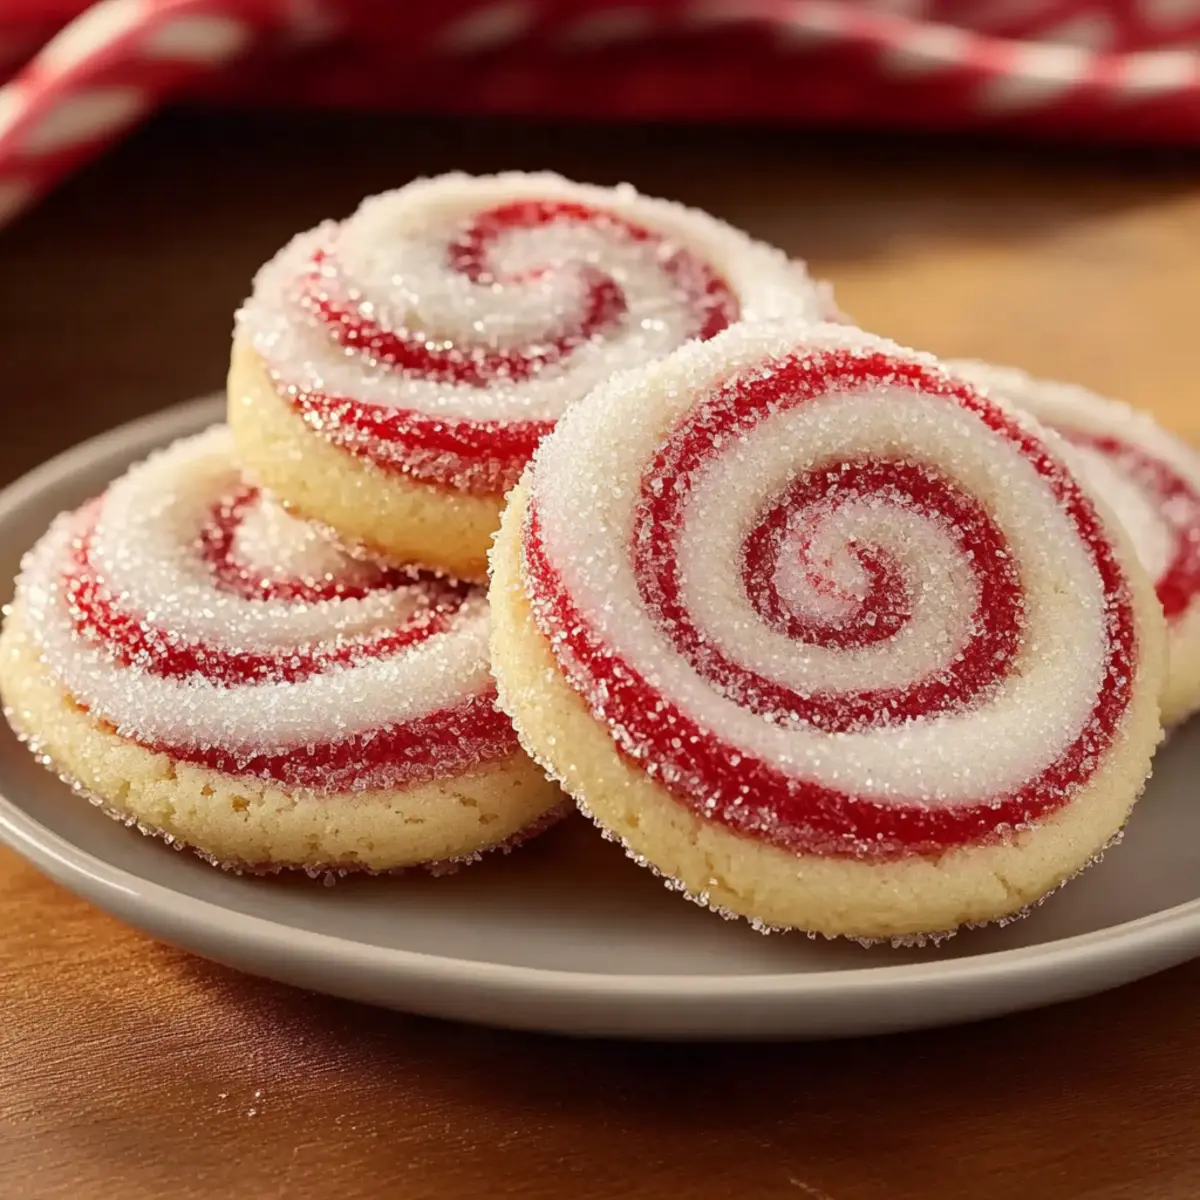
Once the dough is ready, remove it from the refrigerator. Using a very sharp knife, slice the roll into ¼-inch thick rounds, taking care to maintain the integrity of the swirls. Place each cookie slice about 1 inch apart on the prepared baking sheets to allow for spreading during baking.
Step 12: Add Finishing Touches
If desired, lightly brush the tops of the cookies with water or egg white for a sheen. Then, sprinkle on coarse sugar or crushed peppermint candies for a festive touch. This is an optional yet delightful step that adds a sweet crunch to your already charming Peppermint Swirl Cookies.
Step 13: Bake the Cookies
Bake in the preheated oven for 8-10 minutes, or until the edges begin to turn lightly golden. Keep a close eye on them, as these cookies can go from perfect to overbaked quickly! Once done, allow them to cool on the baking sheets for a few minutes before transferring to a wire rack to cool completely.
How to Store and Freeze Peppermint Swirl Cookies
Room Temperature: Keep your cookies in an airtight container at room temperature for up to 3 days to maintain their delightful texture and flavor.
Freezer (Raw Dough): Freeze the unsliced dough log wrapped in plastic wrap for up to 2-3 months; simply thaw it overnight in the fridge before slicing and baking.
Freezer (Baked Cookies): Baked cookies can be frozen for up to 1 month. Place them in an airtight container, and thaw at room temperature before enjoying their festive flavors.
Reheating: For a warm treat, reheat cookies in a preheated oven at 350°F (175°C) for about 5 minutes, bringing back that freshly baked taste!
Expert Tips for Peppermint Swirl Cookies
Chill the Dough: Ensure both doughs are properly chilled for at least 30 minutes to prevent colors from bleeding during rolling.
Mix with Care: Avoid overmixing after adding the flour. Mixing until just combined keeps your Peppermint Swirl Cookies tender and delightful.
Sharp Knife Use: Utilize a sharp knife for slicing the chilled log to achieve clean, defined cuts that highlight the beautiful swirls.
Monitor Baking: Keep an eye on your cookies while they bake! Pull them out just as the edges turn golden to avoid overbaking.
Airtight Storage: Store your cookies in an airtight container with a slice of bread to maintain their crispness and delicious flavor.
Make Ahead Options
These Peppermint Swirl Cookies are perfect for busy home cooks looking to save time during the holiday season! You can prepare the dough up to 24 hours in advance by wrapping the two colored dough halves in plastic wrap and refrigerating them. For longer storage, you can freeze the rolled log for up to 2-3 months; just be sure to thaw it in the refrigerator before slicing. To maintain the vibrant colors and avoid mixing, chill the dough thoroughly after rolling it into a log. When you’re ready to bake, simply slice the chilled dough into rounds, bake for about 8-10 minutes, and you’ll have fresh, festive cookies that will impress everyone!
What to Serve with Peppermint Swirl Cookies
Indulging in the bliss of holiday baking is a joy best complemented by delightful pairings that elevate your treat experience.
-
Hot Cocoa: The rich, creamy chocolate of hot cocoa enhances the minty freshness of your cookies, creating a cozy combination that warms the soul.
-
Coffee: A smooth cup of coffee balances the sweetness of the cookies, while enhancing the festive flavors in each minty bite. Ideal for enjoying with friends!
-
Milk: A classic pairing, the creaminess of milk pairs perfectly with the crisp exterior and soft center of Peppermint Swirl Cookies, making them a nostalgic indulgence.
-
Spiced Apple Cider: The warm spices in apple cider enhance the holiday spirit, bringing out the peppermint flavors in the cookies. Serve warm for the ultimate comfort drink!
-
Ice Cream: Vanilla or peppermint ice cream creates a delightful contrast with the cookies’ crispness. A scoop adds a creamy texture that everyone will love!
-
Fruit Salad: A light and refreshing fruit salad can balance the sweetness of the cookies. With vibrant colors and fresh flavors, it’s a perfect complement to your dessert table.
-
Chocolate Truffles: Rich, velvety chocolate truffles pair beautifully with the minty notes of your cookies, creating a decadent indulgence that’s perfect for holiday gatherings.
Peppermint Swirl Cookies Variations & Substitutions
Feel free to make these festive cookies your own by exploring delightful variations tailored to your taste!
-
Almond Extract: Substitute peppermint extract with almond extract for a warm, nutty flavor that’s equally festive.
-
Orange Zest: Add a teaspoon of fresh orange zest for a citrusy twist that compliments the peppermint beautifully. This adds a surprising burst of freshness, elevating each bite!
-
Gluten-Free: Use a 1:1 gluten-free flour blend instead of all-purpose flour to make these cookies gluten-free without sacrificing flavor.
-
Chocolate Chips: Incorporate mini chocolate chips into the dough for a rich, melted chocolate surprise with every delightful swirl.
-
Peppermint Cream Filling: Create a sandwich cookie by adding a layer of peppermint-flavored cream cheese frosting between two cookies. It’s a sweet way to enhance the minty goodness!
-
Cocoa Powder: Replace a portion of the flour (1/4 cup) with unsweetened cocoa powder to make a chocolatey version of these cookies that pairs wonderfully with mint.
-
Spicy Twist: Add a pinch of cinnamon or cayenne pepper for a kick! The heat will provide an unexpected but enjoyable contrast to the sweet peppermint flavor.
For vibrant holiday cookie options, you may enjoy my Apple Cider Cookies which are perfect for fall gatherings, or try the delicious Cream Cheese Swirl if you’re looking for uniquely sweet inspiration that still captures the spirit of the season!
Peppermint Swirl Cookies Recipe FAQs
What type of peppermint extract should I use?
I recommend using high-quality peppermint extract for the best flavor. Look for pure extracts instead of imitation ones, as they provide a fresher and more intense minty aroma, enhancing your cookies’ overall taste.
How should I store my Peppermint Swirl Cookies?
Store your cookies in an airtight container at room temperature for up to 3 days. To keep them fresh and maintain their delightful texture, consider adding a slice of bread to the container. This will help keep the cookies soft while preventing them from becoming stale.
Can I freeze the dough for later use?
Absolutely! You can freeze the raw, unsliced dough log wrapped in plastic wrap for up to 2-3 months. When you’re ready to bake, simply thaw it overnight in the refrigerator before slicing and baking for freshly made cookies any time you like!
How do I prevent my cookie colors from bleeding together?
To avoid color bleeding, ensure that both halves of the dough are thoroughly chilled for at least 30 minutes before rolling them out. Additionally, avoid overmixing when combining the colored and plain dough; this maintains distinct layers and swirls in your Peppermint Swirl Cookies.
Can my pets eat these cookies?
No, it’s best to keep these cookies away from pets. The ingredients, particularly butter and peppermint extract, aren’t advisable for them. Always prioritize your pet’s health and stick to pet-friendly treats instead.
What if my dough is too soft to roll?
If the dough feels too soft to roll out, don’t worry! Simply place it back in the refrigerator to chill for an additional 15-30 minutes. This will firm it up and make it easier to handle, ensuring you can achieve those beautiful swirls without any trouble.
Delightful Peppermint Swirl Cookies for Holiday Cheer
Ingredients
Equipment
Method
- Prepare the dry ingredients by whisking flour, baking powder, and salt in a bowl.
- Cream together softened butter and sugar until light and fluffy.
- Add egg and extracts to the butter mixture and mix until combined.
- Combine the dry and wet ingredients until just mixed to form a dough.
- Color half the dough with red gel food coloring.
- Chill the dough in plastic wrap for at least 30 minutes.
- Roll out each half of the dough into rectangles.
- Layer the red dough over the plain dough and roll into a log.
- Chill the rolled log for at least 2 hours until firm.
- Preheat oven to 375°F (190°C) and prepare baking sheets.
- Slice the log into rounds and place on the baking sheets.
- Brush with water or egg white and sprinkle topping, if desired.
- Bake for 8-10 minutes until edges are golden, then cool on racks.
Leave a Reply