
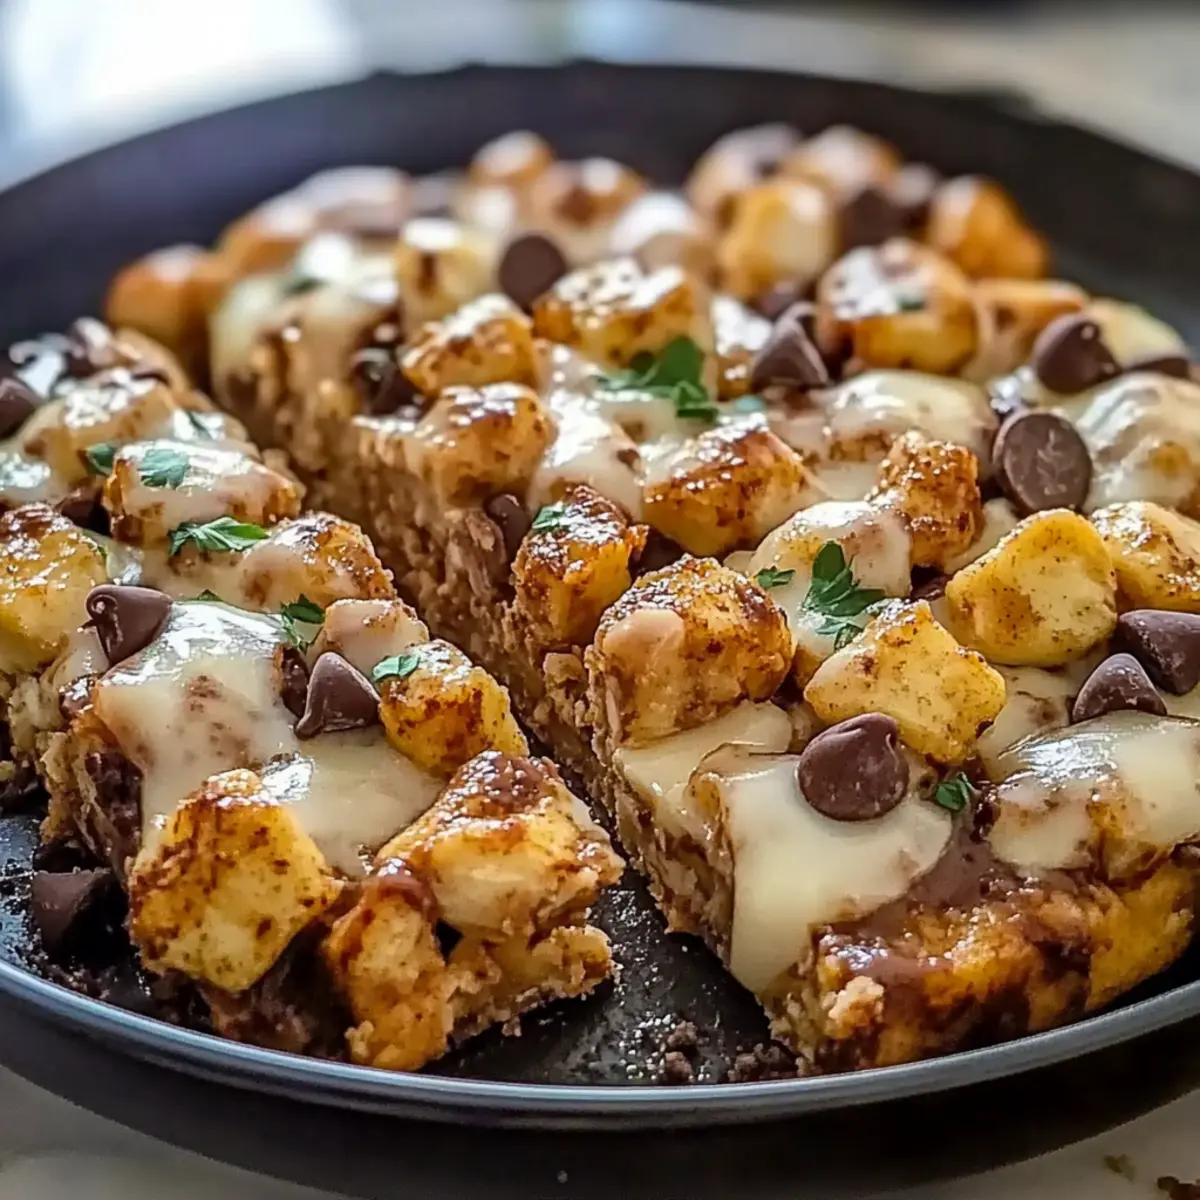
As I rummaged through my pantry, I stumbled upon a colorful array of ingredients just waiting to be transformed into something delightful. That’s when I had the bright idea to whip up these No-Bake Chocolate Peanut Butter Oat Bars. Not only are they a fantastic way to satisfy my sweet tooth, but they also double as a healthy snack, perfect for those of us striving for better choices amidst a busy life. With quick prep time and no baking required, these bars promise a delightful experience without the mess or fuss. Picture this: rich peanut butter and melty chocolate coming together in perfect harmony, all while being gluten-free! Curious about how you can indulge guilt-free? Let’s dive into this delicious recipe!
Why Choose No-Bake Chocolate Bars?
Simplicity: The no-bake aspect makes this recipe a breeze, perfect for those busy days when you crave a treat without the hassle.
Customizable: With endless variations, you can swap in your favorite nuts or adjust the sweetness to suit your taste preferences.
Healthy Indulgence: Made with wholesome ingredients, these bars are gluten-free and packed with protein and fiber, making them a guilt-free snack option.
Quick & Easy: In under 15 minutes, you can prepare a batch that keeps you energized throughout your day. Try pairing them with a refreshing glass of almond milk for a delightful afternoon pick-me-up!
Crowd Pleaser: Ideal for sharing, these bars will impress family and friends at gatherings. They’re the perfect homemade alternative to store-bought snacks; check out my Garlic Sauce Potatoes for another crowd favorite you can whip up easily!
No-Bake Chocolate Peanut Butter Oat Bar Ingredients
For the Base
- Oats – Provide structure and chewiness; opt for gluten-free oats for a certified gluten-free version.
- Peanut Butter – Adds richness and creaminess; feel free to substitute with almond or cashew butter for variety.
- Honey or Maple Syrup – Serves as a natural sweetener; agave syrup can be used for a vegan alternative.
For the Chocolate Flavor
- Cocoa Powder – Contributes chocolate flavor and color; swap with carob powder for a caffeine-free option.
- Chocolate Chips – Adds sweetness and texture; switch to dark chocolate chips if you prefer a lower-sugar treat.
For Extra Flavor
- Vanilla Extract – Enhances overall flavor; while optional, it’s recommended for the best taste experience.
These No-Bake Chocolate Peanut Butter Oat Bars are a perfect blend of health and indulgence! Enjoy experimenting with variations to make them truly yours.
Step‑by‑Step Instructions for No-Bake Chocolate Peanut Butter Oat Bars
Step 1: Prepare the Base Mixture
In a spacious mixing bowl, combine 2 cups of oats, 1 cup of peanut butter, ½ cup of honey or maple syrup, and ¼ cup of cocoa powder. Use a sturdy spatula to mix these ingredients thoroughly until they create a thick, cohesive dough that sticks together well. You should see a homogenous blend that is slightly shiny from the peanut butter.
Step 2: Incorporate Flavor Enhancements
Once the base mixture is combined, pour in 1 teaspoon of vanilla extract to elevate the flavors. Stir gently to incorporate, ensuring the vanilla evenly coats the mixture. This step enhances the overall taste of your no-bake chocolate peanut butter oat bars, making them irresistibly delicious.
Step 3: Add Chocolate Chips
Next, fold in ½ cup of chocolate chips, stirring just until they are evenly distributed throughout the dough. Be careful not to over-mix, as you want those delicious chunks to remain intact, adding texture and sweetness to your bars. The dough should feel rich and indulgent at this point.
Step 4: Transfer to the Baking Dish
Line an 8×8-inch square baking dish with parchment paper, leaving some overhang for easy removal later. Transfer the mixture into the lined dish, using a rubber spatula to press it down firmly and evenly. The goal here is to pack the mixture tightly so the bars hold their shape once set; spend time smoothing the top for a sleek finish.
Step 5: Chill to Set
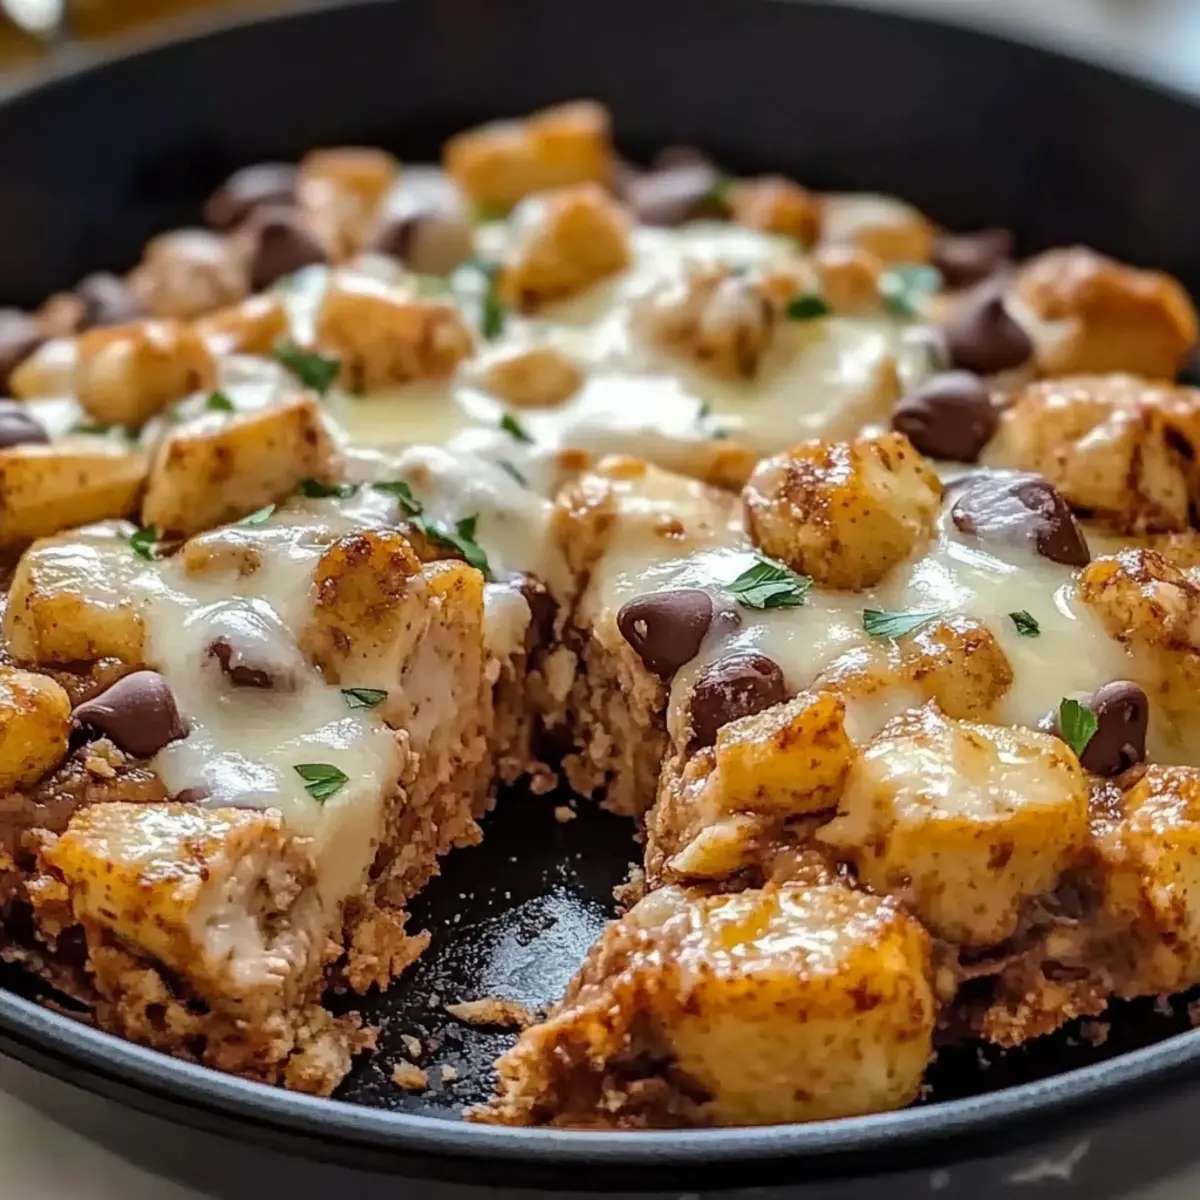
Place the baking dish in the refrigerator and allow the bars to chill for a minimum of 1 hour. This cooling time is crucial, as it helps the mixture firm up and ensures the no-bake chocolate peanut butter oat bars slice cleanly. You’ll know they’re ready when they feel firm to the touch and the surface is cool.
Step 6: Slice and Store
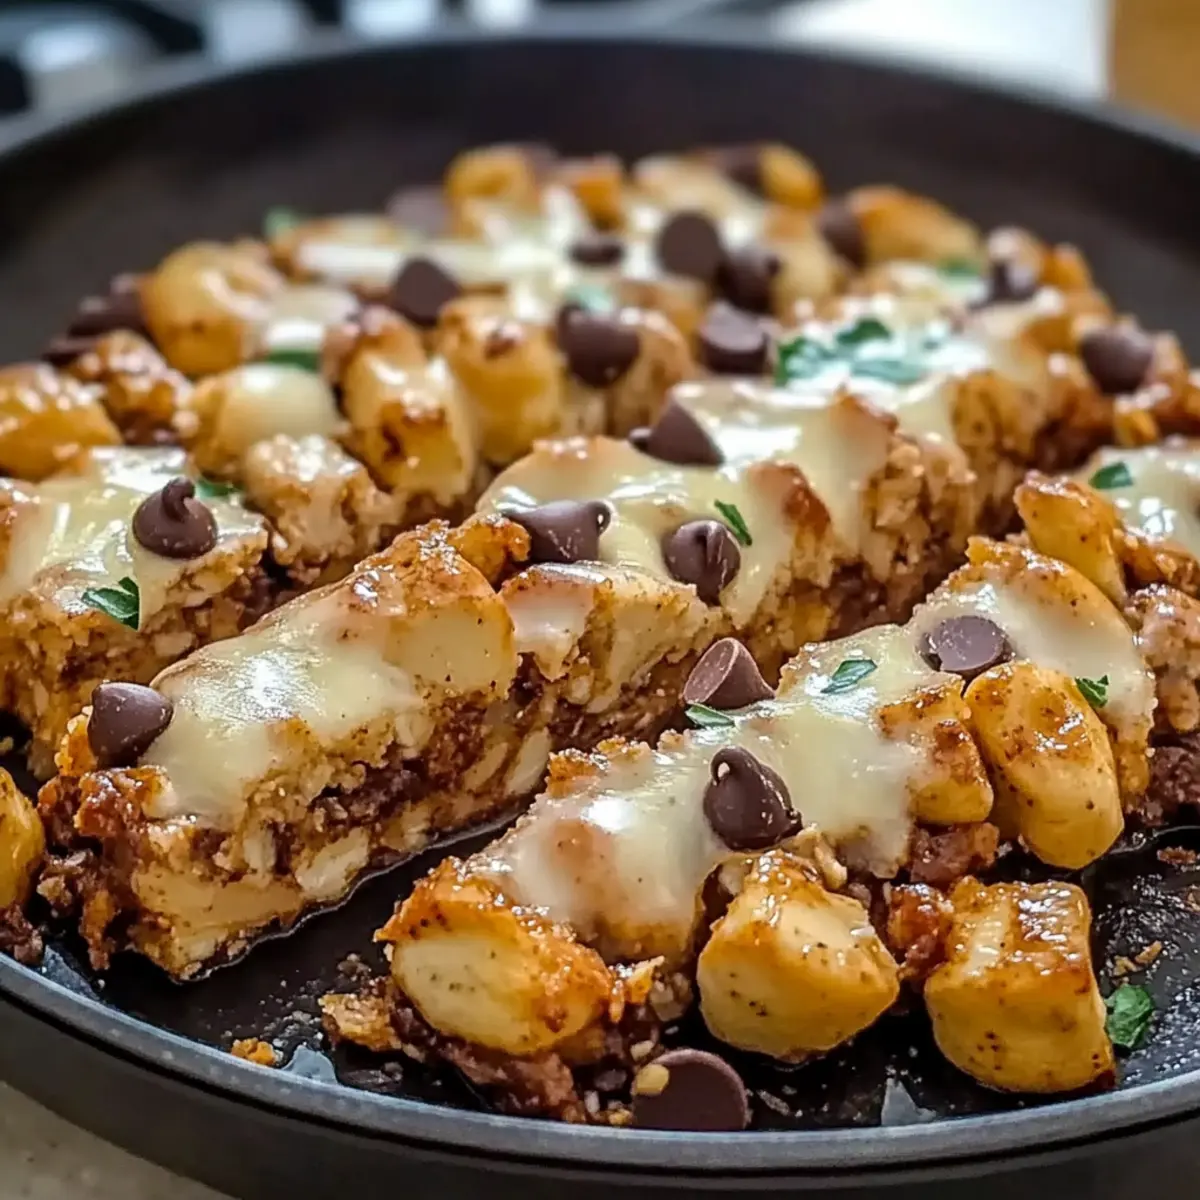
After chilling, remove the bars from the baking dish using the parchment overhang. Use a sharp knife to cut them into squares or rectangles, depending on your preference. Store any leftovers in an airtight container in the refrigerator for up to one week, making these delightful no-bake treats a convenient grab-and-go snack for busy days.

Variations & Substitutions for No-Bake Chocolate Bars
Get ready to tailor these delightful bars to your taste and dietary needs! The possibilities will awaken your creativity in the kitchen.
- Nut Butter Swap: Use almond or cashew butter instead of peanut butter for a unique flavor twist. Each nut offers its own delightful profile—so give it a try!
- Sweetness Adjustment: Substitute honey with agave syrup for a vegan-friendly option or reduce the sweetener for a less sugary treat. You can control how sweet your bars turn out!
- Incorporate Nuts: Add a handful of chopped walnuts or pecans for an added crunch and depth of flavor. The combination of chewy oats with crunchy nuts is just divine!
- Dried Fruits Boost: Mixed dried fruits like cranberries or apricots can enhance the nutritional value while introducing a chewy texture. These fun bites will brighten every nibble!
- Flavor Enhancements: Mix in a teaspoon of cinnamon or a pinch of sea salt to enhance the flavors. The subtle notes will elevate the taste and add a lovely complexity.
- Cocoa Powder Variation: Swap cocoa powder for carob powder to create a caffeine-free alternative. It lends a more natural sweetness, making it a great option for sensitive tummies!
- Chocolate Type: Change semi-sweet chocolate chips for dark chocolate chips to reduce sugar content without sacrificing indulgence. A more intense chocolate flavor is sure to satisfy any chocolate lover!
- Peanut-Free Option: For a nut-free version, use sunflower seed butter to keep things allergy-friendly while still delivering rich flavors. It’s a great alternative that everyone can enjoy!
Feel free to serve these bars with a glass of refreshing almond milk or as a sweet pairing with my Garlic Sauce Potatoes for a delightful snack or meal treat! Happy baking!
Make Ahead Options
These No-Bake Chocolate Peanut Butter Oat Bars are perfect for meal prep enthusiasts! You can easily prepare the base mixture and press it into the baking dish up to 24 hours in advance and simply refrigerate it until you’re ready to serve. To maintain quality, ensure that the mixture is tightly packed, as this helps the bars hold their shape when cut. Once chilled, slice the bars as directed and store them in an airtight container in the fridge for up to one week. When it’s time to enjoy, simply grab a bar and indulge in its rich and satisfying flavor without any last-minute preparation!
Storage Tips for No-Bake Chocolate Peanut Butter Oat Bars
Room Temperature: Store in a cool, dry place for up to 3 days, but for optimal freshness, refrigeration is recommended.
Fridge: Keep the bars in an airtight container in the refrigerator for up to 1 week. This keeps them chewy and ensures the flavors stay fresh.
Freezer: For long-term storage, freeze the bars for up to 3 months. Slice them beforehand and layer between parchment paper for easy access.
Reheating: Simply let frozen bars thaw in the fridge overnight or at room temperature for a quick snack. Enjoy your no-bake chocolate peanut butter oat bars anytime!
Expert Tips for No-Bake Chocolate Peanut Butter Oat Bars
-
Proper Packing: Ensure the mixture is tightly packed in the dish. This helps maintain the bar’s structure and integrity when cutting.
-
Use Parchment Paper: Line your baking dish with parchment paper. It makes for easy removal and keeps the bars intact without sticking.
-
Adjust Moisture: If your bars turn out crumbly, simply add a bit more peanut butter or a splash of water. This will enhance the texture and keep them cohesive.
-
Chill Time Matters: Don’t rush the chilling process. Allow at least one hour for the bars to set correctly. A well-chilled bar cuts more cleanly for that perfect presentation!
-
Experiment with Variations: Feel free to swap ingredients! Try different nut butters or add nuts and seeds for variety, making the no-bake chocolate peanut butter oat bars uniquely yours.
-
Storage Tips: Keep your bars in an airtight container in the refrigerator for up to a week. This ensures they remain fresh and delicious for snacking anytime!
What to Serve with No-Bake Chocolate Peanut Butter Oat Bars
These bars are the perfect balance of sweetness and texture, making them a wonderful treat to pair with other delightful bites.
- Creamy Greek Yogurt: This smooth, tangy yogurt adds a nourishing contrast, great for a wholesome snack or breakfast option.
- Fresh Berries: Juicy strawberries, raspberries, or blueberries lend a burst of refreshing flavor and color, complementing the rich chocolate taste beautifully.
- Nutty Trail Mix: Crunchy nuts and seeds add texture and flavor diversity, elevating your snack time into a delightful mini feast.
- Banana Slices: Sweet banana lends natural sweetness while enhancing the chewy texture of the bars; this combo is a satisfying way to power up your day!
- Iced Almond Milk: A chilled glass of almond milk serves as a refreshing drink that balances the richness of the bars with its nutty creaminess.
- Dark Chocolate Drizzle: For an indulgent touch, a simple drizzle of melted dark chocolate enhances the flavors while making everything feel extra special.
- Matcha Green Tea: The earthy notes of matcha offer a unique pairing, providing a lovely contrast to the sweetness of the bars that tea enthusiasts will love.
No-Bake Chocolate Peanut Butter Oat Bars Recipe FAQs
What kind of oats should I use for this recipe?
Absolutely! For the base of the No-Bake Chocolate Peanut Butter Oat Bars, you can use rolled oats, quick oats, or gluten-free oats, depending on your preference. If you’re aiming for a gluten-free version, make sure to select oats specifically labeled as gluten-free to avoid cross-contamination.
How long can I store these bars, and how should I do it?
You can keep your No-Bake Chocolate Peanut Butter Oat Bars in an airtight container in the refrigerator for up to one week, which helps retain their chewy texture and flavor. For a longer shelf life, freeze the bars for up to 3 months. Just slice them beforehand and layer with parchment paper to prevent sticking!
Can I freeze the No-Bake Chocolate Peanut Butter Oat Bars?
Yes, freezing is a great option! To freeze your bars, slice them first and then layer them between parchment paper in an airtight container or freezer-safe bag. This method makes it easy to grab a bar when you need a quick snack. When you’re ready to enjoy one, simply let it thaw overnight in the fridge or for about 30 minutes at room temperature.
What if my bars turn out too crumbly?
If your No-Bake Chocolate Peanut Butter Oat Bars are crumbly, don’t worry! This can happen if the mixture wasn’t pressed tightly enough into the dish. To fix this, add a little more peanut butter to increase moisture or mix in a tablespoon of water to bind everything together better. If you’re noticing dryness, smushing the mixture down more firmly next time will also help!
Are there any dietary considerations I should be aware of?
Definitely! These bars are quite versatile and can satisfy various dietary needs. To ensure they’re suitable for a vegan diet, just replace honey with agave syrup. For nut allergies, consider using sunflower seed butter or soy nut butter as a substitute for peanut butter. Always check labels for potential allergens, especially in chocolate choices, as some brands may contain traces of nuts or dairy.
Can I adjust the sweetness of the bars?
Very! You can easily adjust the sweetness level to fit your taste. If you prefer a less sweet bar, simply reduce the amount of honey or maple syrup. Alternatively, add a bit more cocoa powder if you like a more chocolatey flavor without adding extra sweetness. Play around with the ingredients until it feels just right for you!
Garlic Parmesan Chicken and Potatoes: Comfort Food Bliss
Ingredients
Equipment
Method
- Combine 2 cups of oats, 1 cup of peanut butter, ½ cup of honey or maple syrup, and ¼ cup of cocoa powder in a mixing bowl.
- Add 1 teaspoon of vanilla extract into the mixture and stir gently to incorporate.
- Fold in ½ cup of chocolate chips until evenly distributed throughout the dough.
- Line an 8x8-inch baking dish with parchment paper and press the mixture down firmly.
- Chill in the refrigerator for at least 1 hour to allow the bars to set.
- Remove from the baking dish and slice into squares or rectangles.
Leave a Reply