
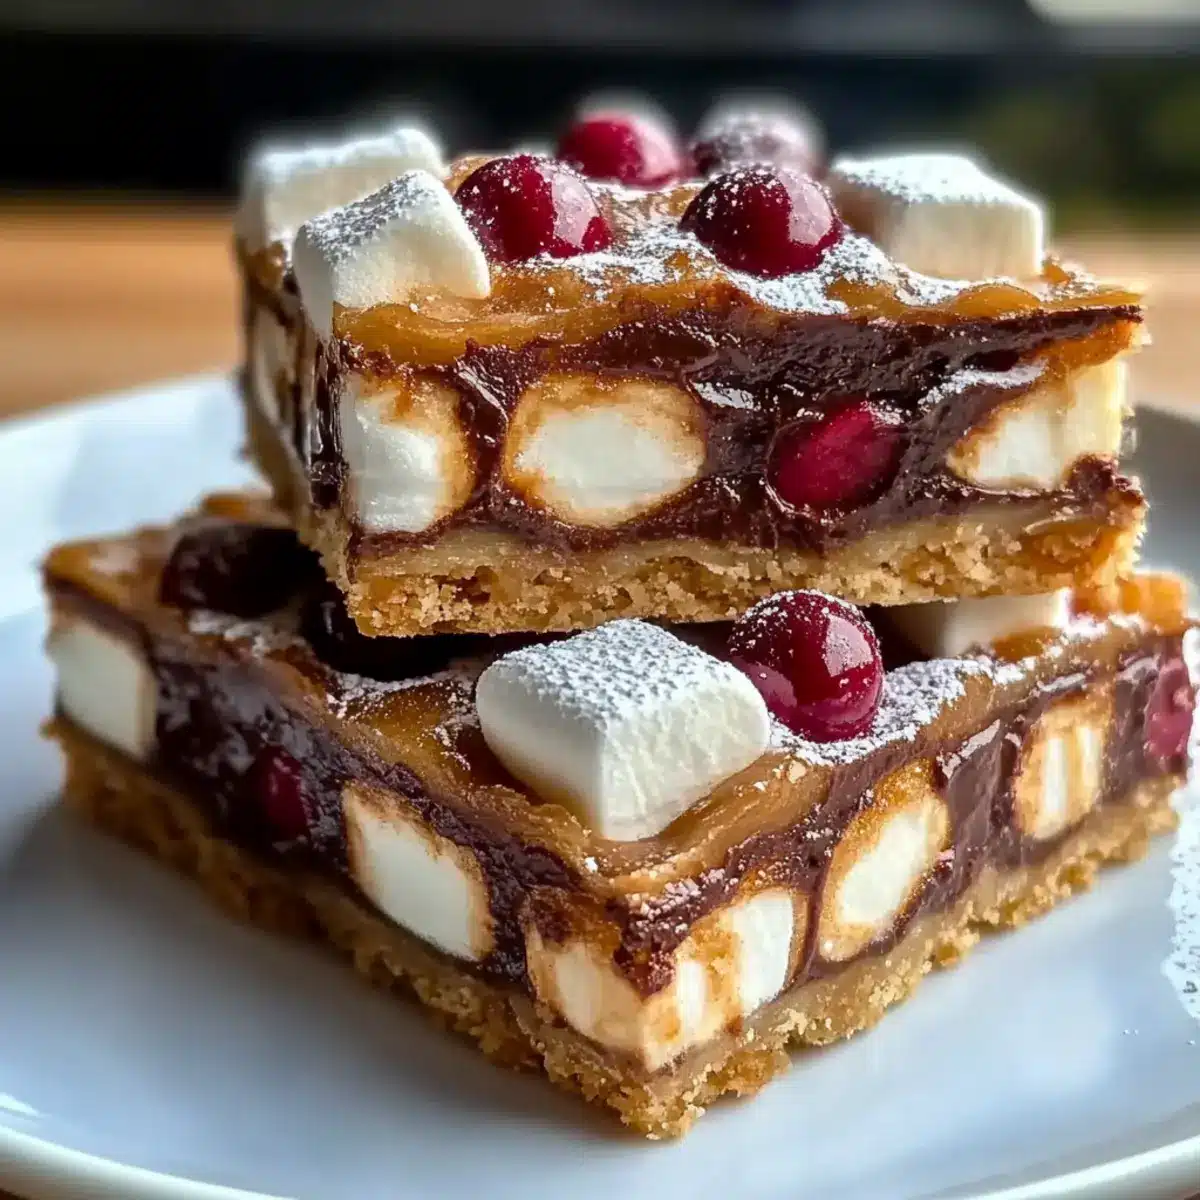
The aroma of melting chocolate and sweet marshmallows fills the air, instantly transporting me to holiday gatherings filled with laughter and joy. In just 45 minutes, you can make these delightful Christmas Bars, a quick and easy treat that will surely impress your guests and elevate your festive spirit. Bursting with rich chocolatey goodness, these bars are an absolute crowd-pleaser and can be easily customized to suit any dietary need—whether you’re looking for a nut-free, gluten-free, or vegan version. Perfect for celebrating or simply indulging during the busy holiday season, these bars will quickly become a cherished part of your annual traditions. What festive twist will you choose for your Christmas Bars?

Why Are These Christmas Bars So Irresistible?
Simplicity: In just 45 minutes, you can whip up these delicious bars with minimal effort. Perfect for busy holiday schedules!
Customizable: Tailor them to suit your preferences; choose from nut-free, gluten-free, or even vegan adaptations to make everyone happy.
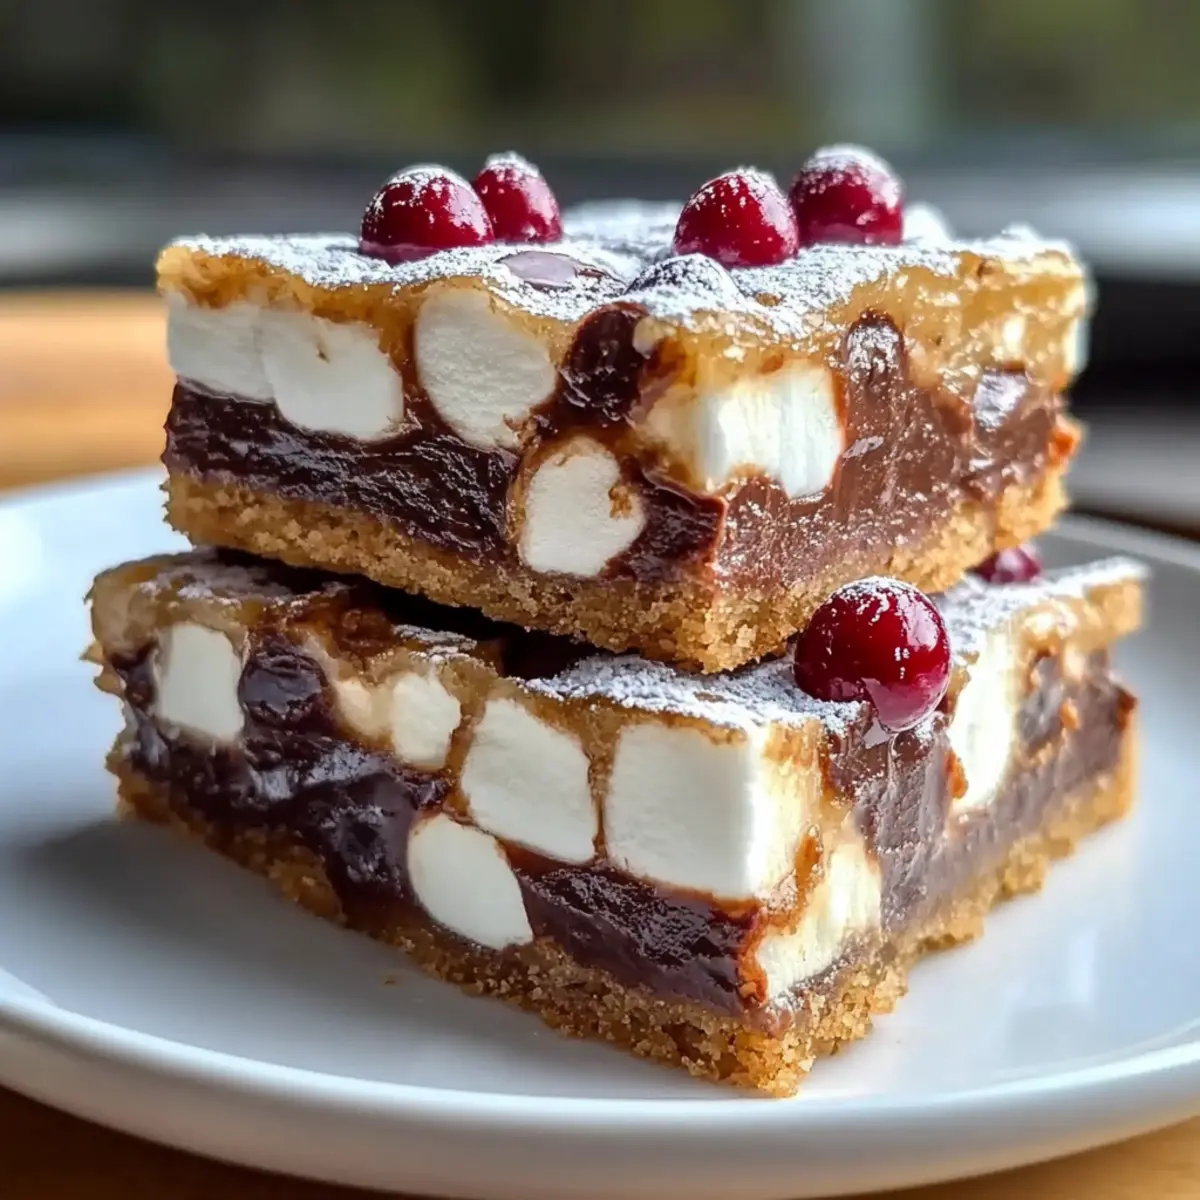
Crowd-Pleaser: With their rich chocolate flavor and chewy marshmallows, these bars are sure to impress guests at holiday parties or cozy family gatherings.
Unique Variations: Experiment with a mint chocolate twist or a fruit and nut medley for a fresh spin on a classic treat.
Whether enjoyed with a warm cup of cocoa or paired with a scoop of ice cream, these Christmas Bars are a festive delight that will make your holiday gatherings even sweeter.
Christmas Bars Ingredients
Get ready to make the sweetest holiday treat!
For the Base
• Graham Cracker Crumbs – Provides a sweet and crunchy base; substitution: Use whole graham crackers if preferred.
• Unsweetened Cocoa Powder – Adds rich chocolate flavor; note: Opt for high-quality cocoa for best taste.
• Powdered Sugar – Sweetens the bars for that smooth texture; essential for the melt-in-your-mouth experience.
• Unsalted Butter (melted) – Binds the mixture while adding richness; substitution: Replace with melted coconut oil for a dairy-free option.
• Sweetened Condensed Milk – Creates moisture and sweetness for that chewy texture; vital for the overall consistency.
For the Mix-ins
• Mini Marshmallows – Introduce a fun, chewy element; regular marshmallows can be used, but mini ones distribute better.
• Chocolate Chips – Enhance the chocolate flavor; substitutes: Dark, milk, or white chocolate chips work well.
• Chopped Nuts (optional) – Adds a delightful crunch; can be omitted for nut allergies.
These Christmas Bars are not only quick and easy to make but also customizable to delight everyone at your holiday gatherings!
Step‑by‑Step Instructions for Christmas Bars
Step 1: Preheat the Oven
Begin by preheating your oven to 350°F (175°C). This ensures even baking as you prepare your delicious Christmas Bars. While the oven warms up, gather your ingredients and equipment, including a greased 9×13 inch baking pan.
Step 2: Combine Dry Ingredients
In a large mixing bowl, combine graham cracker crumbs, unsweetened cocoa powder, and powdered sugar. Stir these dry ingredients together until well blended, ensuring there are no lumps. This mix forms the rich and crunchy base of your Christmas Bars and brings a delightful chocolate flavor.
Step 3: Mix Wet Ingredients
Pour in the melted unsalted butter and sweetened condensed milk to your dry ingredients. Use a spatula to mix thoroughly until everything is combined into a thick and sticky batter. This step is crucial, as the wet ingredients help bind the mixture together for a chewy texture in your Christmas Bars.
Step 4: Fold in Mix-Ins
Gently fold in the mini marshmallows, chocolate chips, and any optional chopped nuts you may want to include. Be careful not to overmix; you want to preserve the texture of the marshmallows for that delightful chewiness. This step will enhance your Christmas Bars with extra flavor and a fun twist.
Step 5: Spread the Mixture
Transfer the mixture into your prepared baking pan. Use your spatula to evenly spread the mixture across the pan and smooth the top. This ensures each piece of your Christmas Bars has a consistent texture and thickness after baking, setting the foundation for a treat everyone will love.
Step 6: Bake the Bars
Place the pan in your preheated oven and bake for 25-30 minutes. You’ll know it’s ready when the edges are set, and the center is slightly firm to the touch. The heavenly aroma of chocolate and marshmallows will fill your kitchen, creating a festive atmosphere as you await the delicious outcome.
Step 7: Cool Completely
Once baked, remove the pan from the oven and allow the Christmas Bars to cool completely in the pan. This cooling phase is essential; if cut too early, the bars may crumble. After about 30-45 minutes, your bars will be ready to cut into squares for a perfect holiday treat!
Expert Tips for the Best Christmas Bars
-
Melted Butter: Ensure your unsalted butter is fully melted for a smooth mixture; if it’s too cold, lumps can form in your batter.
-
Pan Preparation: Use non-stick spray or parchment paper to line your baking pan, making it easier to remove your Christmas Bars once cooled.
-
Cooling Time: Allow the bars to cool completely before cutting them into squares; this prevents them from crumbling and retains their chewy texture.
-
Mix-In Mayhem: Don’t hesitate to experiment with mix-ins! Dried fruits, coconut, or even different types of chocolate can elevate your Christmas Bars to new heights.
-
Storage Savvy: Store your bars in an airtight container at room temperature for optimal freshness, or freeze them for future indulgence.
Make Ahead Options
These delightful Christmas Bars are perfect for busy home cooks looking to save time during the festive season! You can prepare the base mixture (graham cracker crumbs, cocoa powder, powdered sugar, melted butter, and sweetened condensed milk) up to 24 hours in advance; just store it in an airtight container in the refrigerator. When ready to bake, simply fold in the mini marshmallows and chocolate chips, spread the mixture in your greased pan, and bake as directed. To maintain quality, be sure to let the bars cool completely before cutting them into squares, ensuring they hold together beautifully for your holiday gatherings. Enjoy these scrumptious Christmas Bars with little fuss and maximum flavor!
Christmas Bars Variations & Substitutions
Feel free to get creative and customize your Christmas Bars with these delightful variations that will tantalize your taste buds!
-
Nut-Free: Omit chopped nuts and substitute with extra chocolate chips instead for an indulgent twist.
Everyone loves a little extra chocolate, and your nut-free guests will be grateful! -
Gluten-Free: Use gluten-free graham cracker crumbs or almond flour for a tasty gluten-free version.
This swap means that gluten sensitivities won’t keep anyone from enjoying your festive creation. -
Vegan Adaptation: Swap melted butter for coconut oil and use a vegan sweetened condensed milk.
With these simple substitutions, everyone can join in on the holiday cheer! -
Mint Chocolate Twist: Add a teaspoon of peppermint extract to the mix for a refreshing seasonal flavor.
This minty touch will make your bars perfect for those who crave something festive and unique. -
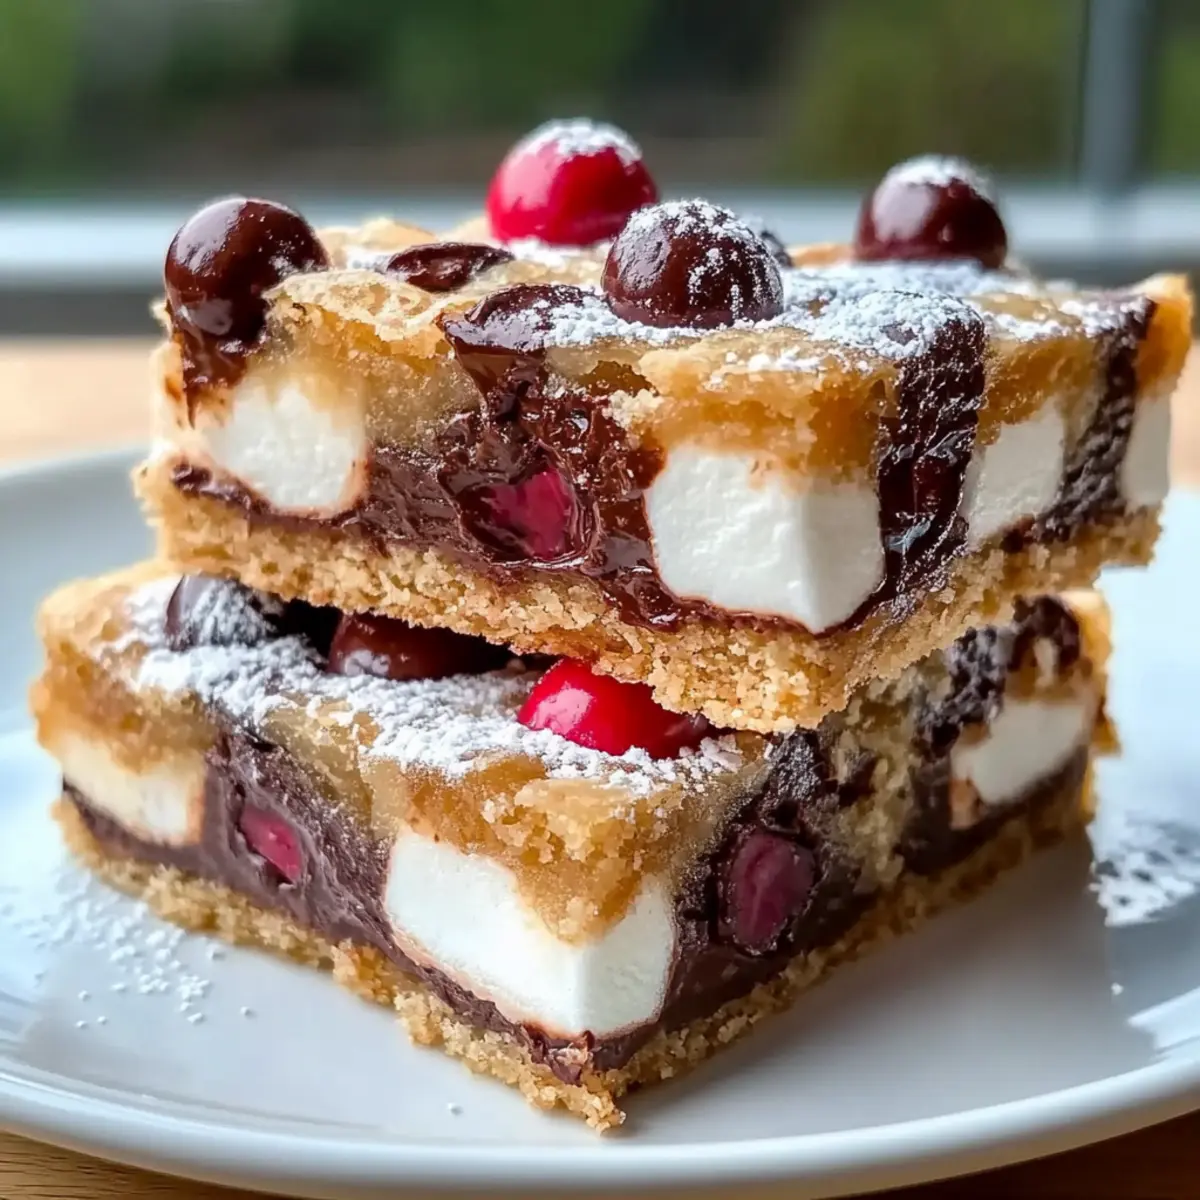
Fruit and Nut Medley: Mix in dried cranberries or cherries along with the nuts for a burst of color and flavor.
The sweet and tangy elements will complement the rich chocolate beautifully, creating a delightful taste experience. -
Spicy Kick: Incorporate a pinch of cinnamon or cayenne pepper for a daring flavor twist.
This unexpected addition brings warmth to the indulgent sweetness, elevating your bars to a whole new level. -
Caramel Drizzle: Drizzle some melted caramel over the top of your bars after cooling for an extra treat.
The sweet, gooey caramel perfectly complements the chocolate and marshmallow, making every bite even more divine! -
Almond Joy Inspired: Toss in coconut flakes and almond slices to mimic the beloved candy bar.
This delicious mash-up is sure to be a hit with anyone who loves that classic combination.
Experimenting with these variations can turn your Christmas Bars into a truly personalized delight! If you’re looking for more creative ideas, don’t forget to check out our expert tips for even more ways to enhance this holiday treat.
How to Store and Freeze Christmas Bars
Room Temperature: Store your Christmas Bars in an airtight container at room temperature for up to one week to maintain their chewy texture and flavor.
Fridge: If you prefer them chilled, you can keep the bars in the refrigerator for up to 10 days. Just be sure they are sealed properly to avoid drying out.
Freezer: For longer storage, freeze your Christmas Bars wrapped tightly in plastic wrap, then place them in a freezer-safe container. They can last up to three months.
Reheating: To enjoy your bars warm, microwave individual pieces for about 15 seconds. This will revitalize their gooey goodness!
What to Serve with Festive Chocolate Marshmallow Christmas Bars
Indulge in the joy of a complete holiday feast by pairing these delightful Christmas Bars with scrumptious sides and beverages.
-
Creamy Hot Cocoa: This warm, chocolatey drink complements the bars perfectly, enhancing their rich flavors while providing a cozy touch.
-
Vanilla Ice Cream: A scoop of creamy vanilla ice cream adds a delightful contrast to the chewy texture of the bars, making each bite blissfully indulgent.
-
Spiced Apple Cider: Aromatic and fruity, this warm beverage brings festive warmth to your gathering, beautifully balancing the richness of the Christmas Bars.
-
Peppermint Bark: Enhance your holiday dessert spread with this crunchy, minty treat. Its refreshing flavor contrasts wonderfully with the chocolaty bars.
-
Nutty Trail Mix: A bowl of crunchy nutty trail mix adds texture and a hint of saltiness, making it a perfect snack while enjoying your bars.
-
Fresh Fruit Platter: Brighten up the table with a selection of seasonal fruits like strawberries and oranges. Their acidity beautifully balances the sweetness of the bars.
-
Decadent Chocolate Chip Cookies: More chocolate is always a good idea! Serve these warm and gooey cookies alongside your bars for added sweetness and nostalgia.
-
Homemade Whipped Cream: Light and fluffy, a dollop of whipped cream on top of the bars creates a delightful creaminess that enhances every bite.
-
Festive Cheesecake: Consider adding a slice of rich, spiced cheesecake for a decadent end to your meal—its dense texture pairs nicely with the bars.
Each of these pairings adds a unique element to your holiday table, making your festive celebration unforgettable!
Christmas Bars Recipe FAQs
What should I look for when selecting graham cracker crumbs?
Absolutely! When selecting graham cracker crumbs, look for a consistent color and texture with no dark spots. If you’re making your own, choose whole graham crackers with no added preservatives for the best flavor. A fresh, crunchy base is essential for that delightful texture in your Christmas Bars.
How can I store the Christmas Bars to maintain freshness?
You can store your Christmas Bars in an airtight container at room temperature for up to one week. For optimal texture, ensure they are sealed properly to prevent them from drying out. If you prefer a chilled treat, they can be refrigerated for up to 10 days. Just be mindful that refrigeration can slightly alter the chewy consistency.
Can I freeze Christmas Bars, and how should I do it?
Yes, you can absolutely freeze your Christmas Bars! First, wrap each bar tightly in plastic wrap to prevent freezer burn. Then, place them in a freezer-safe container or a zip-top bag for added protection. They can last up to three months in the freezer. When ready to enjoy, simply thaw at room temperature or microwave individual pieces for about 15 seconds for that freshly-baked feel.
What are some troubleshooting tips for making my Christmas Bars?
Very good question! If your Christmas Bars are crumbling when you cut them, it’s likely due to not letting them cool completely. Allow them to cool for at least 30-45 minutes before cutting for a better texture. Also, ensure your butter is fully melted to avoid lumps, and be cautious when folding in mix-ins; overmixing can lead to a denser texture.
Are there any dietary considerations with these Christmas Bars?
Definitely! These Christmas Bars can easily accommodate various dietary needs. To make them nut-free, simply omit the chopped nuts and add extra chocolate chips. For a gluten-free option, use gluten-free graham cracker crumbs or almond flour. And for a vegan alternative, substitute melted coconut oil for butter and opt for a vegan version of sweetened condensed milk. Always be sure to check labels for potential allergens, especially if serving to guests!
Irresistibly Chewy Christmas Bars for Your Holiday Spread
Ingredients
Equipment
Method
- Preheat your oven to 350°F (175°C).
- In a large mixing bowl, combine graham cracker crumbs, unsweetened cocoa powder, and powdered sugar. Stir until well blended.
- Pour in the melted unsalted butter and sweetened condensed milk. Mix thoroughly until combined into a thick batter.
- Gently fold in the mini marshmallows, chocolate chips, and optional chopped nuts.
- Transfer the mixture into your prepared baking pan and smooth the top.
- Bake for 25-30 minutes, until the edges are set.
- Allow to cool completely in the pan for 30-45 minutes before cutting into squares.
Leave a Reply