
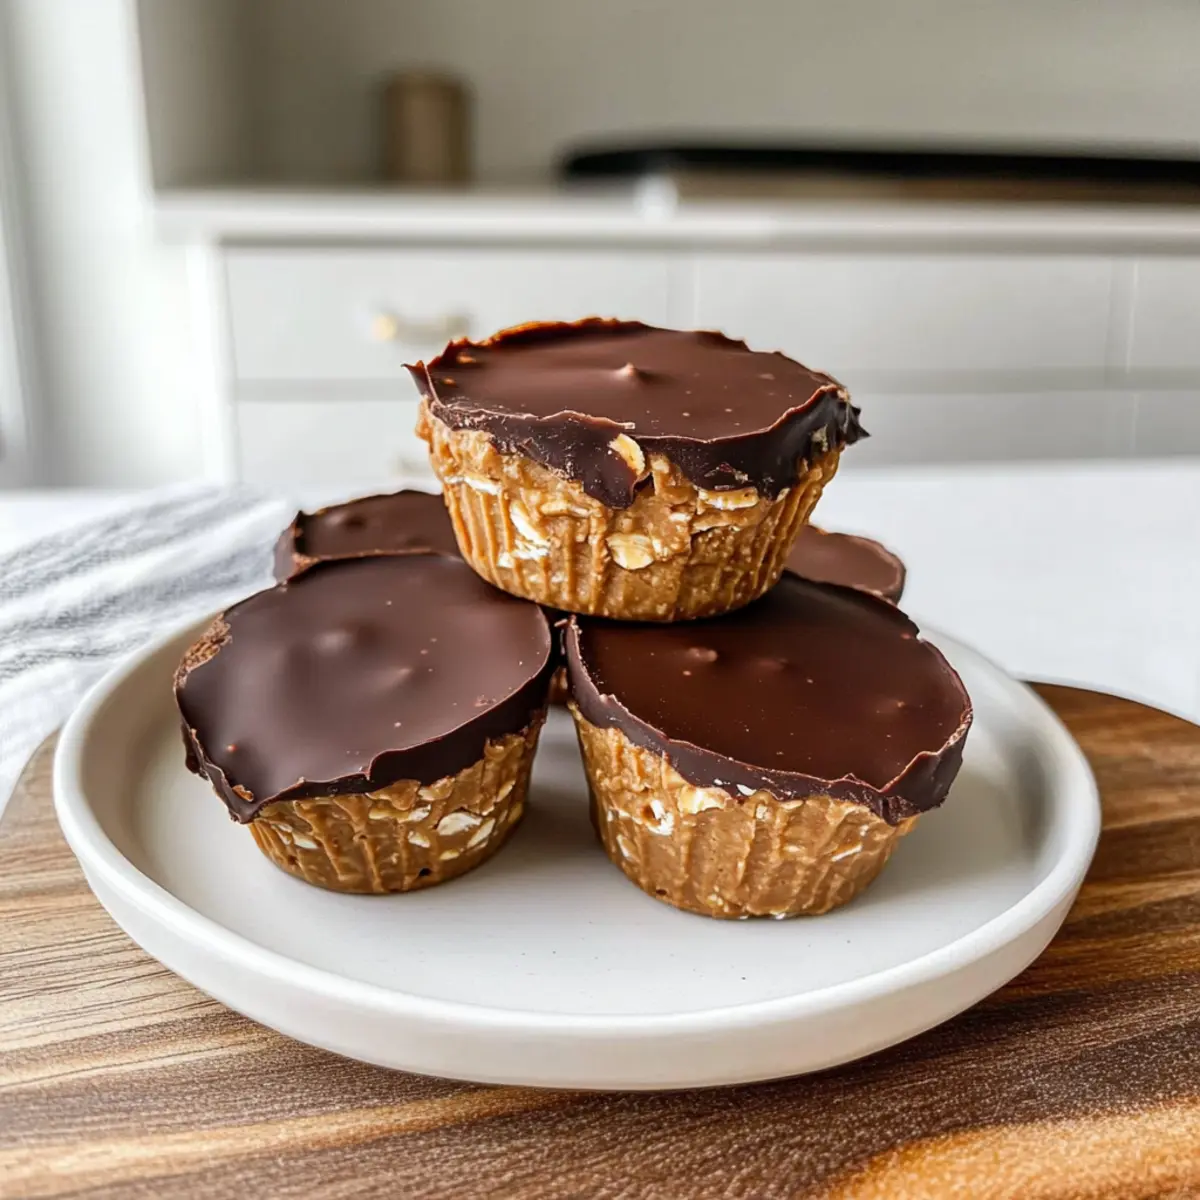
As I stood in my kitchen, the aroma of warm peanut butter enveloped me like a cozy hug, triggering memories of childhood snacks. With a craving for something sweet yet wholesome, I whipped up a batch of no-bake Peanut Butter Oat Cups in under 20 minutes—yes, you heard that right! These delightful treats offer the perfect balance of creamy richness and chewy texture, making them a hit for both kids and adults. Best of all, they’re not just delicious; they’re also dairy-free, gluten-free, and vegan! You can easily tailor them to your taste by swapping in your favorite nut butters and adding toppings like dark chocolate or flaked sea salt. Ready to satisfy that sweet tooth without any baking fuss? Let’s dive into making these irresistible peanut butter delights!
Why are Peanut Butter Oat Cups amazing?
Simplicity in preparation: These no-bake cups come together in just 20 minutes, making them a quick and satisfying treat for busy schedules.
Customizable flavors: Whether you’re a fan of peanut butter or prefer almond or sunflower seed butter, the possibilities are endless—mix and match to suit your taste!
Nutritional goodness: Packed with rolled oats, these cups not only satisfy your sweet cravings but also contribute to a healthy diet while being dairy-free, gluten-free, and vegan.
Snacktime delight: Perfect as a post-workout snack or a quick breakfast, these cups are ideal for all ages and occasions, pleasing both kids and adults alike.
Decadent toppings: Drizzle melted dark chocolate or sprinkle flaked sea salt on top for that extra gourmet touch. For more delicious inspiration, try pairing these with Chocolate Peanut Butter or enjoy alongside a cozy bowl of Spiced Pumpkin Butter.
Peanut Butter Oat Cups Ingredients
For the Base
- Peanut Butter – A creamy foundation for the cups; swap for almond or sunflower seed butter if allergies are a concern.
- Rolled Oats – Provides structure and chewiness; ensure they are certified gluten-free to maintain that standard.
- Maple Syrup – Adds just the right amount of sweetness; can also be replaced by honey or agave syrup.
For the Topping
- Chocolate Chips – Drizzle with melted dark chocolate for a delicious finish; opt for vegan dark chocolate to keep it dairy-free.
- Flaky Sea Salt – A pinch enhances flavor and adds a gourmet touch to your Peanut Butter Oat Cups.
Feel free to switch ingredients based on your preferences for a delightful treat that reflects your taste!
Step‑by‑Step Instructions for Peanut Butter Oat Cups
Step 1: Mix the Base
In a large mixing bowl, combine 1 cup of peanut butter and 1/2 cup of maple syrup. Stir vigorously for about 1-2 minutes until the mixture is smooth and homogenous. You want to see a creamy consistency, free of lumps, to ensure your Peanut Butter Oat Cups have an even texture throughout.
Step 2: Incorporate the Oats
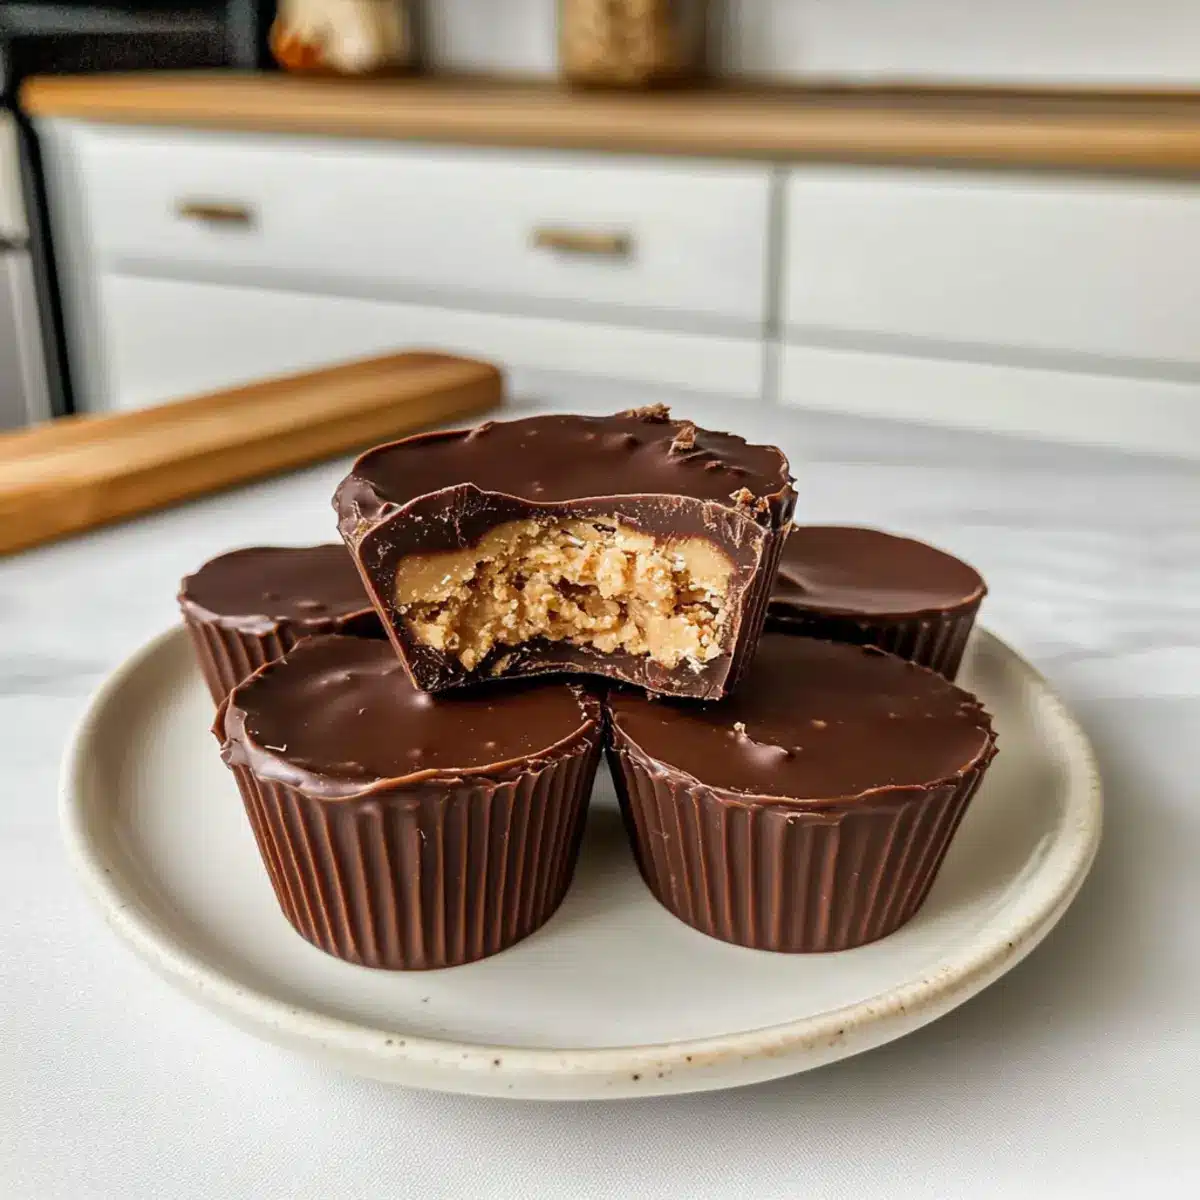
Add 2 cups of rolled oats to the peanut butter mixture and stir until everything is well combined. Continue mixing for another 2 minutes, allowing the oats to soak up some moisture and become fully coated. The mixture will thicken, resembling a soft dough-like consistency that holds together when pressed.
Step 3: Portion into Molds
Using a cookie scoop or your hands, portion the oat mixture into silicon molds, pressing each portion down firmly. Make sure to fill each mold up to about 2 tablespoons, ensuring they are compact for even shaping. This process not only helps create uniform Peanut Butter Oat Cups but also guarantees they hold their shape after freezing.
Step 4: Add Toppings and Freeze
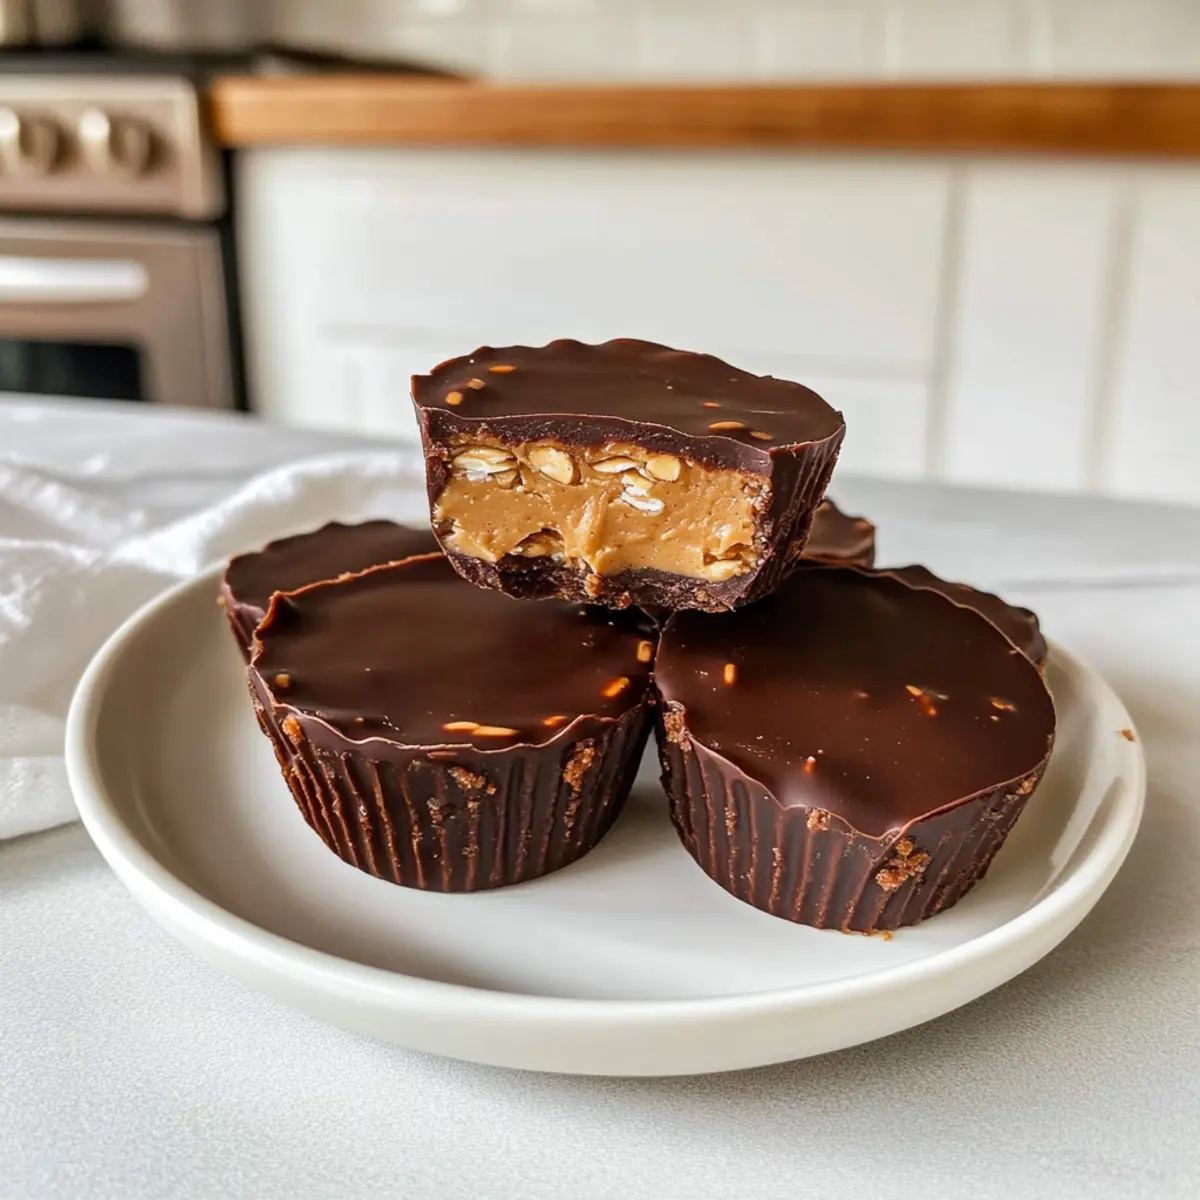
For an indulgent touch, add a small dollop of peanut butter on top of each cup, or mix a little protein powder into the peanut butter before dolloping. Place the molds in the freezer and let them set for about 20 minutes. You’ll know they’re ready when they feel firm to the touch, making for a perfect base for your topping.
Step 5: Melt the Chocolate
While the oat cups are chilling, melt 1 cup of chocolate chips in a microwave-safe bowl. Heat them on medium power in 30-second increments, stirring in between, until completely smooth—about 1-2 minutes total. Make sure not to overheat the chocolate, as it can become grainy and unworkable for drizzling over your Peanut Butter Oat Cups.
Step 6: Drizzle and Final Freeze
Carefully drizzle the melted chocolate over each set oat cup, making sure they’re well coated. Return the molds to the freezer for an additional 20 minutes to allow the chocolate to harden. You’ll want to see a glossy finish on the chocolate, signaling that your Peanut Butter Oat Cups are almost ready to enjoy.
Step 7: Serve and Enjoy
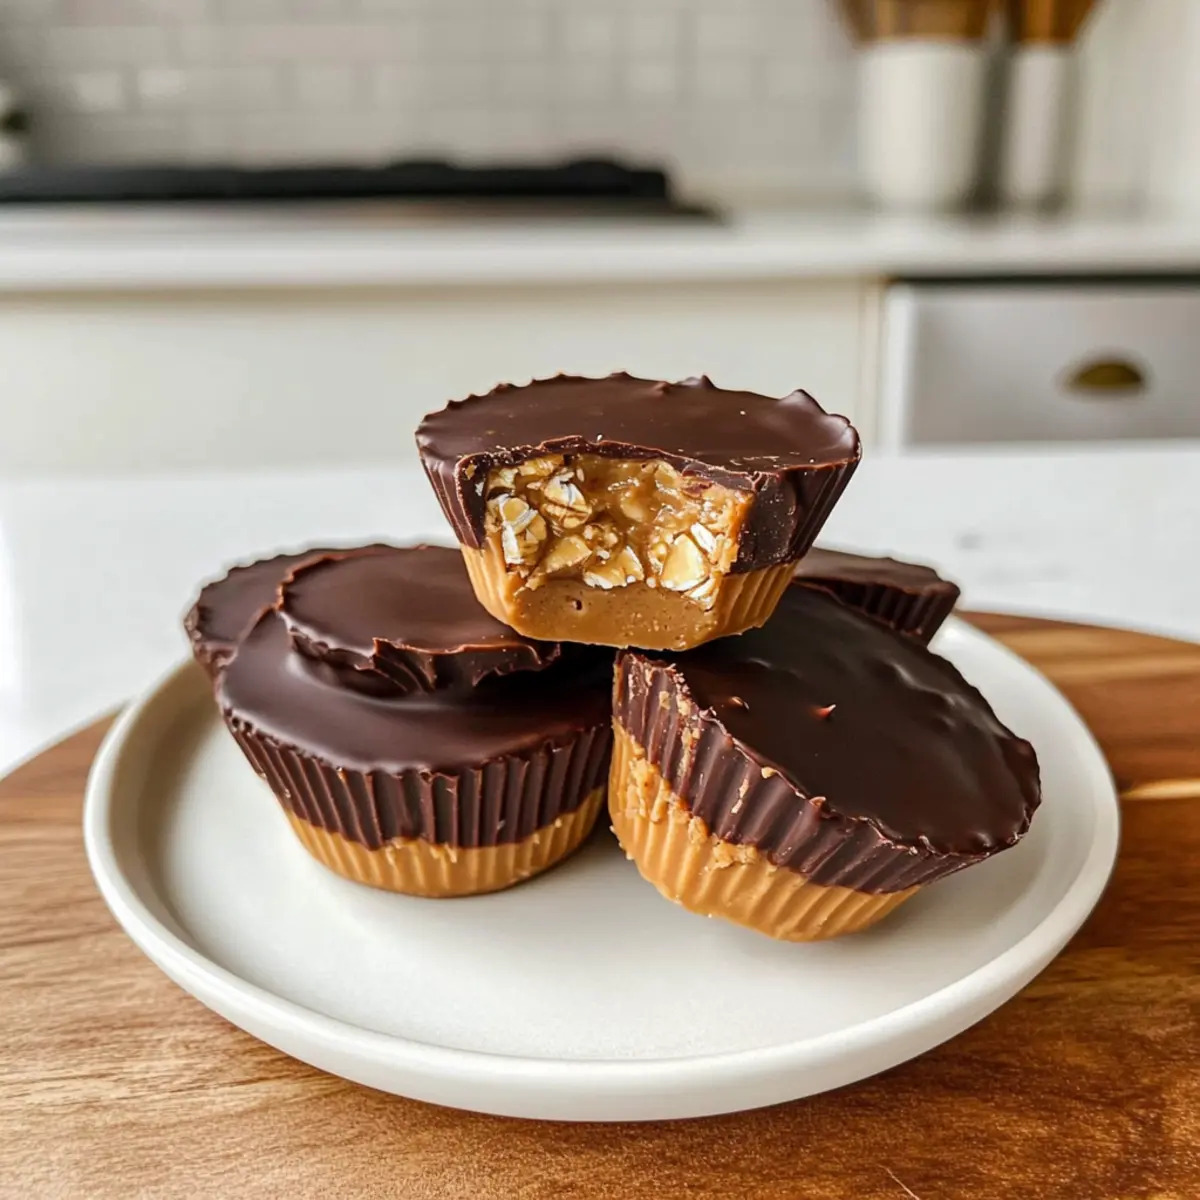
Once the chocolate has set, gently remove the Peanut Butter Oat Cups from the silicon molds. Sprinkle with a pinch of flaky sea salt to enhance the flavor, if desired. Serve chilled for a refreshing treat or store them in an airtight container in the fridge for up to a week, and savor these delicious bites whenever your sweet tooth strikes!
How to Store and Freeze Peanut Butter Oat Cups
Fridge: Store your Peanut Butter Oat Cups in an airtight container for up to 1 week. This keeps them fresh and ready for a quick snack anytime!
Freezer: For longer storage, freeze the cups in a single layer on a baking sheet, then transfer them to a freezer-safe bag for up to 3 months.
Thawing: When you’re ready to enjoy, take out a cup and allow it to soften at room temperature for a few minutes before indulging in its creamy goodness.
Reheating: There’s no need to heat these no-bake delights, but if you prefer a warm treat, microwave them briefly in 10-second intervals until just warm to your liking.
Make Ahead Options
These Peanut Butter Oat Cups are ideal for meal prep, allowing you to indulge in a sweet treat whenever the craving strikes! You can mix the base of peanut butter, maple syrup, and oats up to 24 hours in advance; simply store the mixture in an airtight container in the refrigerator. Alternatively, you can pour the mixture into molds and freeze the cups for up to 3 days before adding the chocolate topping. To maintain that delightful texture, make sure they’re well-sealed to prevent freezer burn. When you’re ready to enjoy, drizzle the melted chocolate over your prepared cups and allow them to set for an additional 20 minutes in the freezer, ensuring a deliciously ready-to-eat treat!
Expert Tips for Peanut Butter Oat Cups
• Use High-Quality Peanut Butter: Choose natural peanut butter without added sugars or oils for the best flavor and creaminess in your Peanut Butter Oat Cups.
• Measure Your Ingredients: Accurate measurements are crucial. Use a kitchen scale for precise ingredient quantities, ensuring the cups set perfectly.
• Be Mindful of Freezing Time: If using a creamier peanut butter, check the consistency after 20 minutes. It may need additional time to firm up.
• Silicone Molds Recommended: Opt for silicone molds to make popping out the Peanut Butter Oat Cups a breeze, avoiding any frustration with stuck treats.
• Experiment with Toppings: Feel free to mix it up! Chopped nuts, shredded coconut, or a sprinkle of cinnamon can elevate your oat cups into a whole new treat.
Peanut Butter Oat Cups Variations
Feel free to have some fun with this recipe! Let your creativity shine as you customize your treats to fit your personal tastes.
- Nut Substitution: Swap out peanut butter for almond or sunflower seed butter to explore different flavor profiles.
- Sweetener Switch: Use honey, agave syrup, or date syrup instead of maple syrup for alternative sweetness and moisture.
- Protein Packed: Mix in protein powder with the peanut butter for an extra nutritional boost that’s perfect post-workout.
- Texture Twist: Use quick oats for a softer, smoother texture that still offers that beloved chewiness.
- Choco-Toppers: Try topping with melted white chocolate or drizzle caramel for a decadent twist—it’s an indulgent surprise!
- Crunchy Extras: Add chopped nuts or seeds like chia or pumpkin seeds to the base mixture for extra crunch and nutrients.
- Coconut Delight: Mix shredded coconut into the base or sprinkle on top for a tropical touch that pairs beautifully with chocolate.
- Spice it Up: Get adventurous by adding a pinch of cinnamon or nutmeg for a warm, inviting flavor that feels like a hug in a cup.
Need some inspiration for what to pair with your Peanut Butter Oat Cups? Consider trying them with a side of Garlic Butter Shrimp for a savory contrast, or indulge in a delightful dessert with Caramel Apple Dessert Cups. Happy experimenting!
What to Serve with No-Bake Peanut Butter Oat Cups
These delightful no-bake treats offer a creamy, chewy burst of flavor, perfect for complementing your meal or snack time!
- Fresh Fruit Salad: A medley of refreshing fruits adds brightness and balances the richness of the oat cups.
- Yogurt Parfait: Layer creamy yogurt with granola and berries to create a satisfying contrast in texture and flavor.
- Nutty Granola Bars: Pair these cups with a crunchy granola bar for a delightful mixture of chewy and crunchy textures.
- Homemade Chocolate Milk: A rich, indulgent drink that echoes the chocolate topping while providing a nostalgic treat.
- Chia Seed Pudding: Creamy and nutrient-packed, this pudding serves as a healthful side that beautifully complements the oat cups.
- Iced Coffee: The crispness of iced coffee enhances the sweetness of the cups, making it the perfect invigorating partner.
- Coconut Whipped Cream: A fluffy topping that adds a light, tropical twist to your treat, inviting a new layer of indulgence.
- Spiced Almond Milk: Warm or cold, this spiced drink harmonizes with the flavors of peanut butter in a cozy, inviting way.
Peanut Butter Oat Cups Recipe FAQs
How do I choose the right peanut butter for my Peanut Butter Oat Cups?
Absolutely! For the best flavor, select a natural peanut butter without added sugars or oils. This keeps your cups creamy and flavorful. You can also opt for almond or sunflower seed butter if you’re looking for nut-free alternatives.
What’s the best way to store Peanut Butter Oat Cups?
Store your Peanut Butter Oat Cups in an airtight container in the fridge for up to 1 week. This method ensures they remain fresh and ready for a quick snack whenever you need a sweet treat.
Can I freeze Peanut Butter Oat Cups? How?
Yes! To freeze your Peanut Butter Oat Cups, place them in a single layer on a baking sheet to firm up for about 1 hour. After they’re set, transfer them into a freezer-safe bag, separating layers with parchment paper if desired. They’ll stay fresh for up to 3 months.
What if my oat cups don’t set properly?
If your Peanut Butter Oat Cups are too soft after the freezing time, it might be due to using a creamier peanut butter. Simply leave them in the freezer for an extra 10-15 minutes until they firm up completely.
Are there any dietary considerations for Peanut Butter Oat Cups?
Yes! These cups are naturally dairy-free, gluten-free, and vegan, making them suitable for various dietary needs. Just be mindful of the type of chocolate you select to keep it dairy-free. Always check ingredient labels to ensure they suit your specific dietary restrictions.
Can I use other sweeteners besides maple syrup?
Very! You can easily swap maple syrup for honey, agave nectar, or date syrup if you prefer. Just keep in mind that some alternatives may slightly change the flavor, adding their unique touch to your Peanut Butter Oat Cups!
Delicious Peanut Butter Oat Cups for Your No-Bake Cravings
Ingredients
Equipment
Method
- In a large mixing bowl, combine peanut butter and maple syrup. Stir for 1-2 minutes until smooth.
- Add rolled oats to the mixture and stir for another 2 minutes until well combined.
- Using a cookie scoop or your hands, portion the mixture into silicone molds, pressing down firmly.
- Add a dollop of peanut butter on top of each cup and freeze for 20 minutes.
- Melt chocolate chips in a microwave-safe bowl, stirring until smooth.
- Drizzle melted chocolate over each oat cup and freeze for an additional 20 minutes.
- Remove from molds, sprinkle with sea salt, and serve chilled.
Leave a Reply