
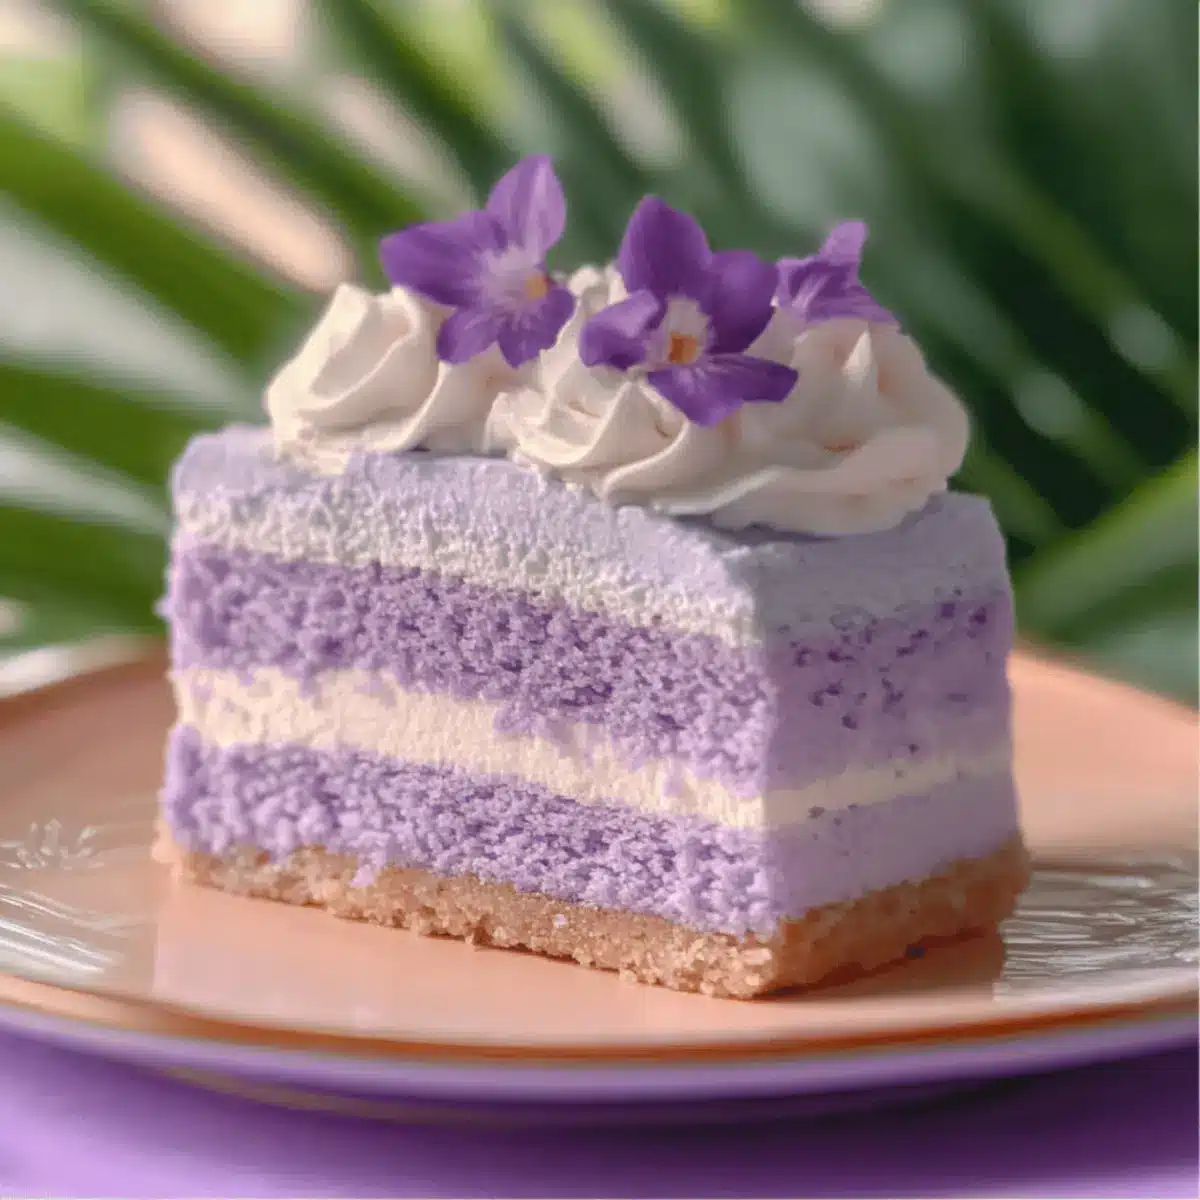
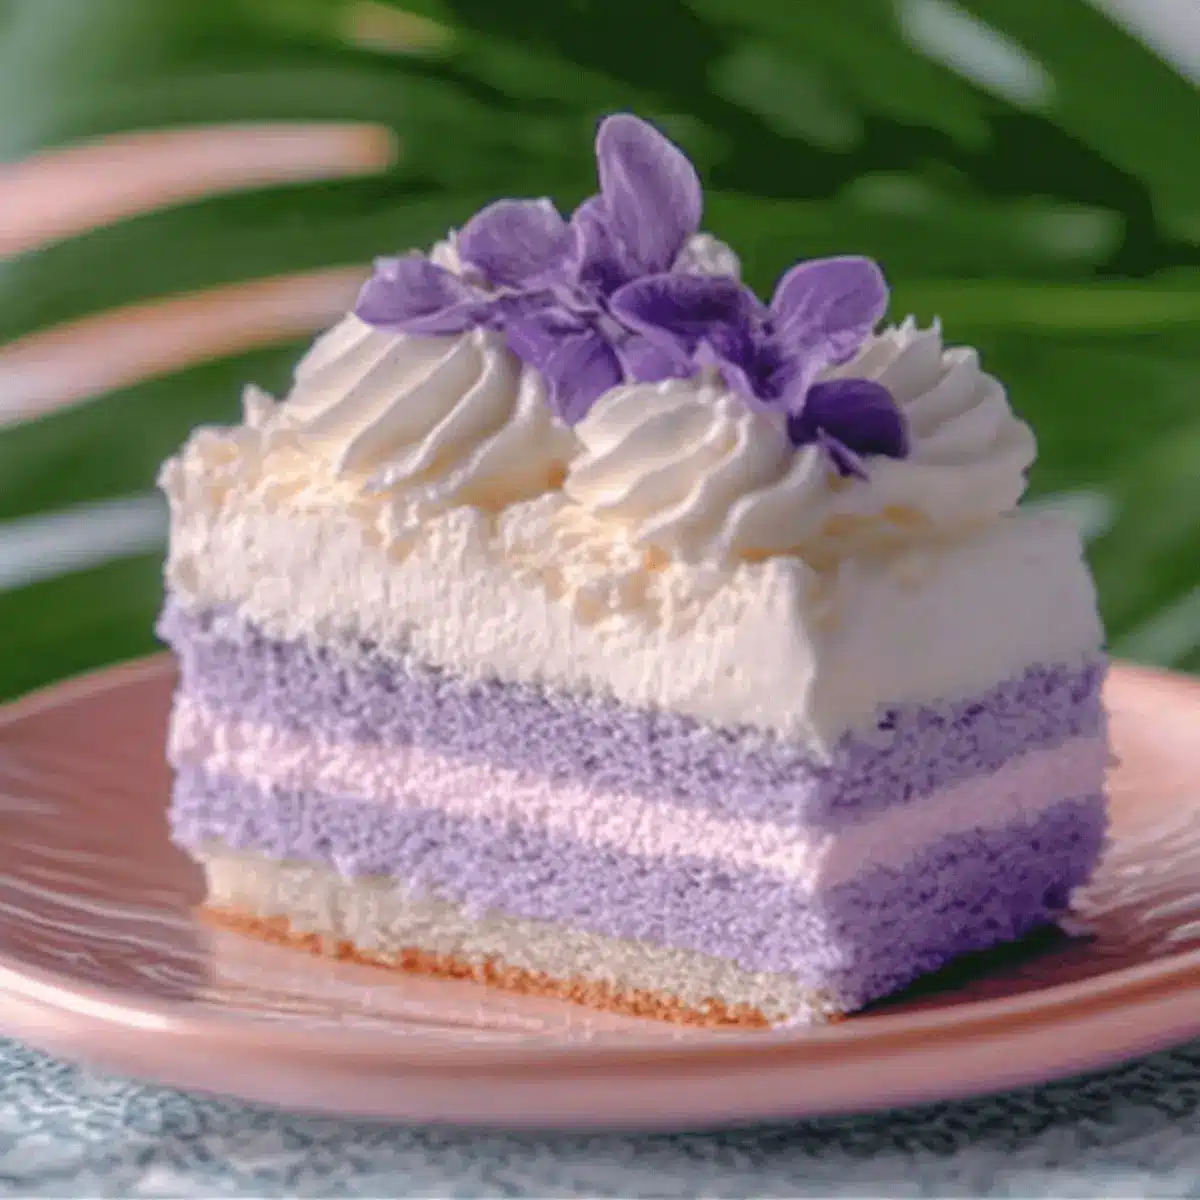
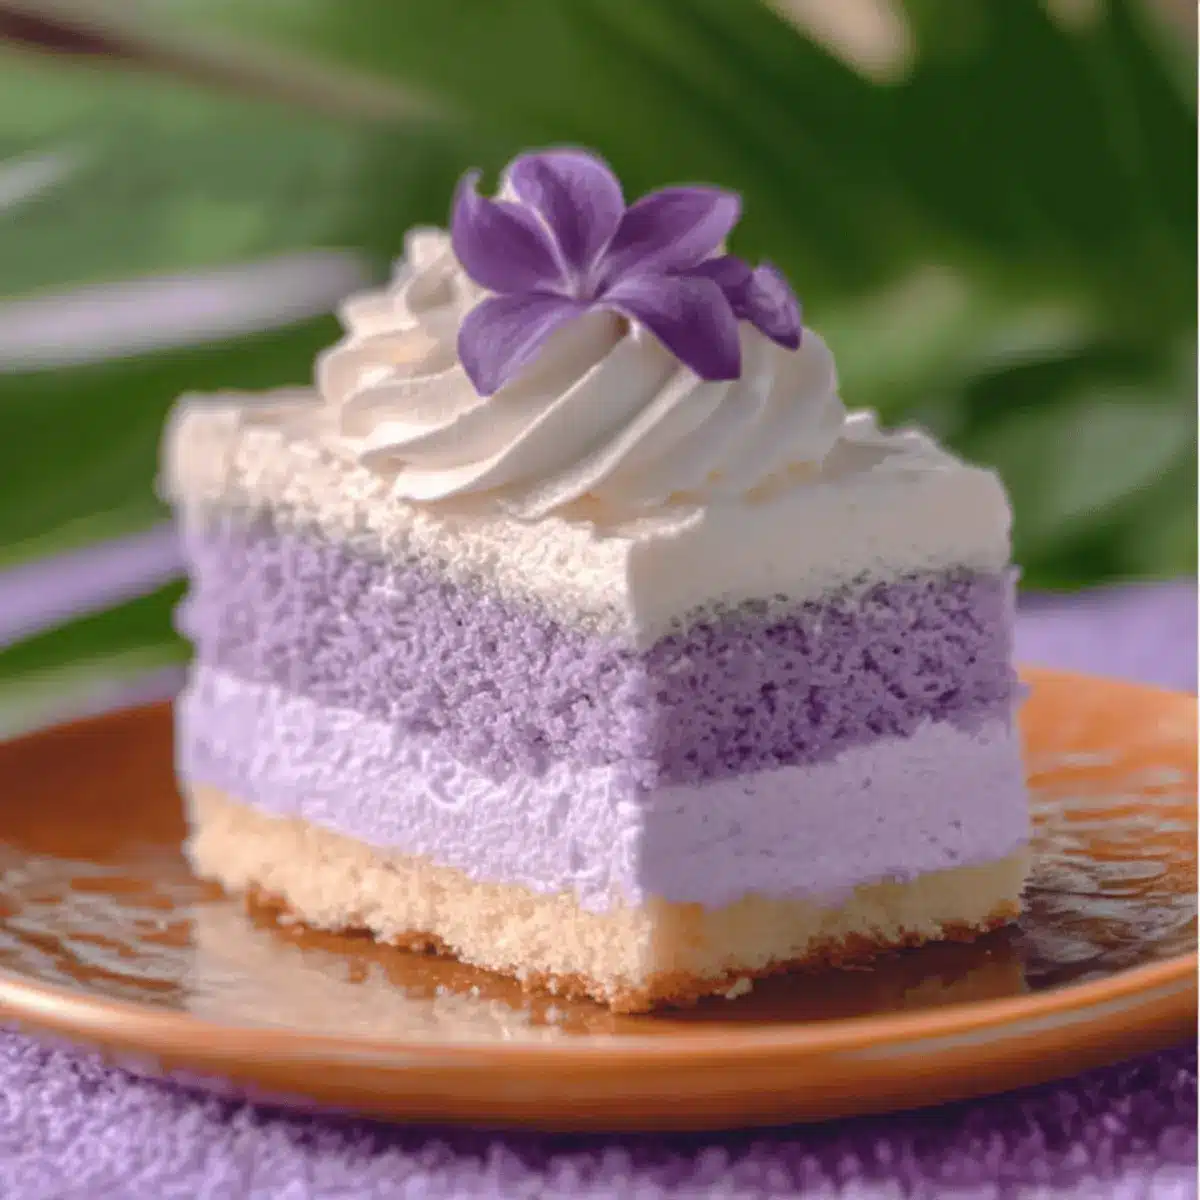
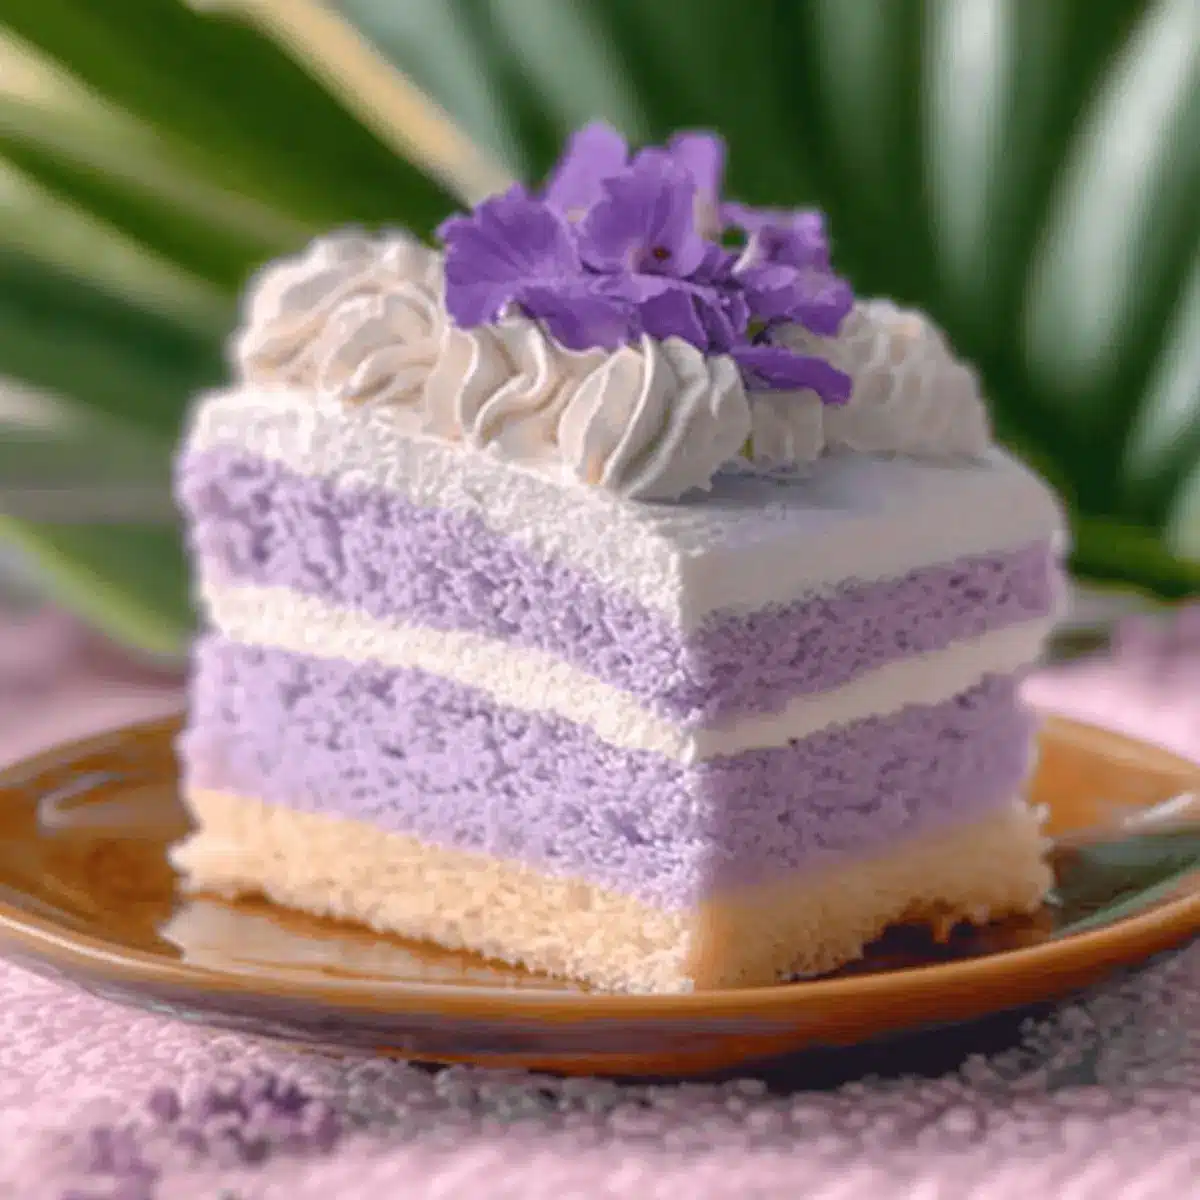
As I pulled the Taro Ube Cloud Cake from the oven, the aroma filled the kitchen, whisking me away to the sun-drenched shores of the Philippines. This light and airy chiffon cake, infused with the unique flavors of taro and ube, is my go-to dessert for celebrations. Not only does it offer a delightful texture that melts in your mouth, but its stunning lavender hue makes it a showstopper that always impresses guests. With minimal frosting and easy prep, this vegetarian dessert is perfect for those looking to replace fast food with something homemade. Ready to learn the secrets behind this fluffy masterpiece? Let’s dive in!
Why Is Taro Ube Cloud Cake Irresistible?
Lightness and Fluffiness: This cake’s airy texture offers a delightful melt-in-your-mouth experience, perfect for those who appreciate a light dessert.
Vibrant Colors: The beautiful lavender hue, courtesy of ube and taro, adds a pop of color to your dessert table, making it as visually appealing as it is delicious.
Easily Customizable: Whether you prefer a cheesy twist with grated cheddar or a coconut cream topping, this recipe allows for endless variations to suit any taste.
Quick Preparation: With straightforward steps, this cake is a breeze to make, saving you time without sacrificing flavor.
Cultural Delight: Embrace a taste of Filipino fusion cuisine! This cake pays homage to traditional flavors while giving your baking routine a fresh twist.
For a sweet bite that lets you explore new flavors, check out my Moist Carrot Cake Delight for another unforgettable experience!
Taro Ube Cloud Cake Ingredients
• To create this heavenly Taro Ube Cloud Cake, gather the following ingredients for a delightful baking experience!
For the Cake
- Cake Flour – Provides essential structure; substitute with a gluten-free baking blend for a gluten-free option.
- Cooked, Mashed Taro – Adds subtle nuttiness and moisture; ensure it’s cooled before mixing in.
- Ube Halaya – Infuses rich, sweet flavor and vibrant color; substitute with ube powder dissolved in milk if needed.
- Eggs (Large, Separated) – Yolks create richness, while whipped egg whites supply lift; whisk whites to firm peaks for best results.
- Granulated Sugar – Sweetens and stabilizes meringue; use divided in both yolk mixture and meringue for balanced sweetness.
- Whole Milk – Enhances moisture in the batter; swap with coconut milk for a tropical flair.
- Vegetable Oil – Keeps the cake moist; opt for a neutral-flavored oil for the best taste.
- Vanilla Extract – Elevates the flavor profile, making every bite delectable.
- Cream of Tartar – Stabilizes egg whites, ensuring a voluminous meringue for that cloud-like texture.
- Salt – Balances the sweetness beautifully.
For the Topping
- Heavy Cream – Whipped to soft peaks for a light texture; fold in ube halaya for a flavorful topping that ties it all together.
Enjoy crafting this delightful Taro Ube Cloud Cake that promises to impress not just with its charm but also with its delightful flavor!
Step‑by‑Step Instructions for Taro Ube Cloud Cake
Step 1: Preheat the Oven
Begin by preheating your oven to 325°F (163°C). Prepare a 9-inch chiffon or angel-food cake pan by not greasing it; this will help the cake cling to the pan sides while it rises. It’s important to have everything ready before you mix your batter, ensuring a seamless baking experience.
Step 2: Make the Yolk Mixture
In a large mixing bowl, whisk together the egg yolks and ½ cup of granulated sugar until they turn pale and creamy. Then, blend in the milk, vegetable oil, vanilla extract, cooled mashed taro, and ube halaya. Keep whisking until the mixture is smooth and evenly combined, a key step for the flavor infusion in your Taro Ube Cloud Cake.
Step 3: Prepare the Meringue
In another clean bowl, beat the egg whites and a pinch of salt until frothy. Gradually add the remaining sugar and cream of tartar while continuing to whip the mixture until stiff peaks form. The perfect meringue will be glossy and hold its shape, providing that all-important lift to your cake, ensuring it’s light and airy.
Step 4: Combine the Batters
Carefully fold one-third of the meringue into the yolk mixture with a spatula. This technique lightens the yolk mixture, allowing for incorporation. Follow with the remaining meringue, gently folding until no white streaks remain. It’s crucial to do this gently to maintain the volume of the meringue for that delightful cloud-like texture of the Taro Ube Cloud Cake.
Step 5: Bake the Cake
Pour the batter into the prepared cake pan, smoothing the top with a spatula for an even surface. Place it in the oven and bake for 30 to 35 minutes. You’ll know it’s done when the top is golden and springs back to the touch. Additionally, a toothpick inserted into the center should come out clean or with a few moist crumbs.
Step 6: Cool Upside Down
Once baked, immediately invert the cake pan onto a bottle or funnel to cool completely upside down. This method helps retain the cake’s height and prevents it from collapsing as it cools, ensuring your Taro Ube Cloud Cake remains beautifully fluffy and light.
Step 7: Release and Top the Cake
Once cool, carefully release the cake from the pan by running a knife around the edges. In a separate bowl, whip the heavy cream until soft peaks form, then gently fold in the ube halaya until combined. Spread or pipe this creamy topping over your cooled Taro Ube Cloud Cake for that indulgent finish.
What to Serve with Taro Ube Cloud Cake
Prepare to elevate your dessert table with delightful accompaniments that enhance this lush, airy treat.
-
Fresh Berries: Bright and tart, strawberries or blueberries provide a refreshing contrast to the sweet flavors of the cake. Their bursts of juiciness balance the creamy topping beautifully.
-
Coconut Sorbet: A scoop of coconut sorbet adds a creamy, tropical flair that complements the Filipino flavors in the cake. Plus, it’s a refreshing way to cool down after a sweet bite.
-
Matcha Green Tea: This earthy beverage pairs well with Taro Ube Cloud Cake, providing a delightful contrast and a touch of sophistication to your dessert spread.
-
Thai Iced Tea: Its sweet and spiced notes harmonize with the cake’s flavor, creating a deliciously indulgent combination that evokes a unique cultural fusion with every sip.
-
Chocolate Ganache Drizzle: A rich ganache lends a luxurious touch, enhancing the cake’s flavors while introducing a silky texture that pairs wonderfully with the fluffy crumb.
-
Toasted Almonds: Scatter these crunchy bites over the cake for added texture and nutty flavor. Their slight saltiness balances the sweetness, creating a delectable contrast.
-
Citrus Salad: A vibrant citrus salad made with oranges and grapefruits adds a zesty freshness that cuts through the sweetness, offering a light and refreshing side.
-
Flavored Herbal Tea: Enjoy a warm cup of chamomile or hibiscus tea alongside your cake; the floral notes enhance the overall experience and unwind the senses.
-
Mango Puree: A drizzle of sweet mango puree adds a tropical twist and a hint of acidity to complement the cake’s rich taro and ube flavors.
Storage Tips for Taro Ube Cloud Cake
-
Room Temperature: Store the cake wrapped loosely in plastic wrap for up to 3 days to keep it fresh. Avoid airtight containers to prevent moisture buildup.
-
Fridge: For longer preservation, refrigerate any leftovers in an airtight container for up to 5 days. Allow the cake to come to room temperature before serving for the best flavor.
-
Freezer: Individual slices can be wrapped in plastic wrap and then aluminum foil for long-term storage in the freezer, lasting up to 1 month. Thaw slices overnight in the refrigerator when ready to enjoy.
-
Reheating: Though best served chilled, if you prefer warm slices, gently reheat in the microwave for a few seconds, ensuring not to overdo it to maintain cake tenderness. Enjoy your Taro Ube Cloud Cake!
Make Ahead Options
These Taro Ube Cloud Cake preparations are perfect for busy home cooks looking to save time! You can prepare the cake (without the topping) up to 24 hours in advance. Simply follow all the steps up to the cooling phase, then cool the cake upside down, wrap it loosely in plastic wrap, and store it at room temperature. The whipped ube halaya topping can be made and refrigerated up to 3 days ahead—just whip the heavy cream, fold in ube halaya, and keep it covered. When you’re ready to serve, simply release the cake from its pan, top with the ube whipped cream, and enjoy a dessert that’s just as delicious as if you made it that day!
Taro Ube Cloud Cake Variations
Personalize your Taro Ube Cloud Cake with these delightful twists that will elevate your dessert experience and keep your taste buds curious!
-
Macapuno Addition: Incorporate ¼ cup chopped macapuno into the whipped topping for an exciting texture twist. The soft, chewy bits of macapuno resonate with the cake’s fluffy nature and add a delightful surprise with every bite.
-
Cheesy Twist: Sprinkle grated sharp cheddar on top for a unique sweet-savory combination. This unexpected addition not only complements the sweet cake perfectly but also introduces a wonderful depth of flavor that will intrigue your guests.
-
Coconut Cream Option: Swap half of the milk with coconut milk for a tropical spin. Top your cake with toasted coconut flakes for that crunch and an enticing aroma that’ll transport you to a sunny beach in the Philippines.
-
Matcha Swirl: Add a tablespoon of matcha powder to the yolk mixture for a beautiful, earthy note and vibrant contrast. The green swirl not only makes for stunning presentation but also offers a taste dimension that plays beautifully with the sweet ube.
-
Citrus Zest: A teaspoon of lemon or orange zest in the yolk mixture brightens up the flavor profile. This subtle citrus addition balances the sweetness and brings a refreshing twist to each slice.
-
Nutty Inspiration: Fold in finely chopped almonds or hazelnuts into the batter for a delightful crunch. The nutty flavors deepen the taste and add a rustic, comforting element to the cloud-like cake.
-
Fruity Surprise: Layer fresh fruits like strawberries or mango slices on top of the whipped ube halaya for a burst of color and natural sweetness. The juicy fruits complement the cake’s fluffy texture, enhancing its appeal for any occasion.
-
Chocolate Drizzle: Drizzle melted dark chocolate over the whipped topping for a rich flavor contrast. This delightful addition elevates the overall dessert experience, making it perfect for chocolate lovers while still retaining the cake’s lightness.
With these variations, your Taro Ube Cloud Cake will become a canvas of creativity. Also, why not explore other delightful recipes like the Fruitcake Cookies Festive or the charming Apple Crisp Mini Cheesecakes to keep your family gatherings filled with homemade goodness?
Expert Tips for Taro Ube Cloud Cake
-
Clean Egg Whites: Ensure that your mixing bowl and beaters are free from grease and yolk. This cleanliness is crucial for achieving stiff peaks in your meringue, making your Taro Ube Cloud Cake perfectly fluffy.
-
Gentle Folding: When combining the meringue with the yolk mixture, fold gently to avoid deflating the air in the meringue. This step is vital for keeping the cake light and airy.
-
Baking Perfection: Keep an eye on baking time; check for doneness with a toothpick. It should come out clean or with a few moist crumbs, ensuring the cake is fully baked without being dry.
-
Cool Upside Down: Inverting the cake pan while it cools is a key step. This method helps preserve the cake’s height and texture, ensuring it stays fluffy.
-
Serve Chilled: For the best flavor and texture, consider chilling slices before serving. This enhances the flavors of taro and ube, making every bite even more delightful!
Taro Ube Cloud Cake Recipe FAQs
What is the best way to select ripe taro and ube?
Absolutely! When choosing your taro, look for firm roots without any dark spots, which indicates freshness. The skin should be smooth. For ube, it should have a deep purple hue and be free from blemishes. Freshness directly impacts your cake’s flavor!
How should I store leftover Taro Ube Cloud Cake?
To keep your cake fresh, wrap it loosely in plastic wrap for up to 3 days at room temperature. However, if you have leftovers, transferring them to an airtight container and refrigerating allows for up to 5 days of shelf life. Serve at room temperature for the best taste!
Can I freeze slices of Taro Ube Cloud Cake?
Yes, you can! After slicing, wrap each piece tightly in plastic wrap followed by aluminum foil to prevent freezer burn. Place them in a freezer bag or container, and they will stay fresh for up to 1 month. To enjoy, thaw in the refrigerator overnight.
What if my meringue doesn’t reach stiff peaks?
Very commonly, this happens when there’s even a small amount of yolk in the whites or your bowl isn’t clean. To troubleshoot, ensure your mixing bowl is grease-free and use cold egg whites, as they whip better. Beat until the mixture is glossy and holds peaks firmly, crucial for that airy texture!
Is this recipe suitable for those with nut allergies?
Yes, the Taro Ube Cloud Cake is nut-free as long as you choose ingredients like gluten-free flour that are confirmed free from cross-contamination. However, always check for allergies with every substitution. It’s vital to ensure everyone’s safety while enjoying delectable desserts!
Taro Ube Cloud Cake: A Heavenly Fluffy Dessert Experience
Ingredients
Equipment
Method
- Preheat the oven to 325°F (163°C) and prepare the cake pan without greasing it.
- In a large mixing bowl, whisk together egg yolks and ½ cup of granulated sugar until pale and creamy. Add milk, vegetable oil, vanilla extract, cooled mashed taro, and ube halaya. Mix until smooth.
- In another bowl, beat the egg whites and a pinch of salt until frothy. Gradually add the remaining sugar and cream of tartar, beating until stiff peaks form.
- Gently fold one-third of the meringue into the yolk mixture. Follow with the remaining meringue, folding until no white streaks remain.
- Pour the batter into the prepared pan and bake for 30 to 35 minutes until the top is golden and springs back when touched.
- Invert the cake pan onto a bottle or funnel immediately and cool upside down.
- Once cool, run a knife around the edges to release the cake. Whip the heavy cream and fold in ube halaya, then spread over the cake.
Leave a Reply