
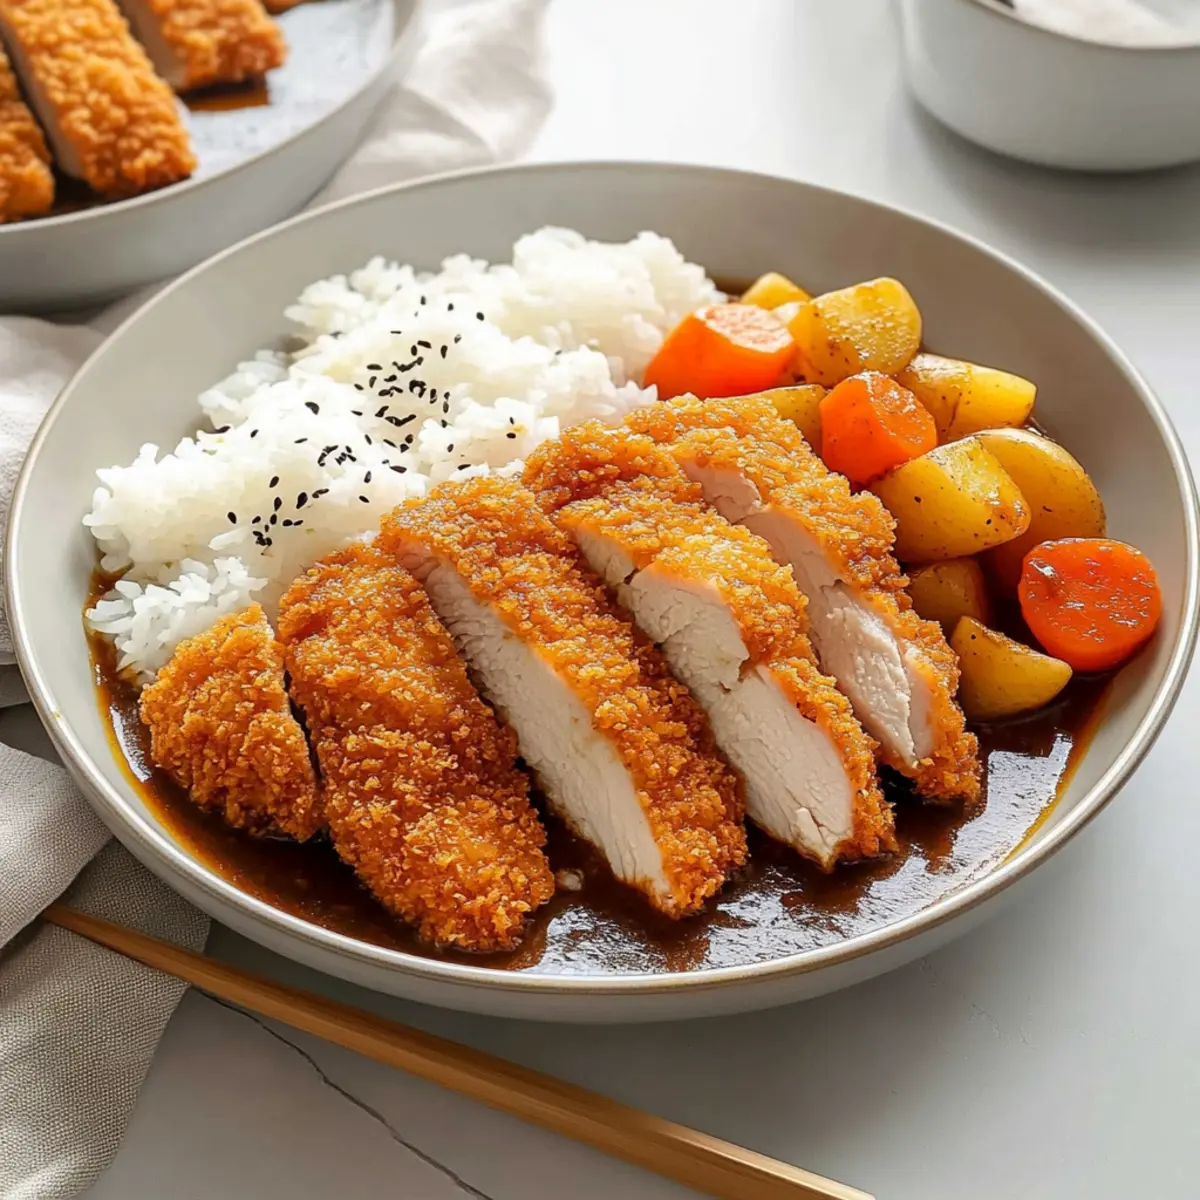
The scent of sizzling panko in the kitchen instantly transports me to cozy evenings wrapped in warmth and comfort. Japanese Katsu Curry has claimed its place in my heart as the ultimate weeknight delight, offering tender, crispy chicken nestled in a rich, umami-filled curry that simply sings over fluffy white rice. This recipe is not only quick to whip up but also wonderfully adaptable—perfect for those who crave a homemade meal without the fuss. Whether you stick with chicken or get adventurous and substitute in pork, beef, or even tofu, the savory satisfaction is guaranteed. Ready to savor a bowl of comfort that feels like a hug? Let’s dive into the deliciousness of this irresistible dish!
Why is Japanese Katsu Curry So Popular?
Irresistible Comfort: This dish is a warm embrace on a plate, with its tender chicken and rich curry sauce that evokes feelings of nostalgia.
Quick & Easy: It’s an accessible recipe that doesn’t require culinary expertise, making it ideal for busy weeknights or when you just need a satisfying meal in a hurry.
Adaptable Options: The recipe allows for various protein substitutes— pork, beef, tofu, or vegetables—so everyone can enjoy their favorite twist!
Crisp Texture: The delightful panko breadcrumb coating gives the chicken a satisfying crunch, creating a heavenly contrast with the creamy curry.
Crowd-Pleaser: Perfect for dinners with family or friends, this dish is bound to impress even the pickiest eaters. Serve it with a side of pickled vegetables for authenticity!
Japanese Katsu Curry Ingredients
A delightful mix for the perfect comfort dish!
For the Chicken
- Boneless Skinless Chicken Breasts – The main protein source; swap for pork, beef, or tofu for variety.
- Salt – Essential for enhancing the chicken’s flavor.
- Black Pepper – Adds a subtle kick; adjust according to your preference.
- All-Purpose Flour – Creates a crispy texture for breading; gluten-free flour works too.
- Egg – Binds the breadcrumbs; try a flax egg for a vegan option.
- Panko Breadcrumbs – Provides that signature crunch; use regular breadcrumbs for a different texture.
- Vegetable Oil – Used for frying; canola or peanut oil are great substitutes.
For the Curry
- Japanese Curry Roux – The flavorful base for the sauce; choose mild or spicy varieties to suit your taste.
- Yellow Onion – Brings sweetness to the curry base.
- Russet Potato – Adds heartiness; Yukon Gold offers better texture retention.
- Carrot – Provides sweetness and vibrant color; feel free to use other root vegetables.
- Olive Oil – Ideal for sautéing vegetables; any cooking oil will do.
- Garlic – Infuses the dish with depth; fresh or powdered garlic are both effective.
- Red Apple – Naturally sweetens the curry; grated apples or pears can be substituted.
- Chicken Stock – The flavorful foundation for the curry sauce; vegetable broth suits vegetarian options.
- Water – Adjusts the sauce’s consistency.
- Soy Sauce – Adds umami and saltiness; tamari is a great gluten-free alternative.
- Honey – Balances flavors with sweetness; maple syrup is a vegan option.
For Serving
- Cooked White Rice – The perfect base for the dish; consider brown rice or cauliflower rice for a healthier twist.
Step‑by‑Step Instructions for Japanese Katsu Curry
Step 1: Prepare the Chicken
Begin by butterflying the boneless skinless chicken breasts for even cooking. Pound each piece to about ½ inch thick using a meat mallet. Season both sides generously with salt and black pepper, allowing the flavors to soak in while you set up your breading station.
Step 2: Set Up Breading Station
Create a breading station in three shallow dishes: one with all-purpose flour, another with a beaten egg, and the last filled with panko breadcrumbs. Coat each chicken piece first in flour, making sure to shake off any excess. Dip it into the egg, followed by the panko breadcrumbs, pressing firmly to ensure a stellar crunch.
Step 3: Fry the Chicken Katsu
In a deep pan, preheat vegetable oil to 340°F (170°C). Carefully add the breaded chicken to the hot oil, frying for 3-4 minutes on each side until beautifully golden brown and crispy. Once done, transfer the chicken katsu to a wire rack to drain excess oil while you prepare the curry.
Step 4: Sauté the Aromatics
Next, prepare your vegetables: dice the russet potato and carrot, and mince a few cloves of garlic. In a large pot or pan, heat olive oil over medium heat, and sauté the diced yellow onion and minced garlic until fragrant and translucent, about 3–4 minutes.
Step 5: Cook the Vegetables
Add the diced carrots and russet potatoes to the pot, stirring them for another 3 minutes to slightly soften. Pour in chicken stock and water, followed by soy sauce, honey, and grated apple. Bring the mixture to a boil, contributing to the savory depth of the Japanese Katsu Curry.
Step 6: Incorporate Curry Roux
Once boiling, reduce the heat and stir in the Japanese curry roux. Allow it to simmer, occasionally stirring, until the sauce thickens to your desired consistency, usually around 5–7 minutes. This will enrich the flavors, creating a warm and inviting curry sauce.
Step 7: Serve and Enjoy
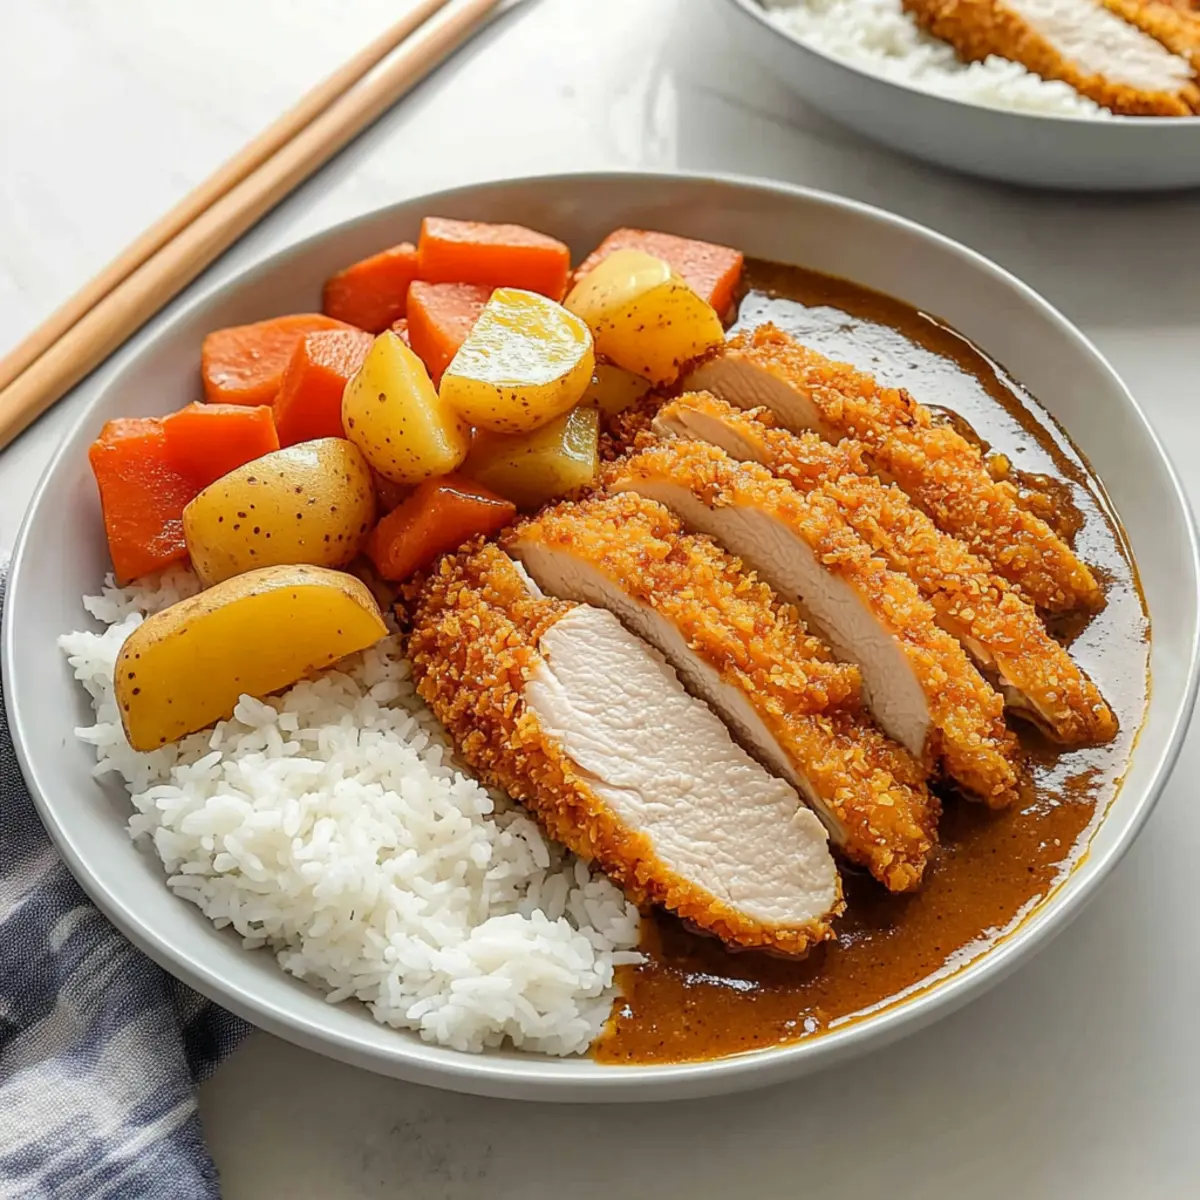
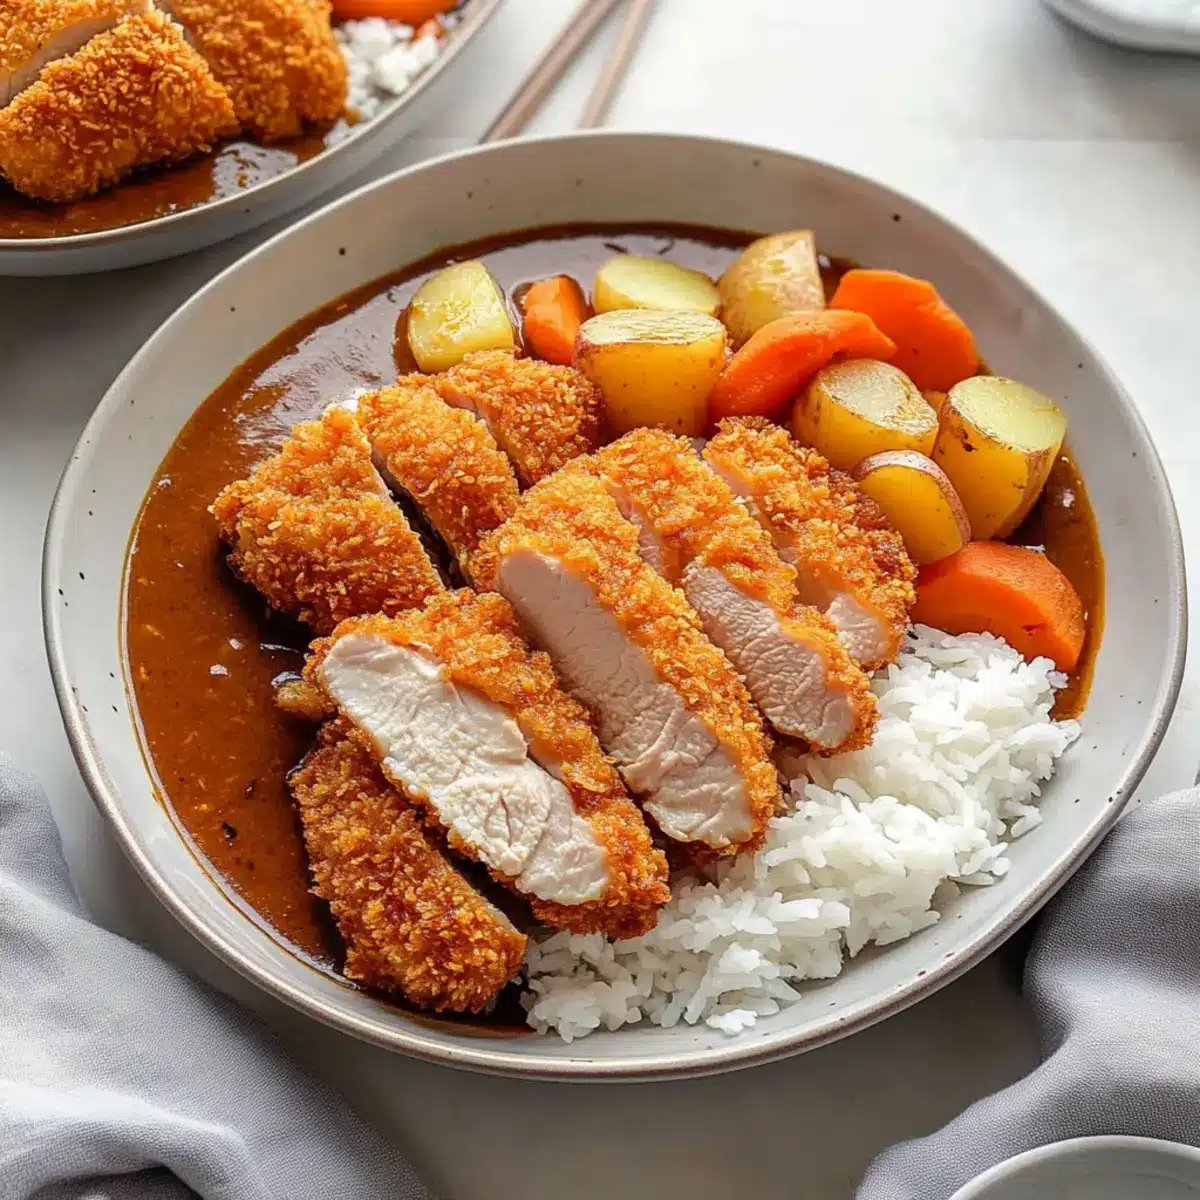
Slice the crispy chicken katsu into strips and serve it over a mound of fluffy cooked white rice. Generously ladle the thick Japanese curry sauce over the chicken, allowing every bite to be a delightful explosion of savory flavors. Your comforting dish is ready to savor!

Japanese Katsu Curry Variations & Substitutions
Feel free to get creative with your Japanese Katsu Curry! There are wonderful ways to customize the flavors and textures to make it suit your taste perfectly.
-
Pork Alternative: Swap chicken for thinly sliced pork cutlets for a delicious twist. The richness of pork pairs beautifully with the curry.
-
Beef Delight: For beef lovers, use pounded flank steak or sirloin as your protein. The savory sauce will infuse just right!
-
Tofu Option: For a plant-based version, opt for firm tofu. Press it to remove excess moisture, then bread and fry until golden brown.
-
Seafood Surprise: Try using shrimp or fish fillets for a delightful seafood katsu. Just ensure they are cooked through for a tender bite.
-
Vegetable Medley: Want to up your veggie game? Add bell peppers and zucchini to the curry for added nutrition and color.
-
Spicy Kick: Crank up the heat by selecting a spicier curry roux or mixing in some chili flakes. This will add a delightful warmth to your dish.
-
Herb Infusion: Enhance the flavor of your curry by tossing in fresh herbs like cilantro or green onions right before serving. This adds freshness and brightness!
-
Grain Upgrade: Instead of white rice, serve your curry over brown rice or even cauliflower rice for a healthier alternative without sacrificing flavor.
This recipe is all about enjoying a delectable, personalized experience, just like pairing it with pickled vegetables to elevate your meal!
How to Store and Freeze Japanese Katsu Curry
Fridge: Store leftover Japanese Katsu Curry in airtight containers for up to 3 days. Keep the chicken and curry sauce separate to maintain texture.
Freezer: Freeze the chicken katsu and curry sauce separately in airtight containers for up to 3 months. Make sure to label items with the date for easy reference.
Thawing: When ready to enjoy, thaw in the refrigerator overnight. This helps preserve flavors and textures.
Reheating: Reheat in a saucepan over low heat, adding a splash of water or stock to return creaminess to the curry sauce, ensuring a delicious meal once more!
Make Ahead Options
Japanese Katsu Curry is perfect for busy weeknights and meal prep enthusiasts! You can prepare the chicken katsu components—seasoned chicken, breading station, and even the curry sauce—up to 24 hours in advance. Simply bread the chicken and place it in the fridge until you’re ready to fry. Additionally, you can chop the vegetables and store them in an airtight container for up to 3 days. When you’re ready to serve, just fry the chicken until golden brown and reheat the curry sauce on the stove until warmed through. This way, you can enjoy a cozy, homemade meal with maximum flavor and minimal fuss!
Expert Tips for Japanese Katsu Curry
Room Temperature Chicken: Ensure your chicken is at room temperature before frying for evenly cooked and juicy katsu.
Oil Temperature Control: Use a candy thermometer to monitor the oil temperature closely; this is crucial for achieving that perfect golden-brown crunch in your katsu.
Prevent Burnt Breadcrumbs: After frying each batch, remove any burnt breadcrumbs from the oil with a slotted spoon to maintain a clean frying medium.
Crisp Retention: Let your chicken katsu rest on a wire rack after frying. This helps retain its crispiness rather than letting it steam on a plate.
Customizable Flavors: Feel free to adjust the spice level of your Japanese Katsu Curry by choosing a spicier curry roux or adding chili flakes for an extra kick!
What to Serve with Crispy Chicken Katsu Curry?
Enjoying the vibrant flavors of this decadent katsu curry creates the perfect opportunity to complement your meal with delightful side dishes.
- Pickled Vegetables: Traditional and tangy, pickles make an excellent counterbalance to the rich flavors of the curry.
- Simple Green Salad: A refreshing salad with a light vinaigrette adds crispness and freshness that brightens the meal.
- Steamed Broccoli: Tender broccoli provides a lovely crunch alongside the warmth of the curry, enriching your plate with green goodness.
- Miso Soup: This comforting soup offers umami depth in a light broth, creating a harmonious pairing for your curry.
- Japanese Rice Crackers: For an extra crunch and a hint of saltiness, these crunchy snacks are perfect as an appetizer or side.
- Cold Soba Noodles: Serve these chilled noodles with dipping sauce for a refreshing contrast to the hot, savory curry.
- Fruit Salad: A light fruit salad with seasonal fruits adds sweetness and balances the savory tones of your meal.
- Chilled Green Tea: The smooth, refreshing taste of green tea cleanses the palate and enhances the whole dining experience.
- Dessert for Richness: Consider a small piece of mochi or green tea ice cream to finish your meal on a delightful note.
Japanese Katsu Curry Recipe FAQs
What type of chicken is best for Katsu Curry?
It’s best to use boneless skinless chicken breasts for a tender and juicy texture. If you prefer, you can also substitute chicken with pork, beef, seafood, tofu, or even a mix of vegetables for a delightful twist.
How long can I store leftover Katsu Curry?
You can store leftover Japanese Katsu Curry in airtight containers in the refrigerator for up to 3 days. To maintain the best flavor and texture, it’s a good idea to keep the chicken and curry sauce separate until you’re ready to reheat and enjoy.
Can I freeze Japanese Katsu Curry?
Absolutely! You can freeze the chicken katsu and curry sauce separately in airtight containers for up to 3 months. Be sure to label them with the date so you can easily keep track of your delicious homemade meals.
What should I do if my curry sauce is too thick?
If your curry sauce turns out too thick, don’t fret! Simply add a splash of water or chicken stock while gently simmering on low heat until it reaches your desired consistency. Stir often to blend the flavors together beautifully without burning.
Are there any dietary considerations for Katsu Curry?
Definitely! For those with gluten sensitivities, use gluten-free flour and panko breadcrumbs, and opt for tamari instead of soy sauce. If you’re making this for a vegan crowd, try using a flax egg for breading and substitute chicken with tofu or vegetables—a flavorful meal for everyone!
How can I enhance the flavor of my curry?
For an extra flavor punch, consider adding freshly minced ginger alongside the garlic when you sauté the onions. You can also play with the spice levels by choosing a spicier curry roux or adding chili flakes to taste, making it tailored to your perfect heat preference.
Satisfying Japanese Katsu Curry for Ultimate Comfort Cooking
Ingredients
Equipment
Method
- Butterfly the chicken breasts and pound to ½ inch thick. Season with salt and pepper.
- Set up a breading station with flour, beaten egg, and panko breadcrumbs. Coat the chicken in flour, egg, and breadcrumbs.
- Preheat oil to 340°F. Fry chicken for 3-4 minutes on each side until golden brown. Drain on a wire rack.
- Sauté diced onion and minced garlic in olive oil until fragrant.
- Add diced carrots and potatoes; stir for 3 minutes. Add stock, water, soy sauce, honey, and grated apple. Bring to a boil.
- Stir in curry roux and simmer until sauce thickens, about 5-7 minutes.
- Slice chicken katsu and serve over rice, ladling curry sauce on top.
Leave a Reply