
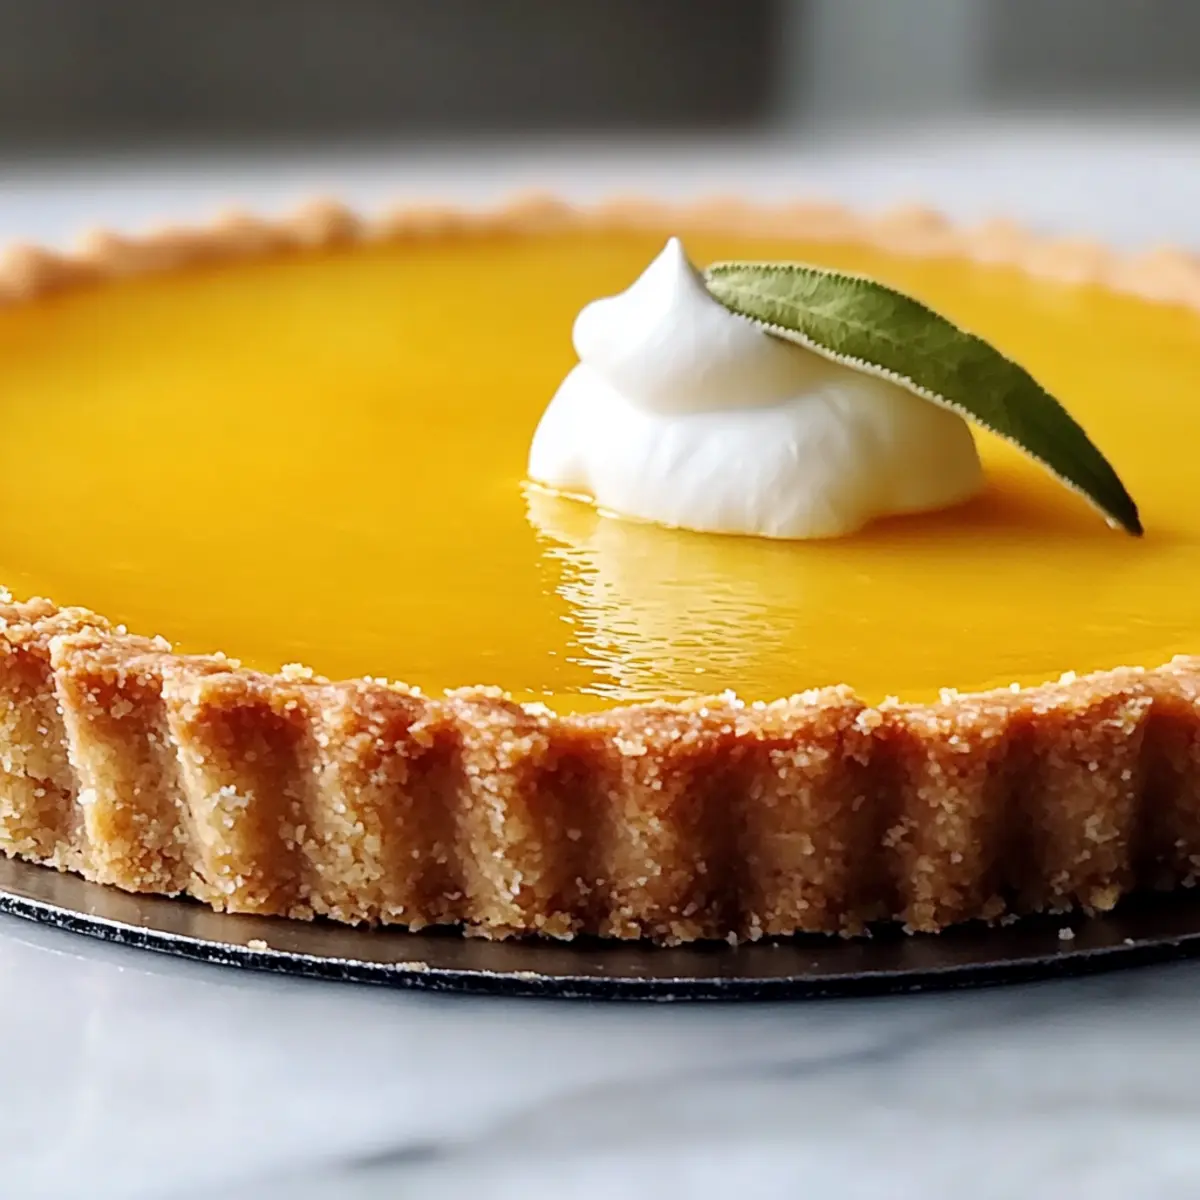
With a zing that’s a feast for the senses, this Classic Orange Tart takes center stage as the perfect dessert for any gathering. Its tender, flaky crust cradles a smooth, silky orange curd that dances on your palate, leaving you craving more. What sets this elegant treat apart is not only its eye-catching appearance but also its delightful approachability—perfect for both seasoned home chefs and those just finding their way in the kitchen. You’ll love how easily it can be made ahead of time, allowing you to focus on creating unforgettable memories with loved ones instead of rushing at the last minute. Ready to impress without the stress? Let’s dive into the deliciousness of this Classic Orange Tart!
Why is this Classic Orange Tart a must-try?
Simplicity at Its Best: With straightforward steps, this recipe caters to both novice and experienced bakers, making it a perfect addition to any kitchen repertoire.
Citrusy Bliss: The fresh orange curd gives an invigorating flavor burst that can brighten up any gathering.
Make-Ahead Marvel: Easily prepare this tart in advance, ensuring you can relax and enjoy time with your guests. Just like our Cranberry Orange Bread, this recipe is all about the joy of stress-free entertaining.
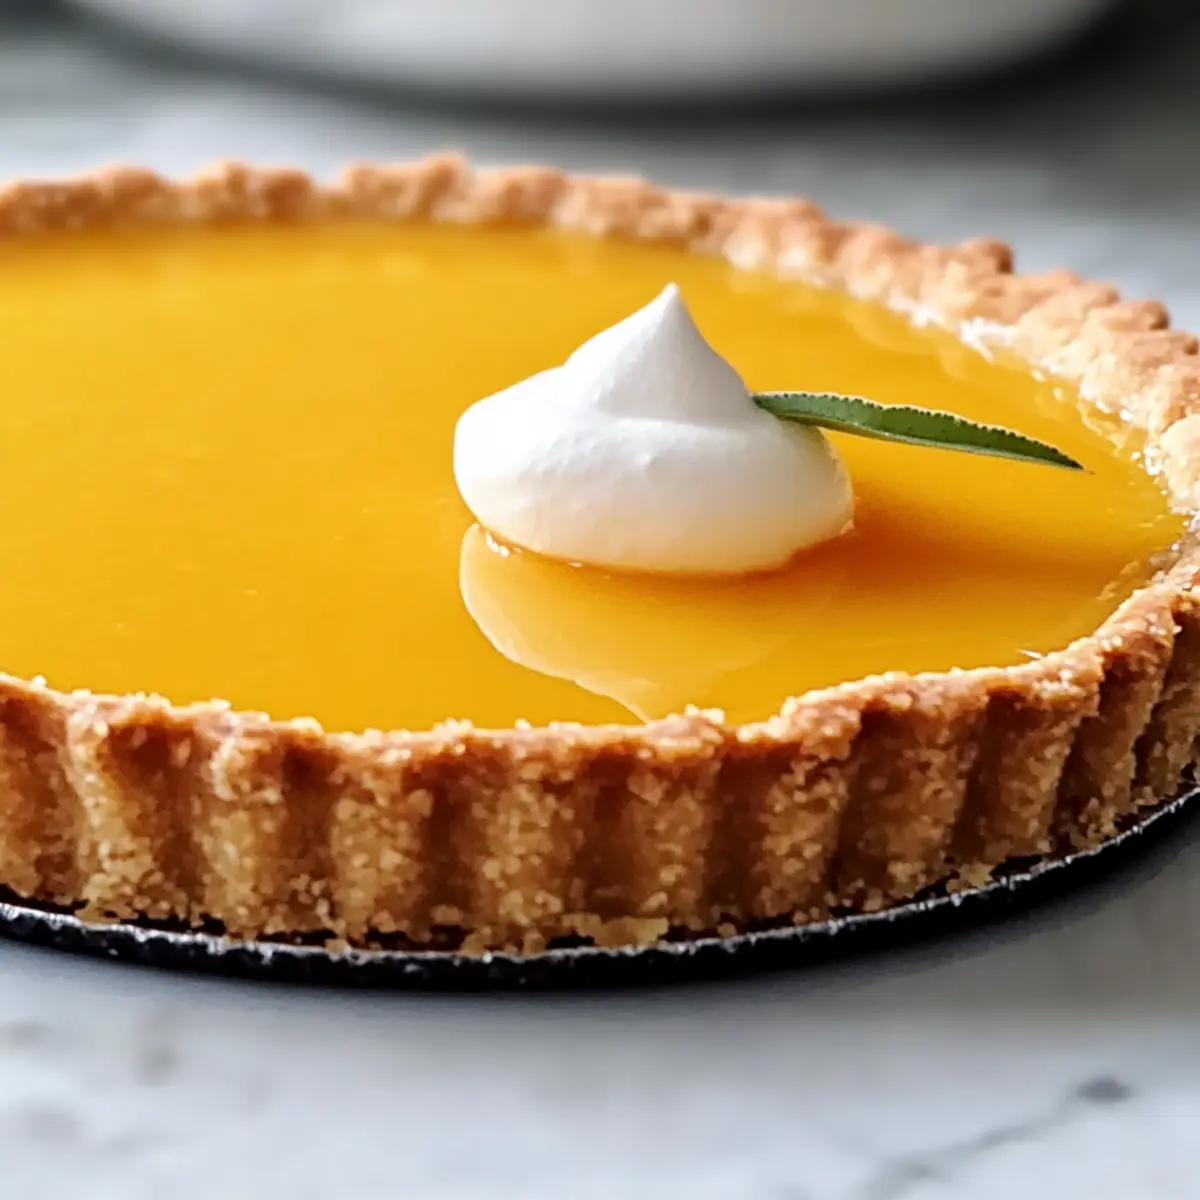
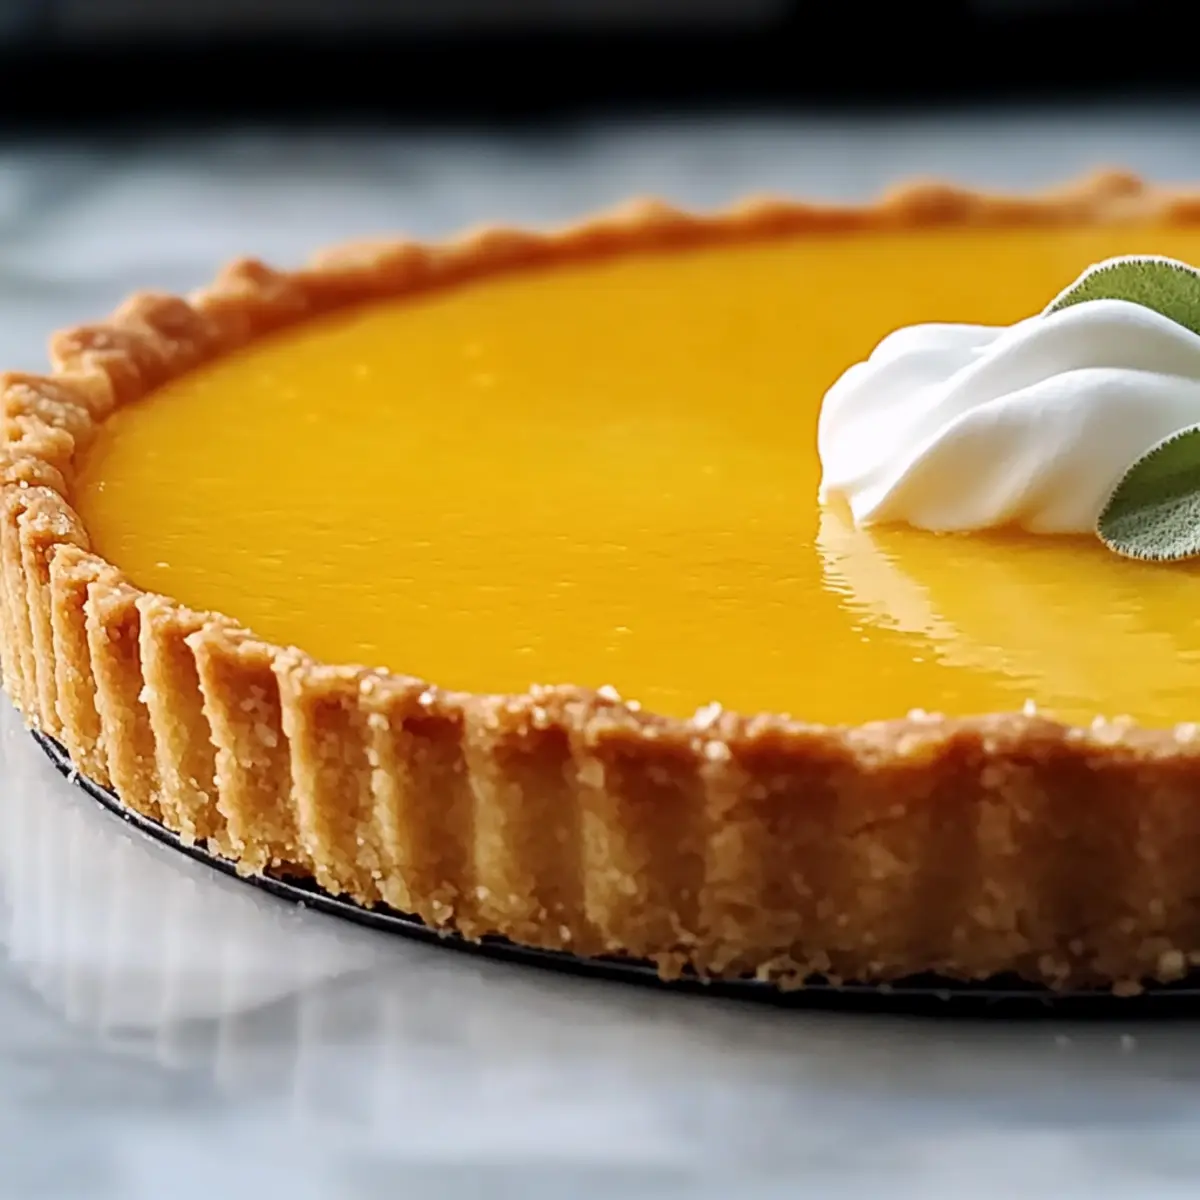
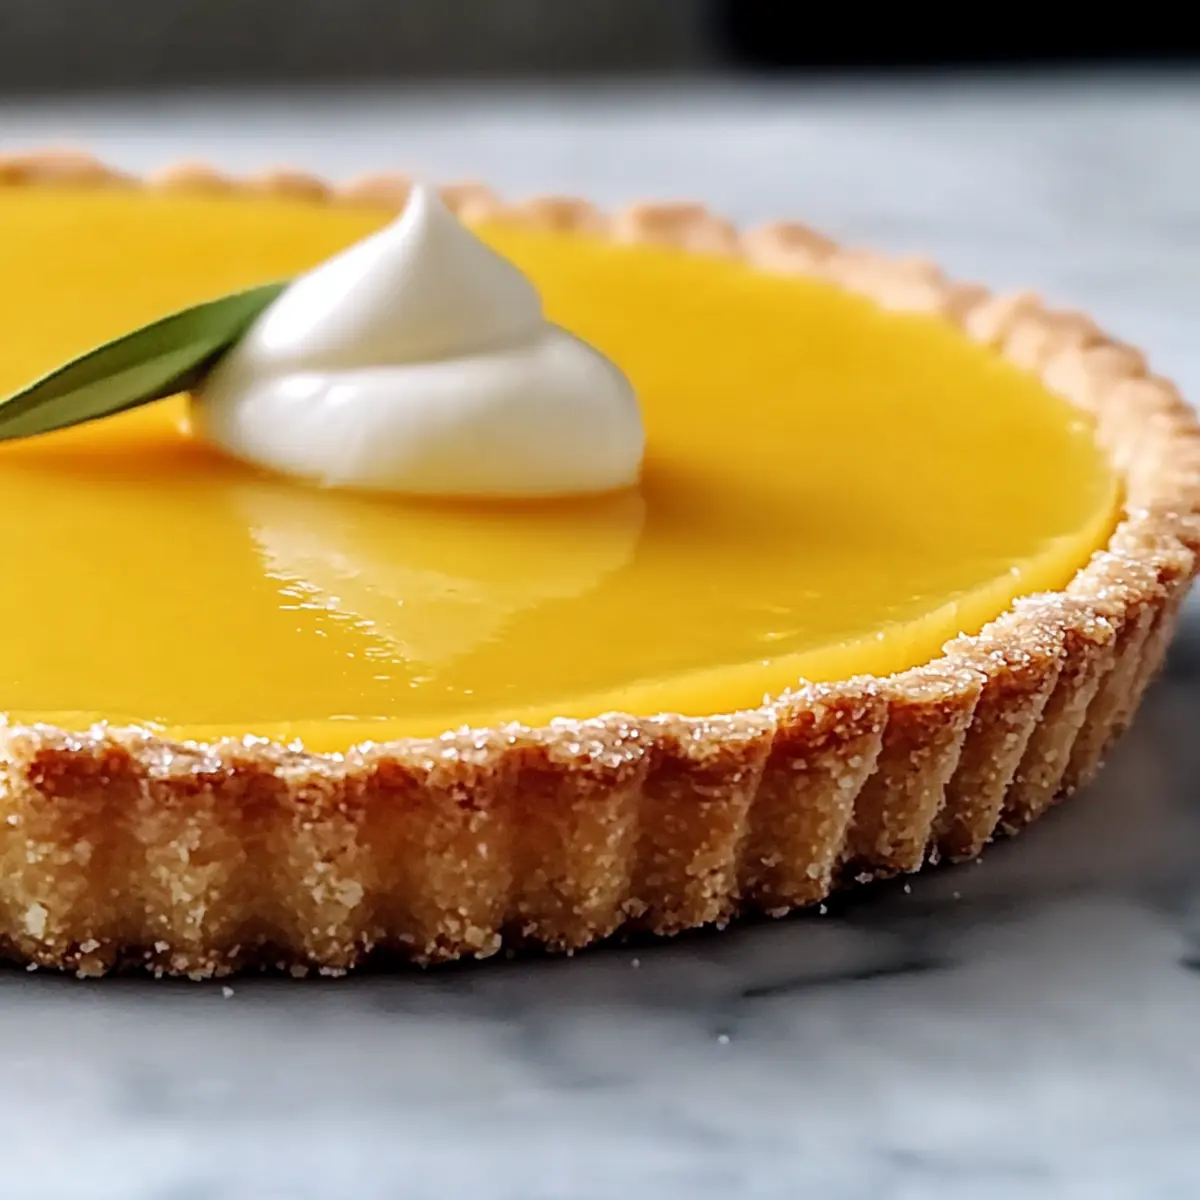
Visually Impressive: Present this tart beautifully topped with whipped cream and garnishes, leaving a lasting impression on friends and family.
Versatile Creations: Feeling adventurous? Try swapping orange juice for lemon or even grapefruit for another delightful take on this classic dessert!
Classic Orange Tart Ingredients
For the Crust
- Flour – Provides structure for the tart crust; all-purpose flour or a gluten-free blend works well.
- Powdered Sugar – Adds sweetness and a fine texture for the crust; coconut sugar can be a healthier substitute.
- Almond Flour – Contributes richness and flavor; can be omitted or replaced with more all-purpose flour if preferred.
- Salt – Balances sweetness and enhances flavor; essential for the crust’s success.
- Orange Zest – Infuses a delightful citrus aroma; always opt for fresh zest for the best result.
- Butter – Creates a tender, flaky crust; swap for vegan butter for a dairy-free version.
- Egg Yolk – Adds richness and binds the dough; can replace with a flaxseed egg for a vegan alternative.
- Cold Water – Helps bring the dough together; use ice water for optimal texture.
For the Filling
- Fresh Orange Juice – The star ingredient providing vibrant flavor; choose juicy Navel or Valencia oranges.
- Superfine Sugar – Sweetens the filling for the tart; regular granulated sugar is also an option.
- Cornstarch – Thickens the orange curd for a luscious texture; arrowroot starch works as a substitute.
- Gelatin – Sets the filling beautifully; consider agar-agar for a vegetarian option.
For the Topping
- Heavy Cream – Used to make a whipped topping; optional but highly recommended for serving with the tart.
Prepare to create a stunning and delicious Classic Orange Tart that will surely impress your guests!
Step‑by‑Step Instructions for Classic Orange Tart
Step 1: Prep Dough
In a food processor, pulse together 1 ½ cups of all-purpose flour, ½ cup of powdered sugar, ½ cup of almond flour, and a pinch of salt. Add ½ cup of cold butter, cubed, and continue processing until you achieve a crumbly texture. Next, incorporate one egg yolk and 2-3 tablespoons of cold water until the dough forms. Shape it into a disk, wrap in plastic, and refrigerate for 30 minutes.
Step 2: Bake Shell
Preheat your oven to 350°F (175°C). Roll out the chilled dough on a lightly floured surface, then fit it into a 9-inch tart pan, trimming excess. Place parchment paper over the crust and fill it with pie weights or dried beans. Blind bake for 20 minutes until the edges are golden. Remove the weights, then bake for an additional 10 minutes for a crisp finish. Allow the crust to cool completely.
Step 3: Make Filling
In a saucepan, heat 1 cup of fresh orange juice over medium heat until steamy but not boiling. Meanwhile, whisk together 3 large eggs, ¾ cup of superfine sugar, and 2 tablespoons of cornstarch in a bowl until smooth. Gradually temper the egg mixture with the warm orange juice, whisking constantly to avoid curdling. Return the mixture to the saucepan and stir gently over low heat until it thickens, about 5-7 minutes.
Step 4: Cool Filling
Remove the saucepan from the heat and add 2 teaspoons of gelatin, stirring until dissolved. Allow the orange filling to cool to room temperature, stirring occasionally. Once cooled, fold in 1 tablespoon of butter and the zest of one orange to enhance the flavor. Pour the filling into the cooled tart shell and smooth out the surface. Chill in the refrigerator for at least 2 hours until set.
Step 5: Prepare Topping
While the tart sets, use a hand mixer to whip 1 cup of heavy cream in a mixing bowl until soft peaks form. If desired, sweeten with powdered sugar to taste for a delightful sweetness that compliments the citrus. Keep the whipped cream covered and refrigerated until you’re ready to serve the Classic Orange Tart.
Step 6: Serve
Once the tart is completely chilled and the filling is fully set, slice it into wedges using a sharp knife. Serve each slice with a generous dollop of whipped cream on top, and feel free to add fresh berries or additional orange zest for a lovely garnish. Enjoy the refreshing flavors of your Classic Orange Tart with family and friends!
What to Serve with Classic Orange Tart
With delightful flavors and a stunning presentation, this dessert is the perfect capstone to any meal or celebration.
-
Creamy Mashed Potatoes: The buttery, rich texture balances the citrus tartness, making for a delightful contrast on your plate.
-
Herbed Roasted Chicken: The savory, aromatic flavors complement the orange curd beautifully, creating an extraordinary dining experience.
-
Fresh Spinach Salad: Crisp greens dressed with a simple vinaigrette add a crisp bite and refreshing element that pairs wonderfully.
-
Sparkling Wine: A glass of chilled sparkling wine enhances the fruitiness of the tart, making each bite feel like a celebration.
-
Vanilla Ice Cream: A scoop of creamy ice cream delivers a deliciously cool contrast to the vibrant tart, creating a heavenly mix of temperatures.
-
Dark Chocolate Shavings: A sprinkle of chocolate adds a touch of richness and decadence, elevating the overall flavor profile of your meal.
-
Mixed Berries: Fresh raspberries or blueberries provide tartness and color, enhancing both the presentation and taste of your dessert.
Indulging in these pairings will make your Classic Orange Tart an unforgettable centerpiece that leaves guests raving!
Classic Orange Tart: Customization Ideas
Feel free to let your creativity run wild with these delightful variations tailored just for you!
-
Citrus Swap: Substitute orange juice with lemon or grapefruit juice to create a refreshing twist on the classic flavor profile.
-
Spice It Up: Add a pinch of cardamom or a splash of vanilla extract to the orange filling for a warm, aromatic touch that elevates the dish. Imagine the enticing aroma wafting through your kitchen!
-
Nutty Crust: Instead of almond flour, try using crushed pecans or hazelnuts in the crust for a different nutty flavor and texture. It’s a great way to personalize the texture of your tart!
-
Dairy-Free Delight: For those avoiding dairy, simply swap out the butter for vegan butter and use coconut cream instead of heavy cream for the topping. Your friends won’t even notice the difference!
-
Berry Boost: Top the tart with fresh berries like raspberries or blueberries before serving to introduce a pop of color and a sweet-tart balance. It’s a beautiful way to make your dessert even more visually enticing!
-
Herb Infusion: Incorporate finely chopped mint or basil into the filling for a surprising flavor twist that harmonizes wonderfully with the citrus. This unique addition brings an unexpected freshness to each bite.
-
Sweet Alternative: Use honey or maple syrup in place of sugar for the filling to add a subtle layer of sweetness with a hint of earthiness. It’s a delightful way to keep the tart wholesome and natural.
-
Layer of Chocolate: Drizzle a bit of melted dark chocolate on top or add a thin layer of chocolate ganache beneath the orange filling for a rich and decadent touch. It’s a luscious surprise for chocolate lovers!
Remember, bringing your personal touch to this Classic Orange Tart not only enhances its flavors but also makes it a memorable centerpiece at any gathering. Enjoy the process and savor the delightful results!
Expert Tips for Classic Orange Tart
• Dough Handling: Avoid overworking the pastry dough, as this can lead to a tough crust. Keep it light and gentle.
• Blind Baking: Always blind bake the tart shell with weights to prevent bubbling and maintain an even texture; this ensures a beautifully crisp result.
• Heat Control: When making the filling, never cook over high heat. Stir gently to avoid scrambling the eggs, which can ruin the smooth orange curd.
• Chill Time: Be patient and allow the tart to chill for at least two hours after pouring in the filling. This step is crucial for setting the perfect slice.
• Zest Freshness: For the best flavor, make sure to use fresh orange zest rather than dried. Fresh zest really elevates your Classic Orange Tart!
Make Ahead Options
These Classic Orange Tart preparations are a lifesaver for busy home cooks! You can prepare the tart shell and orange filling up to 3 days ahead. Simply follow the first three steps of the recipe, allowing the baked tart shell to cool completely before covering it tightly with plastic wrap and refrigerating. The orange filling can be made and poured into the shell; just cover that too, ensuring the tart doesn’t absorb any fridge odors. When it’s time to serve, whip the cream and garnish your tart for a fresh presentation. Your dessert will turn out just as delicious, allowing you more time to enjoy with family and friends!
Storage Tips for Classic Orange Tart
Fridge: Store your Classic Orange Tart covered in the refrigerator for up to 3 days. This keeps it fresh while enhancing the deliciousness as the flavors meld.
Freezer: If you need to store it longer, freeze the tart for up to 2 months. Wrap it tightly in plastic wrap and aluminum foil to prevent freezer burn.
Thawing: When ready to enjoy, transfer the tart from the freezer to the fridge and let it thaw overnight. Serve chilled with whipped cream for the best experience.
Reheating: It’s best enjoyed cold, but if you prefer it slightly warm, let it sit at room temperature for about 30 minutes before serving.
Classic Orange Tart Recipe FAQs
What type of oranges should I use for the filling?
I recommend using Navel or Valencia oranges for their juiciness and vibrant flavor. Fresh orange juice is essential for achieving that bright, citrusy taste that makes the tart so delightful!
How should I store my Classic Orange Tart?
Store your Classic Orange Tart covered in the refrigerator for up to 3 days. This allows the flavors to meld beautifully, making it even tastier as the days go by. Just make sure it’s in an airtight container or wrapped well to maintain its freshness!
Can I freeze the Classic Orange Tart?
Absolutely! You can freeze the tart for up to 2 months. First, wrap it tightly in plastic wrap, then in aluminum foil to prevent freezer burn. When you’re ready to enjoy it, simply thaw it in the fridge overnight for the best texture and flavor.
What if my tart filling doesn’t set properly?
If your filling isn’t setting, it may be due to insufficient cooking time or not using enough gelatin. Make sure to gently cook the filling over low heat for about 5-7 minutes until it thickens. If it’s too runny, consider adding a bit more cornstarch or gelatin. Just remember, patience is key when it comes to letting it chill!
Are there any dietary considerations for this recipe?
Yes! If you’re looking for alternatives, vegan butter can be used instead of regular butter, and a flaxseed egg works as a substitute for the egg yolk. For those with nut allergies, you can omit almond flour or replace it with an equal amount of all-purpose flour to maintain the crust texture.
How do I know when the tart shell is perfectly baked?
You’re looking for a golden-brown color on the edges of the crust after blind baking. It should be crisp to the touch, and I like to gently lift the paper to check for any bubbling. A well-baked shell will hold its shape beautifully once filled!
Classic Orange Tart: A Simple, Elegant Dessert Delight
Ingredients
Equipment
Method
- In a food processor, pulse together flour, powdered sugar, almond flour, and salt. Add butter and process until crumbly. Incorporate egg yolk and cold water until dough forms. Shape into a disk, wrap in plastic, and refrigerate for 30 minutes.
- Preheat oven to 350°F (175°C). Roll out chilled dough in a tart pan, trim excess. Blind bake with weights for 20 minutes, then remove weights and bake an additional 10 minutes. Cool completely.
- Heat fresh orange juice in a saucepan until steamy. Whisk eggs, sugar, and cornstarch in a bowl. Gradually combine egg mixture with warm juice, then return to saucepan and stir over low heat until thickened, about 5-7 minutes.
- Remove from heat, stir in gelatin until dissolved. Cool to room temperature, then fold in butter and orange zest. Pour into crust and chill for at least 2 hours.
- Whip heavy cream until soft peaks form. Sweeten with powdered sugar if desired. Keep refrigerated.
- Once set, slice tart and serve with whipped cream and garnishes like berries or extra orange zest.
Leave a Reply