
If you think that brownies couldn’t get any better, think again! These gooey Biscoff brownies take rich chocolate decadence to a whole new level, thanks to the magic of cookie butter swirls and crunchy Biscoff cookie bits. Just one bite of these fudgy brownies will envelop you in a warm hug of caramelized flavor that feels like a cozy afternoon. Not only are they incredibly simple to whip up—all you need is a single bowl—but they’re also a true crowd-pleaser, perfect for gatherings or a sweet indulgence for yourself. Are you ready to dive into the delightful world of Biscoff brownies? Let’s get baking!
Why are Biscoff brownies irresistible?
Decadent, indulgent flavors: Each bite is a perfect melding of rich chocolate and caramelized cookie butter, creating a blissful taste experience that’s impossible to resist.
Only one bowl required: This simple recipe makes cleanup a breeze, allowing you to focus on enjoying these delightful treats.
Crowd favorite: Bring them to gatherings and watch them disappear—everyone loves the unique twist of Biscoff!
Versatile ingredients: Easily customize the recipe by swapping Biscoff with other similar flavored cookies or adding nuts for an extra crunch.
Perfectly gooey texture: Achieve the ideal fudgy consistency by following our expert tips, leaving you with jealously-inducing brownies!
Treat yourself with this comforting, delicious dessert that captures the essence of home baking. If you’re looking for more sweet ideas, check out our guide on decadent chocolate desserts for further inspiration!
Biscoff Brownie Ingredients
For the Brownie Batter
- Butter – 250 g / 1 cup; provides richness and moisture; can substitute with coconut oil for a dairy-free option.
- Semi-sweet or Dark Chocolate – 200 g / 7 oz; this is the base flavor, so choose high-quality for the best results.
- Brown Sugar – 90 g / ¾ cup; adds sweetness and moisture; light brown sugar works similarly, but dark brown adds deeper flavor.
- Granulated Sugar – 30 g / ¼ cup; gives sweetness and texture contrast; can reduce for less sweetness.
- Eggs – 4 large; they act as a binder and leavening agent for a light texture; no substitutes recommended for this recipe.
- All-Purpose Flour – 115 g / 1 cup; provides structure for the brownies; gluten-free flour can be used for a gluten-free option.
- Cocoa Powder – 1 ½ tsp; deepens the chocolate flavor; Dutch-processed cocoa ensures a richer taste.
- Salt – ½ tsp; enhances chocolate flavor; can reduce if using salted butter.
- Biscoff Cookies – 30 g / 12 pieces, crushed; adds crunch and flavor; can replace with other caramel-flavored cookies.
- Biscoff Cookie Butter – for swirling in the batter; provides creamy richness and can be substituted with any cookie spread.
Step‑by‑Step Instructions for Biscoff Brownies
Step 1: Preheat and Prepare the Pan
Begin by preheating your oven to 350°F (180°C). While the oven heats up, take an 8-inch square pan and line it with parchment paper, ensuring some overhang for easy removal later. This setup ensures your Biscoff brownies will bake evenly and won’t stick to the pan, setting you up for success.
Step 2: Melt Butter and Chocolate
In a heatproof bowl, add the butter and semi-sweet or dark chocolate. Melt them together in a double boiler over simmering water, or simply use a microwave in 30-second bursts, stirring until smooth. Once melted and combined, let the mixture cool slightly to avoid scrambling the eggs in the next step.
Step 3: Whisk Wet Ingredients
In a large mixing bowl, combine the eggs, brown sugar, granulated sugar, and vanilla extract. Whisk vigorously for about 2-3 minutes until the mixture is pale, fluffy, and slightly increased in volume. This step adds air, creating a light texture in your fudgy Biscoff brownies.
Step 4: Incorporate Chocolate Mixture
Slowly pour the melted chocolate and butter mixture into the egg and sugar blend, stirring gently until well incorporated. Be careful not to overmix; you want the chocolate to meld smoothly without deflating the airy mixture you’ve just whisked together.
Step 5: Add Dry Ingredients
Gently fold in the all-purpose flour, cocoa powder, and salt using a spatula. Mix until just combined and no dry streaks remain; the batter should be thick and glossy. This ensures that your Biscoff brownies maintain their rich, fudgy consistency without becoming overworked.
Step 6: Stir in Cookies
Now, incorporate the crushed Biscoff cookies into the batter. Use a spatula to carefully fold them in, ensuring even distribution throughout the batter. The cookie bits will provide delightful crunch and caramelized flavor that pairs perfectly with the fudginess of the brownies.
Step 7: Pour and Smooth the Batter
Transfer the brownie batter to your prepared baking pan, using a spatula to spread it evenly. Smooth the top with the back of the spatula to create a uniform surface. This step is vital to ensure even baking, allowing your Biscoff brownies to develop that lovely gooey texture throughout.
Step 8: Swirl in Cookie Butter
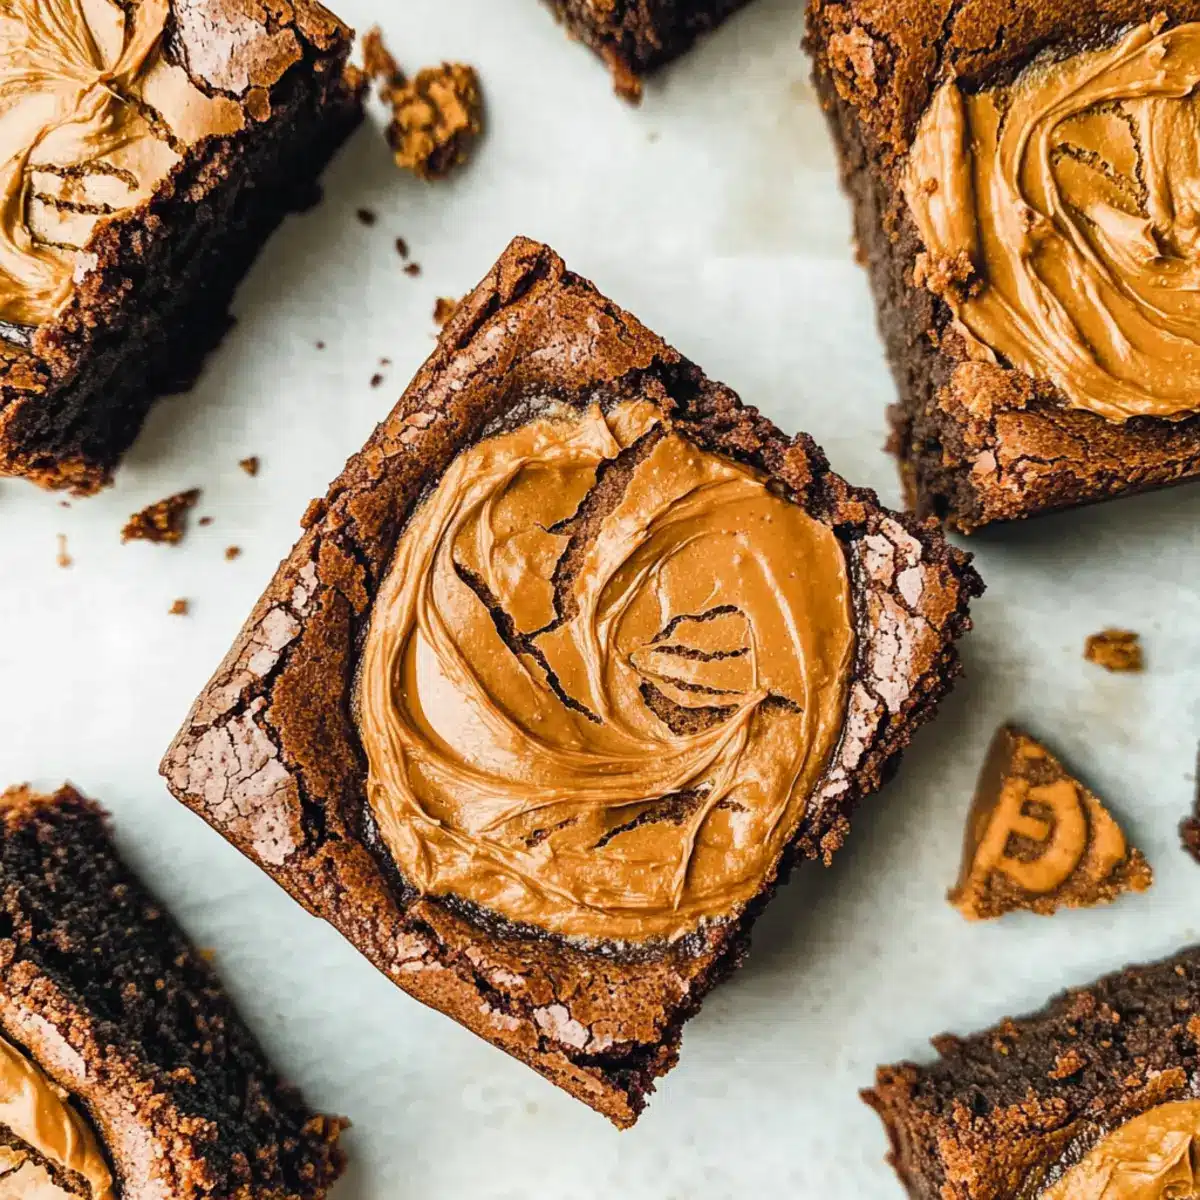
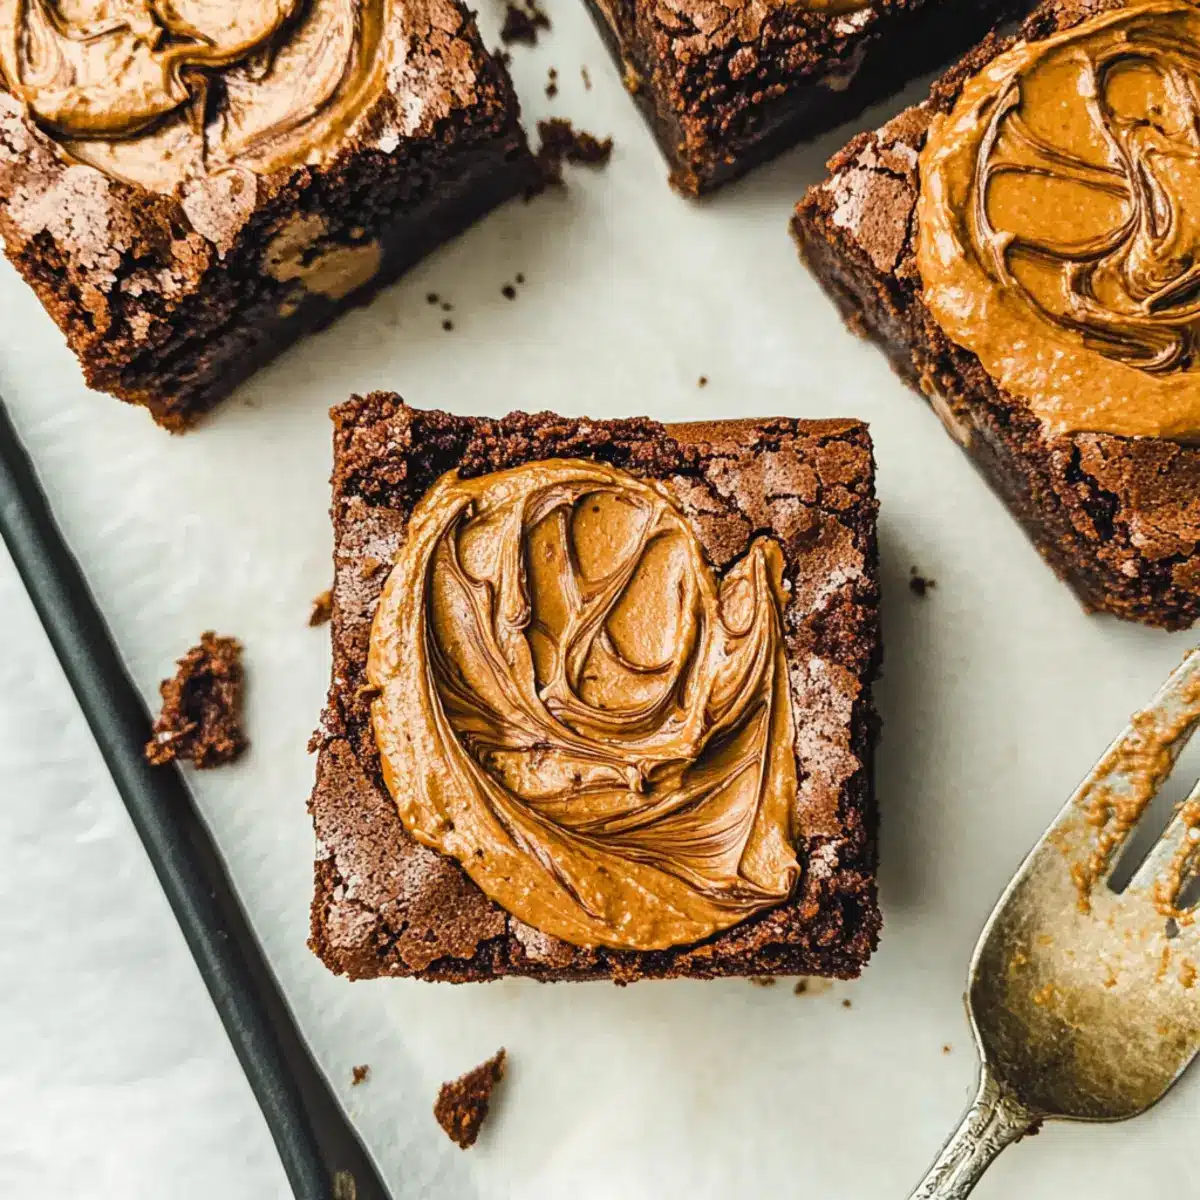
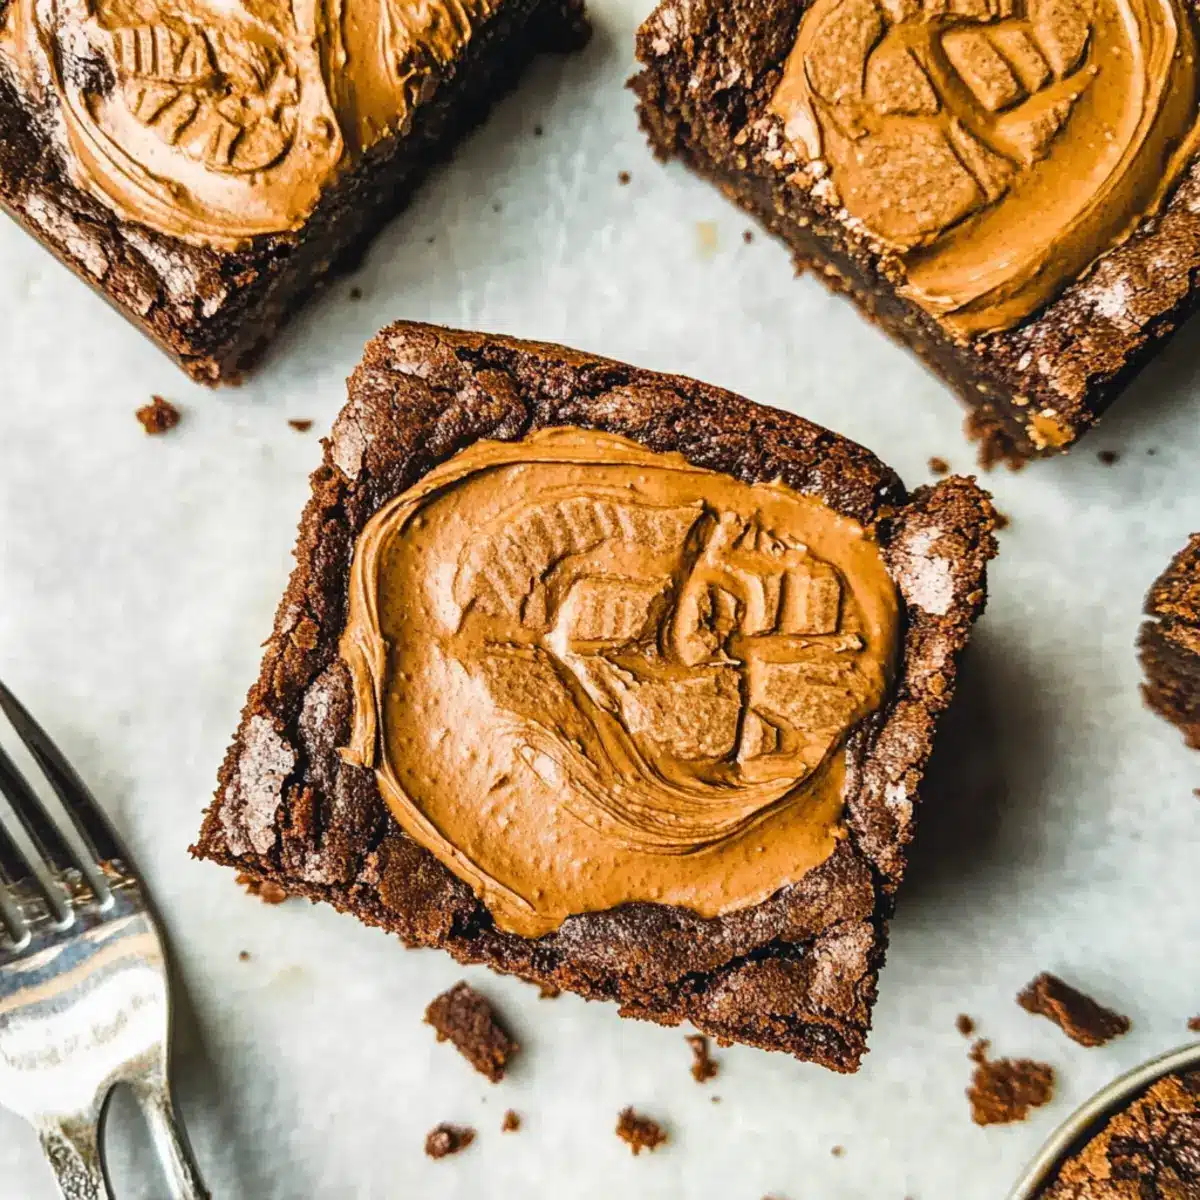
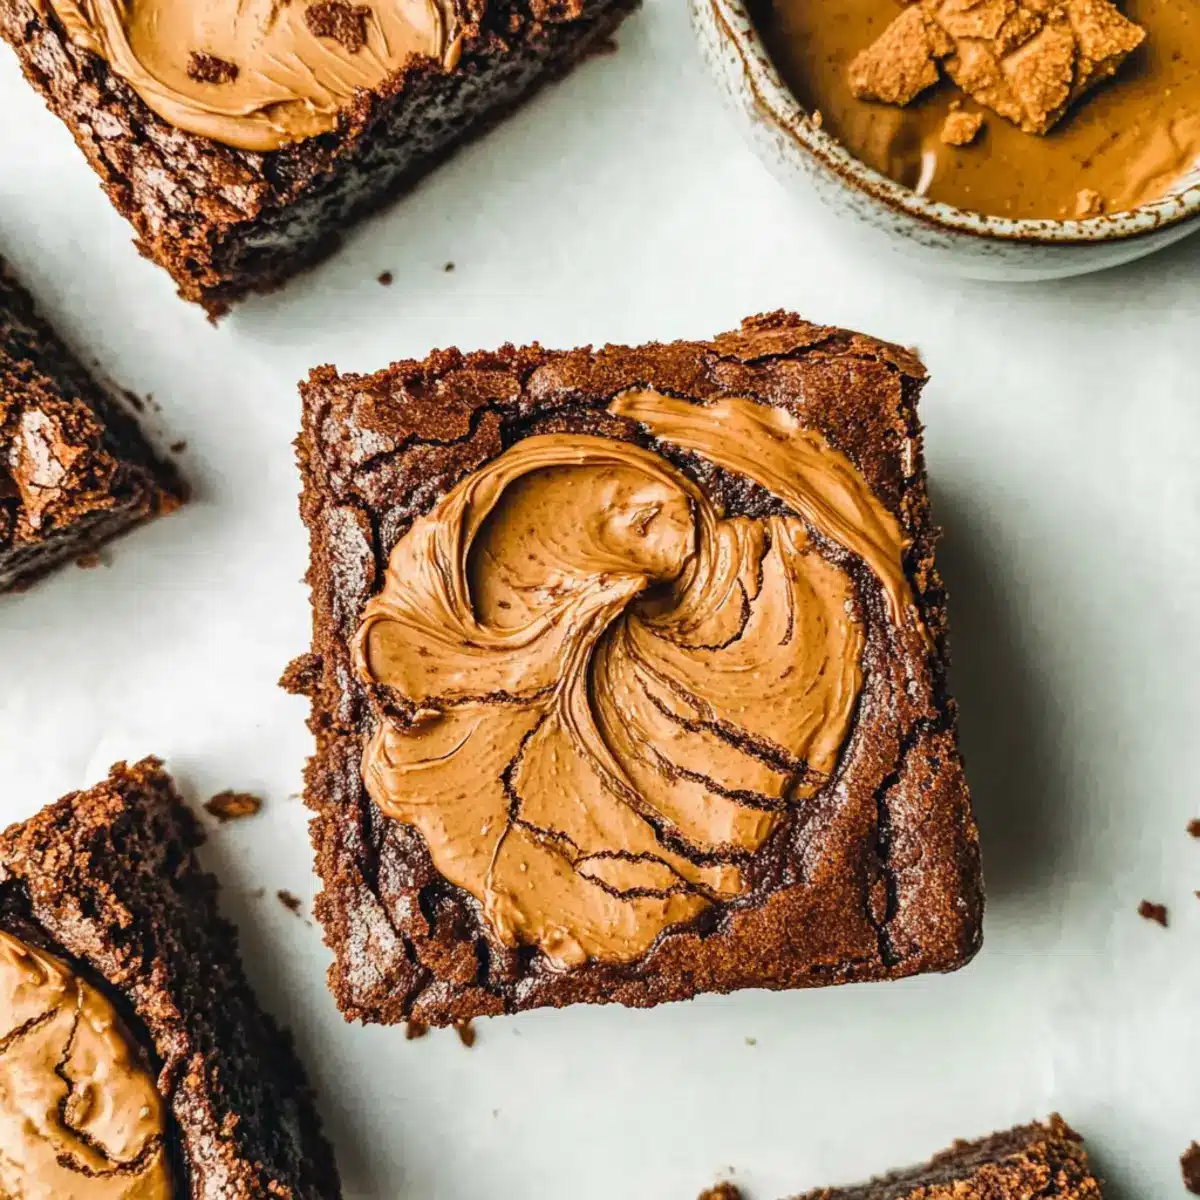
Spoon dollops of Biscoff cookie butter over the top of the batter. Using a butter knife or skewer, gently swirl the cookie butter into the brownie batter to create a beautiful marbled effect. This not only enhances flavor but also adds a creamy element to your finished Biscoff brownies.
Step 9: Bake to Perfection
Place the pan in the preheated oven and bake for 30-35 minutes. Check for doneness by ensuring the edges are set and the center remains slightly soft—an inserted toothpick should come out with moist crumbs. Avoid overbaking to preserve the gooeyness that defines these brownies.
Step 10: Cool and Chill
Once baked, remove the pan from the oven and allow it to cool completely in the pan on a wire rack. For the best texture, chill the brownies in the refrigerator for at least 1 hour before slicing. This cooling process will enhance the fudgy consistency and make cutting easier for those perfect brownie squares.
Biscoff Brownies Variations & Substitutions
Feel free to unleash your creativity and make these Biscoff brownies your own with these fun variations!
-
Dairy-Free: Substitute butter with coconut oil and use dairy-free chocolate for a completely dairy-free delight.
-
Nutty Crunch: Add ½ cup of chopped walnuts or pecans to the batter for a delightful nutty texture that pairs perfectly with the sweetness.
-
Chocolate Lover’s Dream: Replace semi-sweet chocolate with dark chocolate for an even richer brownie experience. Only the bravest chocolate lovers need apply!
-
White Chocolate Bliss: Switch out dark chocolate with white chocolate for a sweeter, creamy twist that contrasts beautifully with the Biscoff flavors.
-
Spicy Kick: Add a pinch of cayenne pepper or some finely chopped fresh ginger into the batter for an unexpected heat that warms the palate.
-
Additional Flavor: Mix in a teaspoon of espresso powder to enhance the chocolate flavor even further; it’s a simple trick to make your brownies even more decadent.
-
Spoonfuls of Joy: Instead of Biscoff cookie butter, try using Nutella or another chocolate-hazelnut spread to create a different flavor profile that’s equally delightful.
Consider customizing your Biscoff brownies with these variations. Each twist adds a unique flavor and texture, making them even more memorable! If you want to explore more delicious desserts, check out our guide on decadent chocolate desserts for extra inspiration!
What to Serve with Gooey Biscoff Brownies?
Indulging in a slice of these fudgy delights calls for the perfect accompaniment to elevate every bite into a true celebration of flavor.
-
Vanilla Ice Cream: A creamy scoop balances the rich brownie flavors, creating a heavenly melty experience that’s simply irresistible.
-
Whipped Cream: Light and airy, a dollop of whipped cream adds a delightful contrast, enhancing the brownies’ fudgy texture while offering a touch of sweetness.
-
Hot Fudge Sauce: Drizzling warm fudge over the brownies amplifies their decadence, turning each bite into a luxurious experience that’s truly decadent.
-
Fresh Berries: Raspberries or strawberries bring a bright, tart note that cuts through the richness, providing a refreshing burst of flavor that complements the sweetness.
-
Caramel Sauce: A drizzle of caramel sauce adds a warm, buttery flavor that resonates beautifully with the Biscoff brownie’s subtle spices, creating a rich taste sensation.
-
Chocolate-Covered Coffee Beans: For coffee lovers, these crunchy morsels provide a perfect bite-sized pairing, contrasting with the softness of the brownies and intensifying the chocolate notes.
Enjoy experimenting with these delightful companions as you savor each gooey bite of your Biscoff brownies!
Helpful Tricks for Biscoff Brownies
-
Don’t Overbake: Aim for gooey centers by ensuring a toothpick comes out with a few moist crumbs; overbaking leads to dry brownies.
-
Cool Completely: Let the brownies cool fully in the pan to achieve a fudgy texture when slicing—they’re easier to cut and taste better!
-
High-Quality Ingredients: Use premium chocolate and fresh Biscoff cookies to enhance the flavor and richness of your Biscoff brownies.
-
Swirl Technique: Gently swirl the cookie butter in the batter for a marbled effect. This adds visual appeal and delightful flavor pockets.
-
Chill for Texture: For the ultimate fudgy experience, chill the brownies for at least an hour before cutting; it helps achieve that perfect bite.
How to Store and Freeze Biscoff Brownies
Room Temperature: Store Biscoff brownies in an airtight container at room temperature for up to 7 days, keeping them fresh and fudgy.
Fridge: If you prefer, these brownies can also be stored in the fridge for up to 2 weeks; just ensure they are well-wrapped to prevent drying out.
Freezer: For longer storage, freeze Biscoff brownies in a single layer in an airtight container or freezer bag for up to 3 months. Thaw in the fridge overnight before enjoying.
Reheating: To enjoy them warm again, microwave individual squares for 15-20 seconds or warm them in the oven at 350°F (175°C) for a few minutes.
Make Ahead Options
These Biscoff brownies are perfect for meal prep enthusiasts looking to save time! You can prepare the brownie batter up to 24 hours in advance by mixing all the ingredients together and refrigerating it in an airtight container. Additionally, crushed Biscoff cookies can be prepped and stored separately, ready to be folded in right before baking. When you’re ready to enjoy these decadent brownies, simply pour the chilled batter into the prepared pan, swirl in the Biscoff cookie butter, and bake as directed. This way, you ensure each brownie remains just as delicious and fudgy, without sacrificing flavor or texture!
Biscoff Brownies Recipe FAQs
What type of Biscoff cookies should I use?
Absolutely! For the best results, use classic Biscoff cookies as they provide the iconic caramelized flavor and crunch. You can also experiment with similar cookies like Speculoos or gingersnaps if you’re feeling adventurous!
How should I store these Biscoff brownies?
Biscoff brownies can be stored in an airtight container at room temperature for up to 7 days to keep them fudgy. If you live in a warmer climate, refrigerating them can help preserve their freshness for up to 2 weeks—just ensure they’re well-wrapped to prevent drying out.
Can I freeze these brownies?
Very! You can freeze Biscoff brownies for up to 3 months. Just wrap individual squares in plastic wrap, then place them in an airtight container or freezer bag. When you’re ready to indulge, thaw them in the refrigerator overnight for best results, then enjoy them as is or warm them up in the microwave!
What if my brownies are too dry after baking?
If your brownies turn out dry, it might be due to overbaking. Remember, they should look slightly under-baked in the center before you take them out. For future bakes, try reducing the baking time by a couple of minutes; checking doneness with a toothpick for a few moist crumbs will help maintain that gooey texture.
Are these brownies safe for pets or have allergens?
While Biscoff brownies are delicious for us, they are not safe for pets, especially dogs, due to sugar and chocolate. Additionally, if you or anyone enjoying these treats has allergies, especially to eggs or gluten, be cautious and consider substituting ingredients accordingly, such as using gluten-free flour for a safe option.
How can I achieve the perfect gooey texture?
For the ultimate fudginess, cooling is key! After baking, let the brownies cool completely in the pan. For an even better texture, chill them in the refrigerator for at least an hour before slicing. This helps set the brownies and allows the flavors to meld beautifully, giving you that desired gooey center!
Decadent Biscoff Brownies That Will Melt Your Heart
Ingredients
Equipment
Method
- Preheat your oven to 350°F (180°C) and line an 8-inch square pan with parchment paper.
- In a heatproof bowl, melt the butter and chocolate together until smooth.
- In a large mixing bowl, whisk together the eggs, brown sugar, granulated sugar, and vanilla extract until pale and fluffy.
- Incorporate the melted chocolate mixture into the egg mixture, stirring gently until combined.
- Fold in the all-purpose flour, cocoa powder, and salt until just combined.
- Stir in the crushed Biscoff cookies until evenly distributed.
- Pour the batter into the prepared pan, smoothing the top.
- Dollop Biscoff cookie butter over the batter and swirl it in for a marbled effect.
- Bake in the preheated oven for 30-35 minutes, checking for doneness.
- Remove from the oven and cool in the pan before chilling in the refrigerator for at least 1 hour.
Leave a Reply