
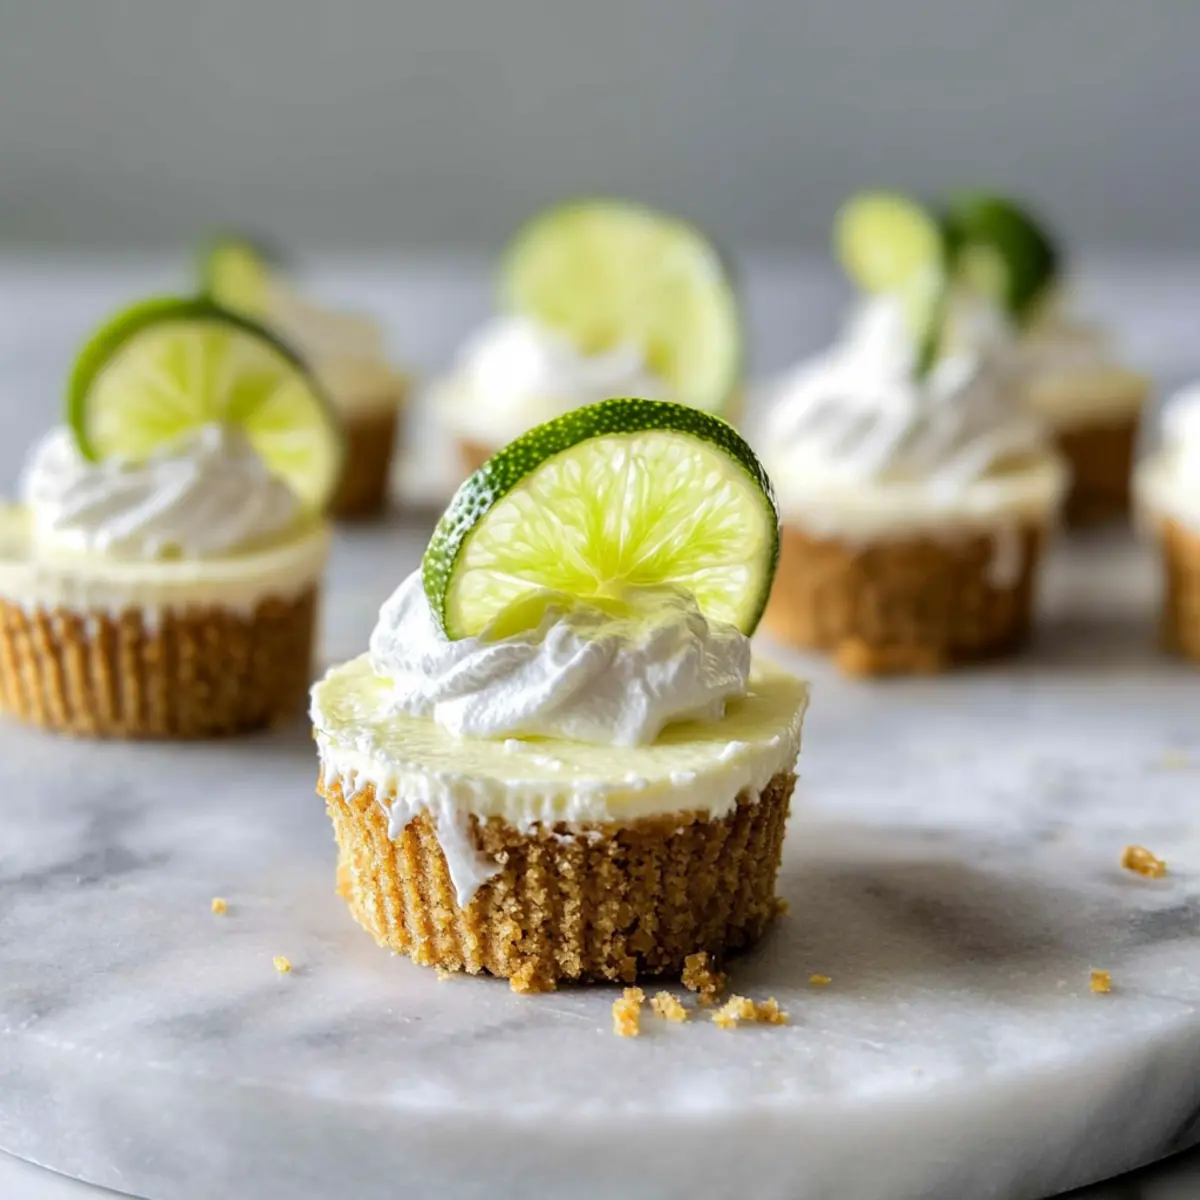
The sweet aroma of zesty lime and creamy goodness fills the air as I pull these delightful Mini Key Lime Cheesecakes from the oven. With each mini bite, you’ll experience the perfect harmony of tangy flavor and rich texture, making them an irresistible treat for any occasion. Not only are these cheesecakes gluten-free, but they’re also made with Greek yogurt, offering a healthier twist without compromising taste. Whether you’re hosting a gathering or simply craving something sweet at home, these quick-to-prepare desserts will surely win hearts and satisfy sweet cravings. Are you ready to transform your dessert game and impress your loved ones with this guilt-free indulgence?
Why are these cheesecakes a must-try?
Guilt-Free Indulgence: These Mini Key Lime Cheesecakes are a delicious way to satisfy your sweet tooth without the extra calories.
Quick Preparation: You’ll have them ready in under 30 minutes, perfect for unexpected guests or last-minute cravings.
Rich and Creamy Texture: The addition of Greek yogurt creates a silky filling that you won’t be able to resist.
Gluten-Free Delight: Great for everyone, including those with dietary restrictions, these cheesecakes ensure no one misses out on dessert!
Versatile Options: Experiment by swapping lime for lemon juice or using alternative crusts like almond flour for a unique twist. Make sure to check out my Crisp Mini Cheesecakes for another tasty treat!
Mini Key Lime Cheesecake Ingredients
• Get ready to drool over these zesty delights!
For the Crust
- Graham Cracker Crumbs – Provides a sweet and crunchy base; substitute with gluten-free graham crackers or crushed nuts for a nut-based crust.
- Butter or Ghee – Adds richness and binds the crust; use coconut oil for a dairy-free option.
For the Cheesecake Filling
- Cream Cheese – Offers a creamy texture; low-fat or regular versions can be used, or non-dairy cream cheese for a vegan alternative.
- Plain Greek Yogurt – Enhances creaminess and adds a tangy flavor; swap for flavored yogurt for extra sweetness.
- Sugar – Sweetens the cheesecake; replace with a low-calorie sweetener like Swerve for a keto-friendly option.
- Large Egg – Provides structure and stability; use a flax egg for a vegan substitute.
- Egg White – Adds lightness to the filling; omit for a denser cheesecake.
- Lime Juice – Offers a bright, tangy flavor; Meyer lemons can substitute if limes are unavailable.
- Lime Zest – Intensifies the lime flavor; ensure to use fresh limes for the best aroma.
These Mini Key Lime Cheesecakes are not just a feast for the taste buds but also a beautiful way to serve healthier dessert options! Enjoy making them!
Step‑by‑Step Instructions for Mini Key Lime Cheesecakes
Step 1: Preheat and Prepare
Begin by preheating your oven to 325°F (160°C). While it’s heating, line a 12-cup muffin tin with foil liners and give them a light spray of cooking oil to ensure effortless removal later. This step is crucial for your Mini Key Lime Cheesecakes, so don’t skip it!
Step 2: Make the Crust
In a food processor, pulse graham crackers into fine crumbs. Mix these crumbs in a bowl with melted butter until they resemble wet sand. Evenly distribute this mixture into the muffin liners and press it down firmly to create a solid crust. Bake for 8-10 minutes until slightly golden, then allow to cool for about 10 minutes.
Step 3: Prepare the Filling
In a large mixing bowl, beat softened cream cheese with an electric mixer on medium speed until fluffy, about 2 minutes. Gradually add in the Greek yogurt and sugar, mixing until the mixture is smooth and well combined. This creamy filling is the heart of your Mini Key Lime Cheesecakes, so make it velvety!
Step 4: Add Eggs and Flavor
To your cream cheese mixture, gently mix in one large egg, one egg white, lime juice, and lime zest until just incorporated. Be careful not to overmix; the goal is a homogeneous mixture without too much air. This step ensures your cheesecakes have the right texture and a burst of zesty flavor.
Step 5: Fill and Bake
Pour the filling evenly over each pre-baked crust, filling them almost to the top but leaving a little room to avoid overflow. Place the muffin tin in the oven and bake for 15-20 minutes. You’ll know they’re done when the edges firm up while the centers still have a slight jiggle.
Step 6: Cool and Chill
Once baked, remove the cheesecakes carefully from the oven and let them cool to room temperature in the muffin tin. After they’ve cooled for about 30 minutes, transfer them to the refrigerator. Chill for at least 2 hours to firm up; this final step allows the flavors to meld beautifully.
Step 7: Serve and Enjoy
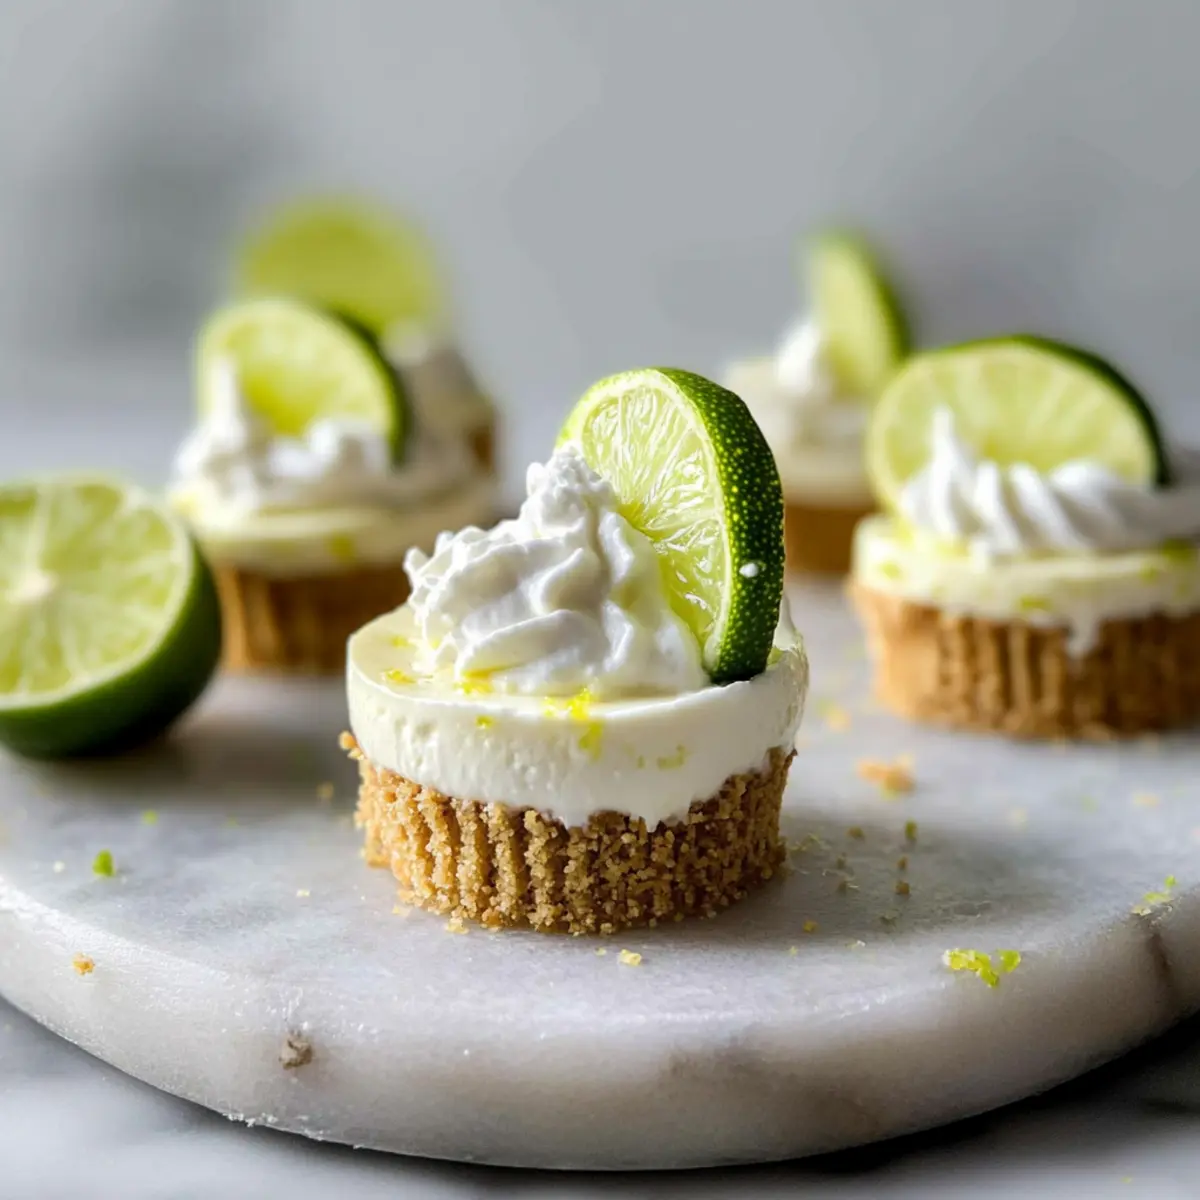
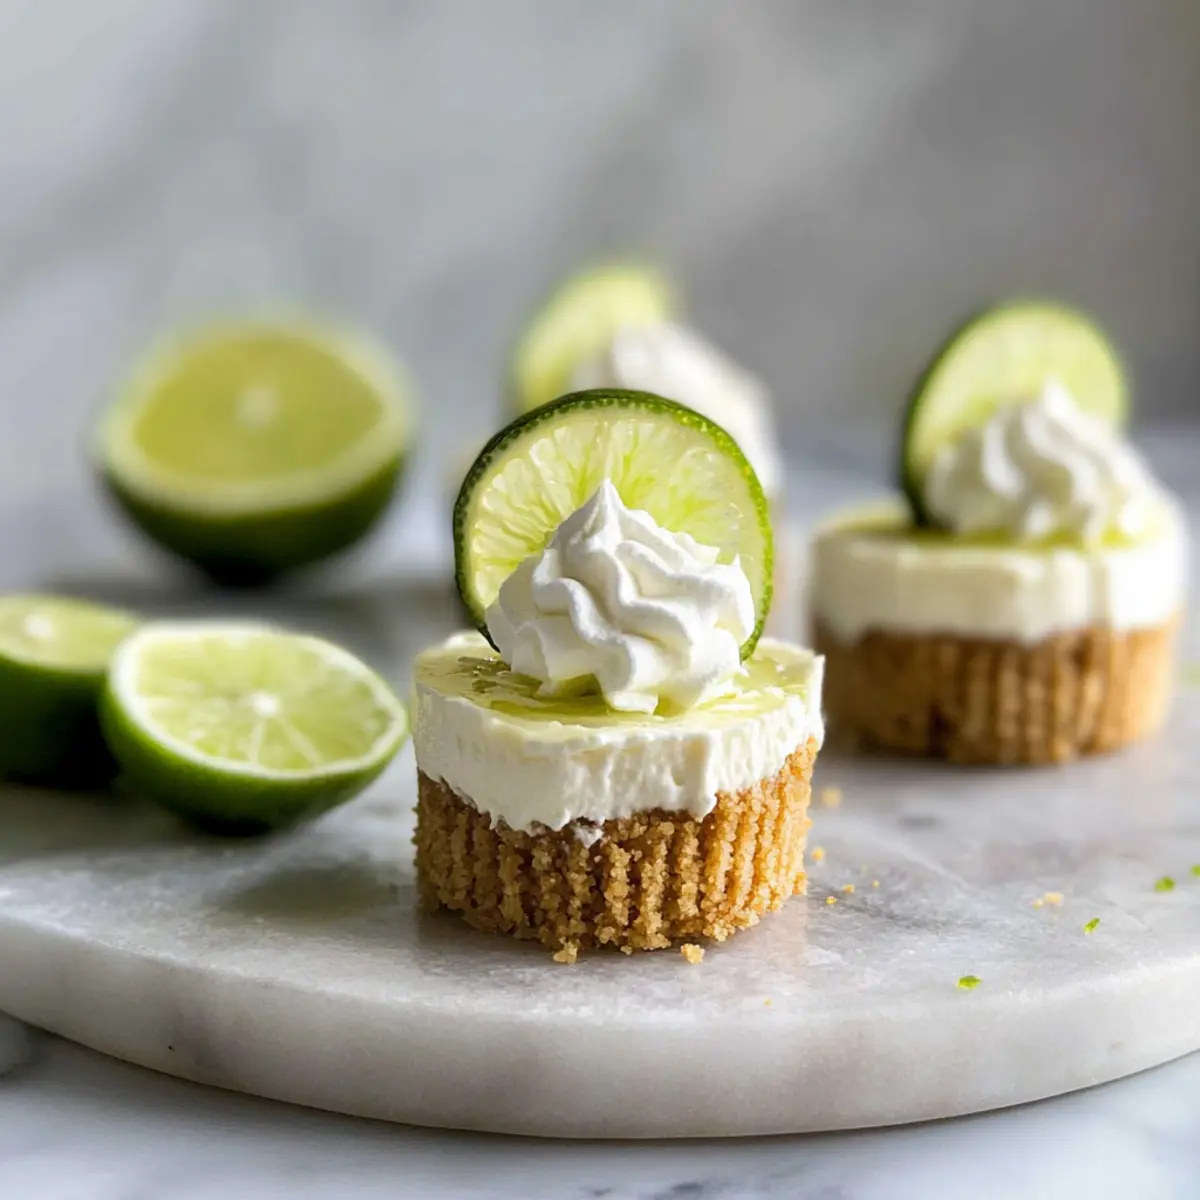
When you’re ready to serve your Mini Key Lime Cheesecakes, take them out of the fridge. Garnish with a dollop of whipped cream and a slice of lime for that extra zing. These creamy bites are sure to impress, making them perfect for any occasion!
Expert Tips for Mini Key Lime Cheesecakes
• Room Temperature Ingredients: Ensure all your ingredients are at room temperature for the smoothest cheesecake filling, preventing lumps.
• Mixing Technique: Use medium-low speed when combining your filling to avoid incorporating too much air, which can lead to cracks during baking.
• Watch the Jiggle: The cheesecakes should jiggle slightly in the center when you take them out; they will continue to set as they cool.
• Refrigeration Time: Patience is key! Chilling your cheesecakes for at least 2 hours allows the flavors to develop and firms up their texture, enhancing the delightful taste of your Mini Key Lime Cheesecakes.
• Batch Baking: Consider making a double batch! They store well and can be a quick go-to dessert for unexpected visitors or gatherings.
How to Store and Freeze Mini Key Lime Cheesecakes
Fridge: Keep your mini cheesecakes in an airtight container for up to 1 week. This will help maintain their creamy texture while keeping them fresh and delicious.
Freezer: For longer storage, freeze the cheesecakes in a single layer on a baking sheet, then transfer them to a freezer-safe container. They can last for up to 2 months.
Thawing: When ready to enjoy, simply transfer the frozen Mini Key Lime Cheesecakes to the refrigerator and let them thaw overnight. This gentle thawing keeps them from losing their delightful creaminess.
Serving Tip: To serve, top with whipped cream and fresh lime slices only after thawing, ensuring your cheesecakes look and taste their best!
Mini Key Lime Cheesecake Variations
Feel free to let your creativity shine as you explore these delightful twists that will enhance your Mini Key Lime Cheesecakes!
-
Greek Yogurt Upgrade: Substitute regular Greek yogurt with coconut or almond yogurt for a dairy-free twist that maintains creaminess.
-
Citrus Swap: Use lemon juice instead of lime juice for a bright, citrusy flavor that adds a refreshing zing to the classic recipe.
-
Nutty Crust: Experiment with almond flour or crushed pecans as a base for the crust, creating a unique texture and flavor contrast.
-
Sweetener Change: Swap out white sugar for maple syrup or honey, providing a rich depth of flavor while keeping things naturally sweet.
-
Spicy Kick: Add a pinch of cayenne pepper to the filling for a surprising hint of heat that complements the tartness of the lime wonderfully.
-
Flavor Boost: Mix in a few drops of vanilla extract or almond extract to the filling to deepen the flavor profile of your cheesecakes.
-
Mini Cheesecake Parfaits: Layer your cheesecake filling in a glass with crushed graham crackers and extra lime zest for a stunning and easy dessert presentation!
-
Whipped Topping: Top with a homemade coconut whipped cream for an extra luscious finish that pairs beautifully with the key lime flavor.
Try out these variations and let me know which one becomes your favorite! If you’re in the mood for another delicious treat, don’t forget to check out my Cutie Pie Mini or the Crisp Mini Cheesecakes for more inspiration!
Make Ahead Options
These Mini Key Lime Cheesecakes are a fantastic choice for meal prep, providing a stress-free dessert option for busy weeknights! You can prepare the crusts and filling up to 24 hours in advance. Simply bake the crusts and allow them to cool completely. While you’re at it, whip up the cheesecake filling and store it in an airtight container in the fridge. When it’s time to serve, pour the filling over the crusts and bake as directed. To maintain their creamy texture and delightful flavor, ensure they’re chilled for at least 2 hours after baking. With just a bit of foresight, you’ll have these crowd-pleasing Mini Key Lime Cheesecakes ready with minimal effort whenever the craving hits!
What to Serve with Healthier Mini Key Lime Cheesecakes
The refreshing tang of lime and the creamy texture of these delightful cheesecakes call for equally enticing accompaniments to create the perfect dessert experience.
-
Whipped Cream: A dollop of lightly sweetened whipped cream elevates the cheesecakes, adding a luxurious touch that enhances their silky goodness.
-
Fresh Berries: Bright, juicy berries like strawberries or blueberries provide a delightful burst of flavor and color, complementing the zesty lime beautifully.
-
Coconut Chips: Toasted coconut chips add a unique crunch and tropical flair, making each bite a mini vacation.
-
Mint Leaves: A sprig of fresh mint adds a pop of color and aromatic freshness that cuts through the richness of the cheesecake.
-
Lemon Sorbet: A refreshing lemon sorbet alongside the cheesecakes balances the sweetness, offering a bright and citrusy contrast.
-
Iced Tea: A refreshing glass of iced tea, whether sweetened or unsweetened, pairs perfectly with the cheesecakes, adding a refreshing element to the dessert experience.
-
Chocolate Sauce: A drizzle of rich chocolate sauce can add a decadent touch, striking a great sweet-sour balance with the tangy lime flavor.
-
Chilled White Wine: A glass of crisp, chilled white wine enhances the dessert’s lightness and brings out the zesty lime notes in each bite.
-
Key Lime Pie Bars: For a double dose of the lime flavor, consider pairing your cheesecakes with key lime pie bars for a dessert spread that honors the classic tangy taste.
Mini Key Lime Cheesecakes Recipe FAQs
How ripe should the limes be for optimal flavor?
Absolutely! Choose limes that are firm but slightly soft when gently squeezed. Look for ones with a bright green color; they should feel heavy for their size. Fresh, juicy limes have a more vibrant flavor and add that zesty punch your cheesecakes need!
What is the best way to store leftover Mini Key Lime Cheesecakes?
To keep your cheesecakes fresh, store them in an airtight container in the refrigerator. They’ll last up to a week! If you’ve got some left after that, simply freeze them for up to 2 months. Just make sure they’re completely cooled first, and store them in a single layer to prevent sticking.
How can I freeze Mini Key Lime Cheesecakes properly?
To freeze, start by allowing your Mini Key Lime Cheesecakes to cool completely. Place them on a baking sheet to freeze individually for about an hour. Once they’re firm, transfer them to a freezer-safe container or zip-top bag, layering parchment paper between each layer. This way, they won’t stick together, and you can enjoy them later!
What should I do if my cheesecake cracks during baking?
Very commonly, cracks happen due to overmixing or baking at too high a temperature. To prevent this, beat your filling slowly and avoid mixing too much air in. If they do crack, don’t fret! After chilling, you can cover them with whipped cream or a dusting of lime zest, which beautifully hides imperfections.
Are there any common allergens in this recipe that I should consider?
Yes, this recipe contains several common allergens. The cream cheese and greek yogurt introduce dairy, while sugar is a regular ingredient. For those with gluten sensitivities, make sure to use gluten-free graham crackers. If you’re looking to accommodate vegan diets, substitutions like non-dairy cream cheese and a flax egg can easily work in this Mini Key Lime Cheesecakes recipe.
Can I substitute Greek yogurt for something else in the recipe?
Absolutely! If you prefer a different texture or flavor, you can swap Greek yogurt for regular plain yogurt or even sour cream. Just keep in mind that using non-fat yogurt will result in a thinner filling, while full-fat versions will keep that rich, creamy mouthfeel that cheesecakes just love!
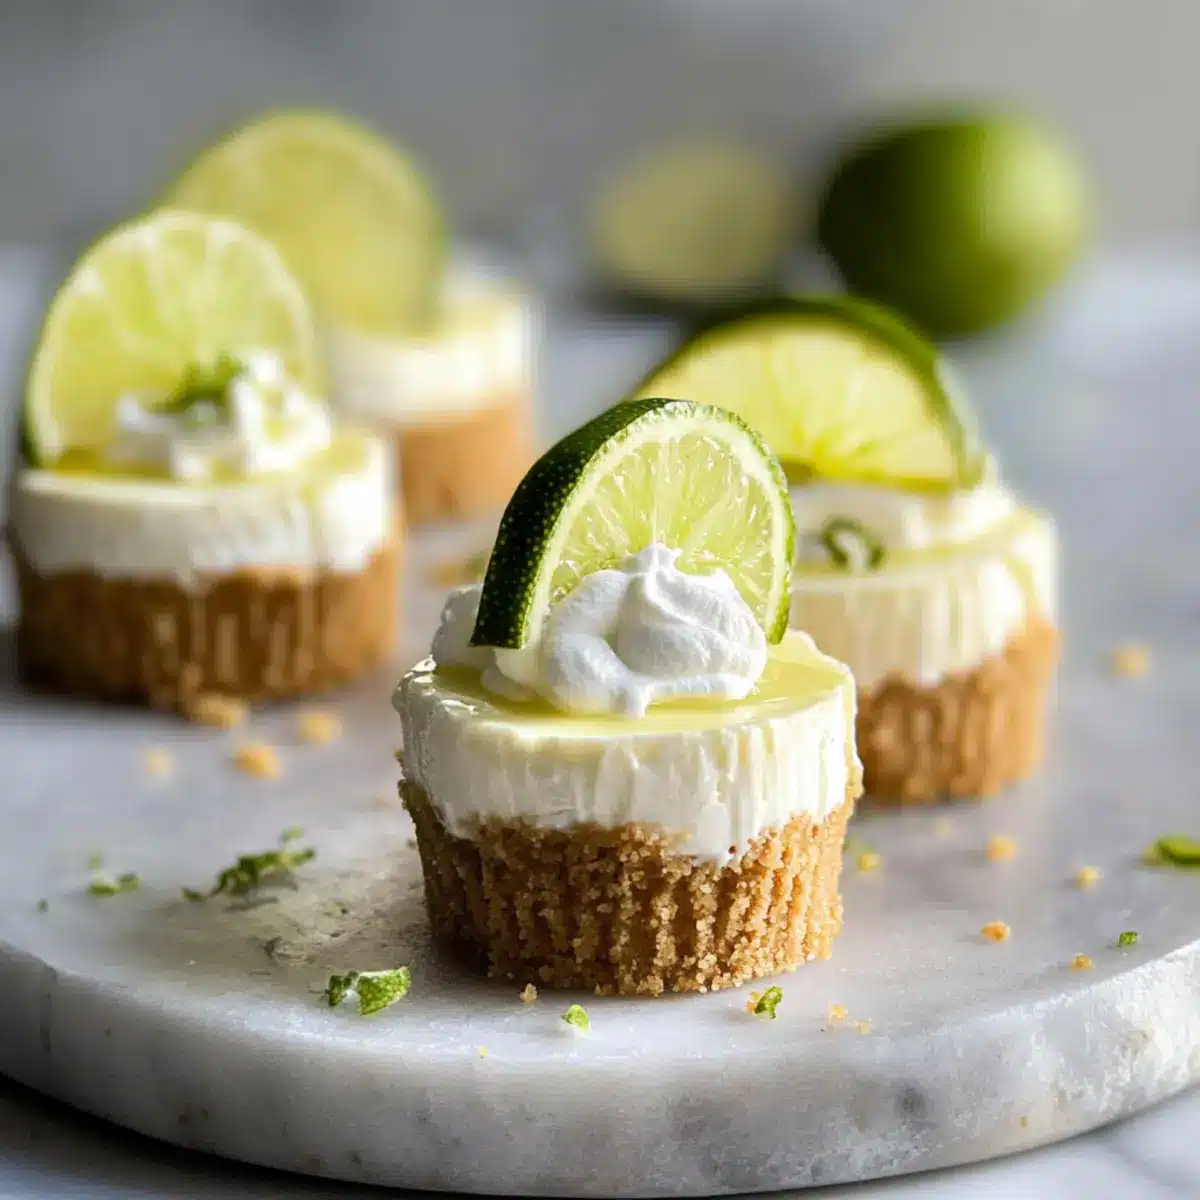
Dreamy Mini Key Lime Cheesecakes for Guilt-Free Indulgence
Ingredients
Equipment
Method
- Preheat your oven to 325°F (160°C) and line a 12-cup muffin tin with foil liners, lightly spraying them with cooking oil.
- In a food processor, pulse graham crackers into fine crumbs. Mix crumbs with melted butter until resembling wet sand. Distribute evenly into muffin liners and press down to create a crust. Bake for 8-10 minutes until slightly golden, then allow cooling for 10 minutes.
- In a mixing bowl, beat softened cream cheese with an electric mixer on medium speed until fluffy, about 2 minutes. Gradually add Greek yogurt and sugar, mixing until smooth.
- Gently mix in the egg, egg white, lime juice, and lime zest until just incorporated, being careful not to overmix.
- Pour the filling over each pre-baked crust, filling them almost to the top, then bake for 15-20 minutes until edges firm up but centers jiggle.
- Allow the cheesecakes to cool to room temperature in the muffin tin. After 30 minutes, transfer to the refrigerator and chill for at least 2 hours.
- To serve, garnish with whipped cream and lime slices for extra zing.
Leave a Reply