
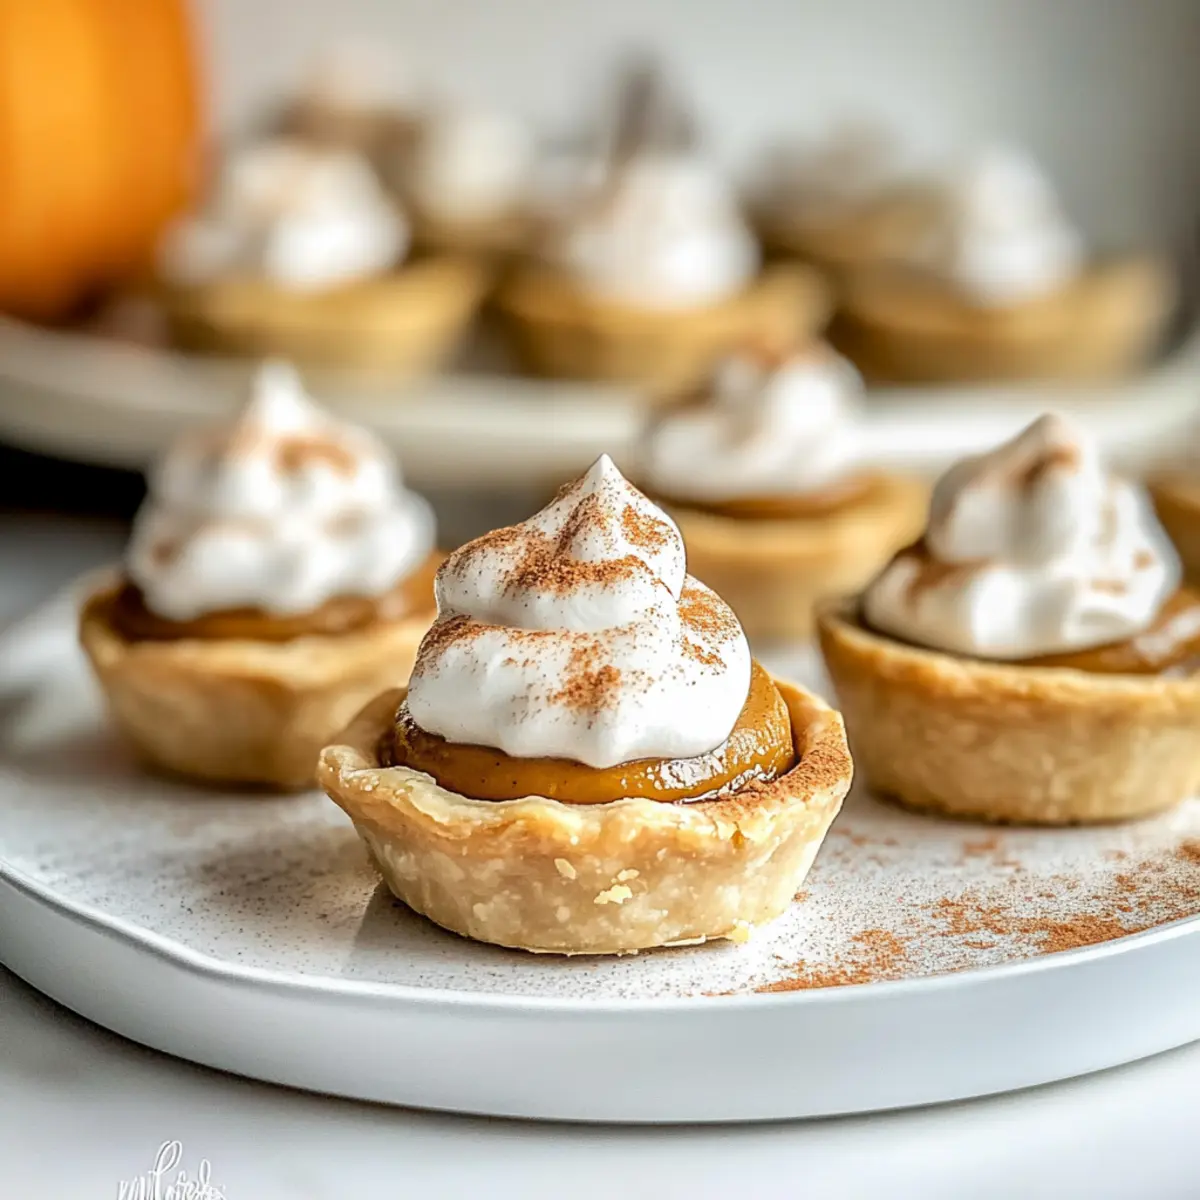
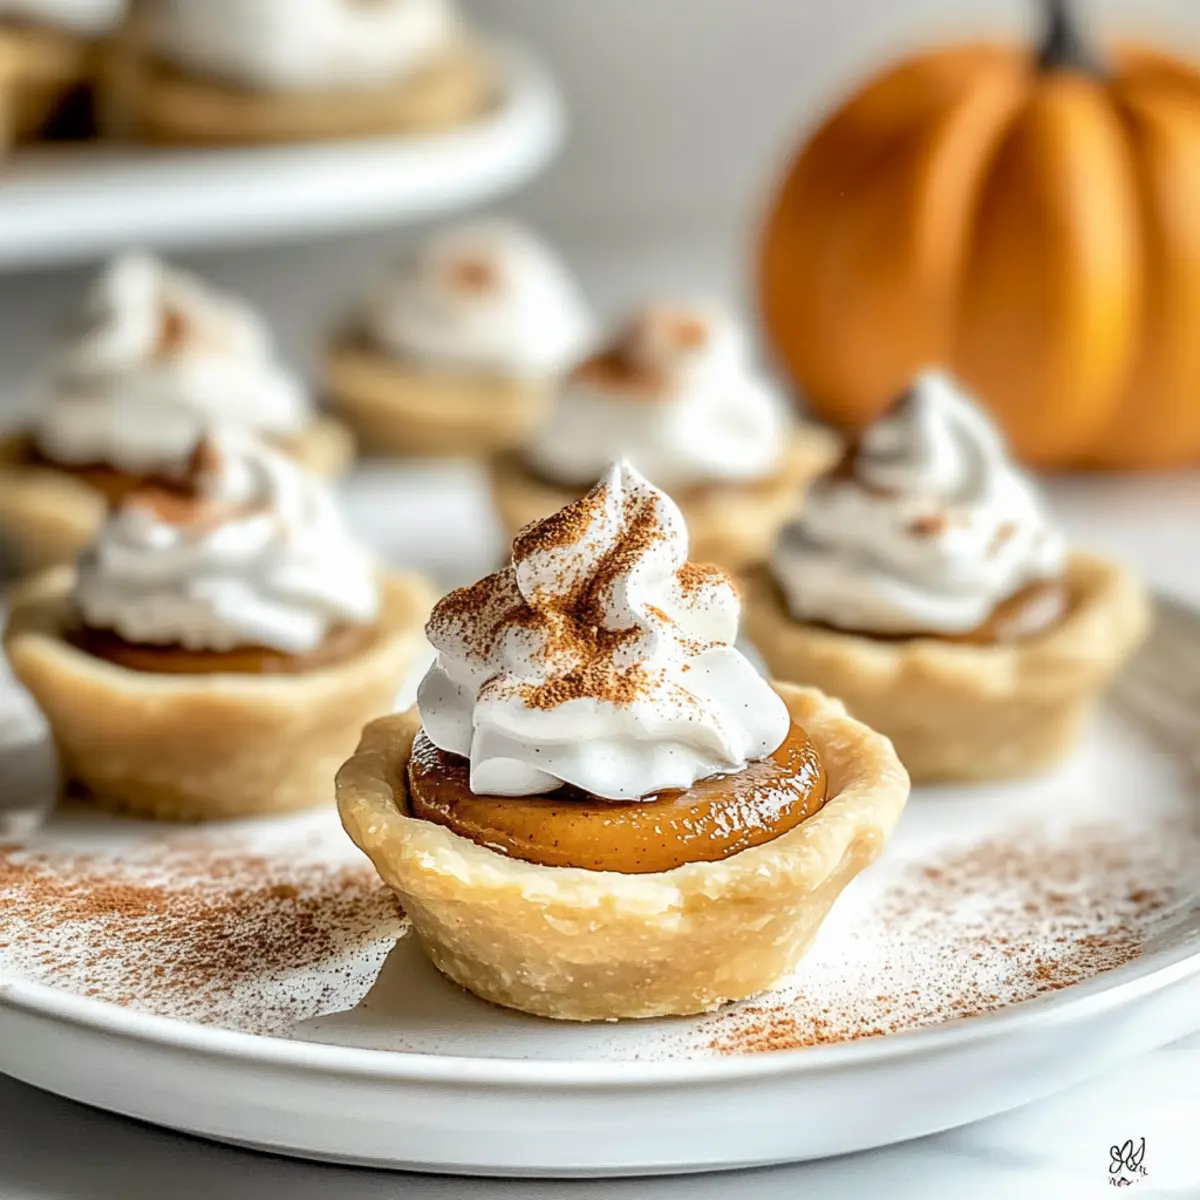
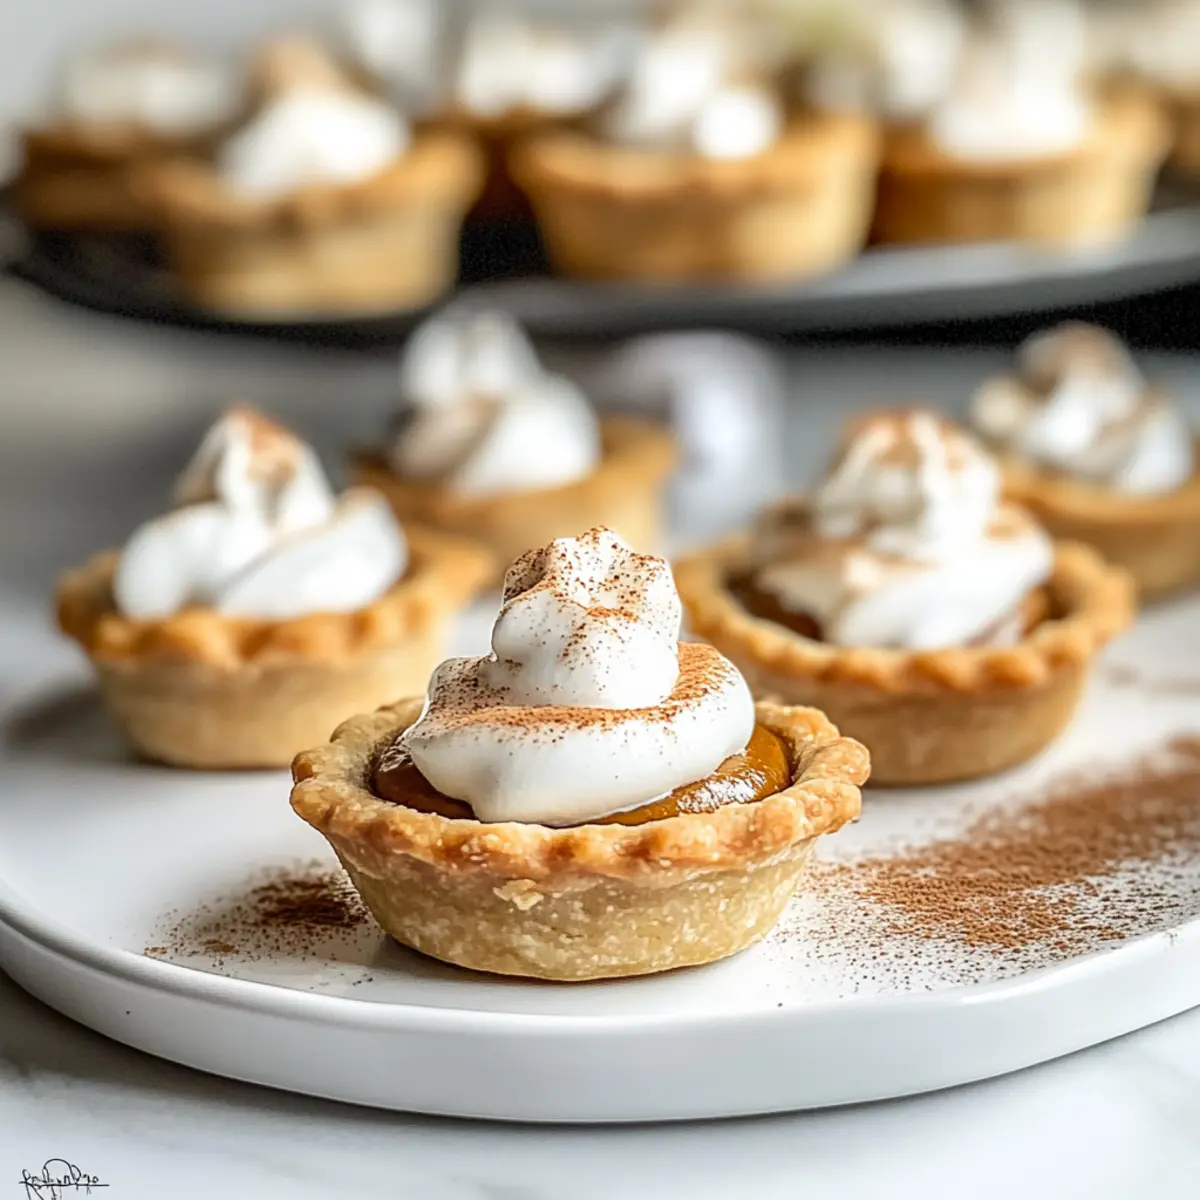
As I lifted the lid on my spice cabinet, a wave of warm, nostalgic aromas swept over me—pumpkin, cinnamon, and nutmeg, the very essence of fall. This inspired me to create a special treat that embodies the spirit of Thanksgiving: Easy Mini Pumpkin Pies. These delightful, two-bite wonders are not only adorable but also a quick and hassle-free way to serve traditional pie flavors to your guests. With their buttery, flaky crust and creamy pumpkin filling, they offer a perfect individual-sized dessert that minimizes mess while maximizing joy at your holiday gatherings. Plus, they can be made ahead of time, allowing you to enjoy more precious moments with family and friends. Ready to elevate your dessert game this season? Let’s dive into how to make these adorable treats together!

Why Are Mini Pumpkin Pies a Must-Try?
Individual Servings: These Easy Mini Pumpkin Pies are perfect for guests who love a personal touch and minimal mess.
Delightfully Flavorful: Each bite bursts with the warm, comforting flavors of pumpkin, cinnamon, and nutmeg, making them an irresistible fall treat.
Quick and Easy: With simple steps and ingredients, you can whip up a batch in no time, freeing you to spend more time with loved ones.
Versatile Garnishes: Top them with whipped cream or a drizzle of caramel for an extra special touch, just like with our Pumpkin Cream Cheese or Pumpkin Alfredo Pasta recipes!
Make-Ahead Friendly: Prep the filling in advance for easy assembly on the big day, allowing you to enjoy the festivities stress-free.
Easy Mini Pumpkin Pies Ingredients
For the Crust
• Unbaked Pie Crust – This forms the flaky base; you can use homemade or store-bought for convenience.
For the Filling
• Pumpkin Purée – Provides the key flavor; opt for 100% pure canned pumpkin, as pumpkin pie filling has added sugars and spices.
• Heavy Cream – Adds richness; full-fat is best for achieving that creamy texture.
• Light Brown Sugar – Sweetens the filling with a subtle molasses flavor.
• Egg – Acts as a binding agent, ensuring the filling sets perfectly.
• Pure Vanilla Extract – Elevates the flavor, making it more complex and enjoyable.
• Pumpkin Pie Spice – Instantly imparts the signature fall taste; feel free to use store-bought or homemade blends.
• Ground Cinnamon – Adds warmth and enhances the cozy spice notes inherent in the recipe.
• Salt – Balances sweetness and intensifies all the flavors.
Optional Garnishes
• Whipped Cream – Adds a light, fluffy touch perfect for serving atop your pies.
• Ground Cinnamon – A simple sprinkle elevates the pies and enhances presentation.
Step‑by‑Step Instructions for Easy Mini Pumpkin Pies
Step 1: Preheat and Prepare
Begin by preheating your oven to 375°F (190°C) to ensure it’s hot enough for baking. While the oven is heating up, lightly grease a mini muffin tin with cooking spray or butter, making it easier to remove the pies once they’re baked. This preparation is essential for your Easy Mini Pumpkin Pies to have perfect golden crusts.
Step 2: Mix the Filling
In a medium bowl, whisk together the pumpkin purée, heavy cream, light brown sugar, egg, pure vanilla extract, pumpkin pie spice, ground cinnamon, and salt for about 3 minutes. The mixture should be smooth and well-combined, indicating it’s ready for the next step. This creamy filling is what makes your Easy Mini Pumpkin Pies so delightful and flavorful!
Step 3: Prepare the Crusts
Roll out the unbaked pie crust and use a 2½-inch round cookie cutter to cut out circles. Place each circle into the greased mini muffin tin, pressing gently to fit snugly into the bottom and sides. This step builds the beautiful, flaky crusts that will cradle your delicious filling, setting the stage for perfect mini pies.
Step 4: Fill the Crusts
Carefully fill each pie crust with the pumpkin filling, ensuring you fill them nearly to the top. This helps achieve that scrumptious creamy texture that characterizes Easy Mini Pumpkin Pies. Be sure to leave a small gap to account for any rising during baking, as the filling will settle nicely as it cooks.
Step 5: Bake to Perfection
Place the muffin tin in the preheated oven and bake for 20 minutes. Look for a golden-brown crust and a filling that is just set and slightly puffed up as visual cues that your mini pies are ready. This step enhances the flavors and gives the edges of your pies that lovely crispness.
Step 6: Cool and Serve
Once baked, remove the mini pumpkin pies from the oven and let them cool in the pan for about 5 minutes. This cooling time allows them to firm up a bit before transferring to a cooling rack. Serving them warm or at room temperature topped with a dollop of whipped cream and a sprinkle of cinnamon will bring out the holiday spirit in your Easy Mini Pumpkin Pies!
Expert Tips for Easy Mini Pumpkin Pies
Whisk Smoothly: Ensure the filling is blended well until smooth; scrape down the bowl as needed for even consistency in your Easy Mini Pumpkin Pies.
Dough Handling: If you’re not using all the pie crust dough, wrap the extra tightly and keep it refrigerated to prevent it from drying out before use.
Choose the Right Cutters: Use proper-sized cookie cutters to fit your muffin tin. Adjust your baking time based on the size of your mini pies for optimal results.
Bake Precisely: Watch the pies closely as they bake; they should be just set, which avoids a runny texture that can detract from their creamy deliciousness.
How to Store and Freeze Easy Mini Pumpkin Pies
Fridge: Store your Easy Mini Pumpkin Pies in an airtight container for up to 3 days. Keep them separated with parchment paper to maintain their flaky crust.
Freezer: If you’d like to enjoy these delightful treats later, freeze them in a single layer on a baking sheet before transferring to a freezer bag. They can be frozen for up to 2 months.
Thawing: To enjoy frozen mini pies, thaw them overnight in the fridge. You can also reheat them in a preheated oven at 350°F for about 10 minutes before serving for a fresh-baked taste.
Make-Ahead: Prepare the pumpkin filling ahead of time and store it covered in the fridge for up to 48 hours. This option simplifies your Thanksgiving preparations!
Easy Mini Pumpkin Pies Variations
Feel free to get creative with your mini pumpkin pies—there’s no limit to how you can customize these delightful treats!
-
Nutty Topping: Add chopped pecans or walnuts on top before baking for a delightful crunch.
-
Chocolate Drizzle: Melt dark chocolate and drizzle over the pies after baking for a rich and decadent twist.
-
Ginger-Snap Crust: Substitute the pie crust with a ginger snap crust for a spicy alternative that complements the pumpkin flavor beautifully.
-
Dairy-Free: Use coconut milk or almond milk instead of heavy cream for a lighter, dairy-free filling that still packs flavor.
-
Spiced Apple Filling: Mix in some diced apples and a touch of cinnamon for a sweet twist based on the classic apple crisp. It’ll offer a fruity surprise in each bite.
-
Maple Flavor: Swap out the brown sugar for pure maple syrup for a naturally sweet and unique taste.
-
Chai Spices: Elevate the flavor profile by using chai spices instead of pumpkin pie spice for a warm, exotic twist that tantalizes the taste buds.
-
Savory Option: Make a savory version by adding shredded cheese and herbs, turning these mini pies into a delightful appetizer. They are perfect when served alongside a bowl of warm pumpkin soup or as a unique addition to your holiday spread!
Experimenting with these variations can make each batch of your Easy Mini Pumpkin Pies a unique treat. If you’re looking for further inspiration, don’t forget to check out our delicious Pumpkin Scones Homemade or indulge in Spiced Pumpkin Butter that pair perfectly with your festive gatherings!
Make Ahead Options
These Easy Mini Pumpkin Pies are a fantastic solution for busy home cooks looking to streamline their holiday preparations! You can prepare the pumpkin filling up to 48 hours in advance; simply whisk together the pumpkin purée, heavy cream, sugar, egg, and spices, then store it in an airtight container in the refrigerator to maintain freshness. Additionally, the unbaked pie crusts can be rolled out and cut up to 24 hours ahead; just refrigerate them until you’re ready to assemble. When you’re ready to serve, fill the crusts with the prepared filling and bake as directed for delightful, fresh, mini treats that taste just as good as if baked that same day!
What to Serve with Easy Mini Pumpkin Pies
The warmth of autumn flavors comes alive with delightful pairings that elevate your dessert experience!
- Whipped Cream: A dollop on each pie adds a light, fluffy contrast that complements the creamy filling beautifully.
- Spiced Apple Cider: The warmth of spiced cider brings a cozy, festive atmosphere, enhancing the pie’s flavor profile with its own fall spices.
- Candied Pecans: Crunchy and sweet, these add a delightful textural contrast that rounds out the taste of the creamy filling.
- Chocolate Drizzle: A touch of chocolate creates an unexpected twist, bringing a rich flavor that contrasts playfully with the pumpkin.
- Ginger Snap Cookies: Their spiciness will harmonize with the pumpkin pie spice, creating a platter of treats that guests will love.
- Vanilla Ice Cream: A scoop beside a warm mini pie melts slightly, creating a dreamy blend of textures and flavors that is simply irresistible.
- Pumpkin Spice Latte: The classic fall beverage with its familiar spice blend elevates the mini pies, making them a perfect dessert choice.
- Pecan Pie Bites: For those who adore variety, these offer a different texture and flavor that pairs beautifully with the pumpkin filling.
- Fresh Fruit Salad: A refreshing mix of fruits adds lightness to the table, balancing the rich mini pies with a burst of freshness.
Easy Mini Pumpkin Pies Recipe FAQs
What type of pumpkin purée should I use?
Absolutely! For the best flavor, use 100% pure canned pumpkin purée. Avoid pumpkin pie filling, as it includes added sugars and spices that can alter your perfect Easy Mini Pumpkin Pies.
How should I store the mini pumpkin pies?
Very easy! Store your Easy Mini Pumpkin Pies in an airtight container in the refrigerator for up to 3 days. Ensure to separate the pies with parchment paper to keep the crusts nice and flaky!
Can I freeze the mini pumpkin pies?
Yes, indeed! To freeze your mini pies, place them in a single layer on a baking sheet until they are fully frozen. Once solid, transfer them to a freezer bag and they can be frozen for up to 2 months. This method preserves their deliciousness!
What if my filling is runny?
Don’t worry, it happens! If you find your filling is runny before baking, try whisking it a bit more to ensure everything is well combined. Additionally, make sure to bake them until the filling is just set and slightly puffed for a perfect texture. If they seem too full, it’s okay to leave a small gap when filling the crusts.
Do these mini pies contain allergens?
Great question! These pies contain common allergens such as eggs, dairy (heavy cream), and gluten (from the pie crust). If you or your guests have dietary restrictions, consider using alternative ingredients like a dairy-free cream or gluten-free pie crust.
Can I prepare the filling in advance?
Absolutely, it’s highly recommended! You can prepare the filling up to 48 hours in advance. Just store it covered in the refrigerator. This makes assembling your Easy Mini Pumpkin Pies on the day of serving a breeze!
Irresistibly Easy Mini Pumpkin Pies for Your Thanksgiving Table
Ingredients
Equipment
Method
- Preheat your oven to 375°F (190°C) and grease a mini muffin tin.
- In a medium bowl, whisk together pumpkin purée, heavy cream, light brown sugar, egg, vanilla extract, pumpkin pie spice, ground cinnamon, and salt for about 3 minutes.
- Roll out the unbaked pie crust and cut out 2½-inch circles. Place each circle into the greased mini muffin tin.
- Fill each pie crust with the pumpkin filling nearly to the top, leaving a small gap for rising.
- Bake for 20 minutes until the crust is golden brown and filling is set.
- Cool in the pan for 5 minutes, then transfer to a cooling rack. Serve warm or at room temperature.
Leave a Reply