
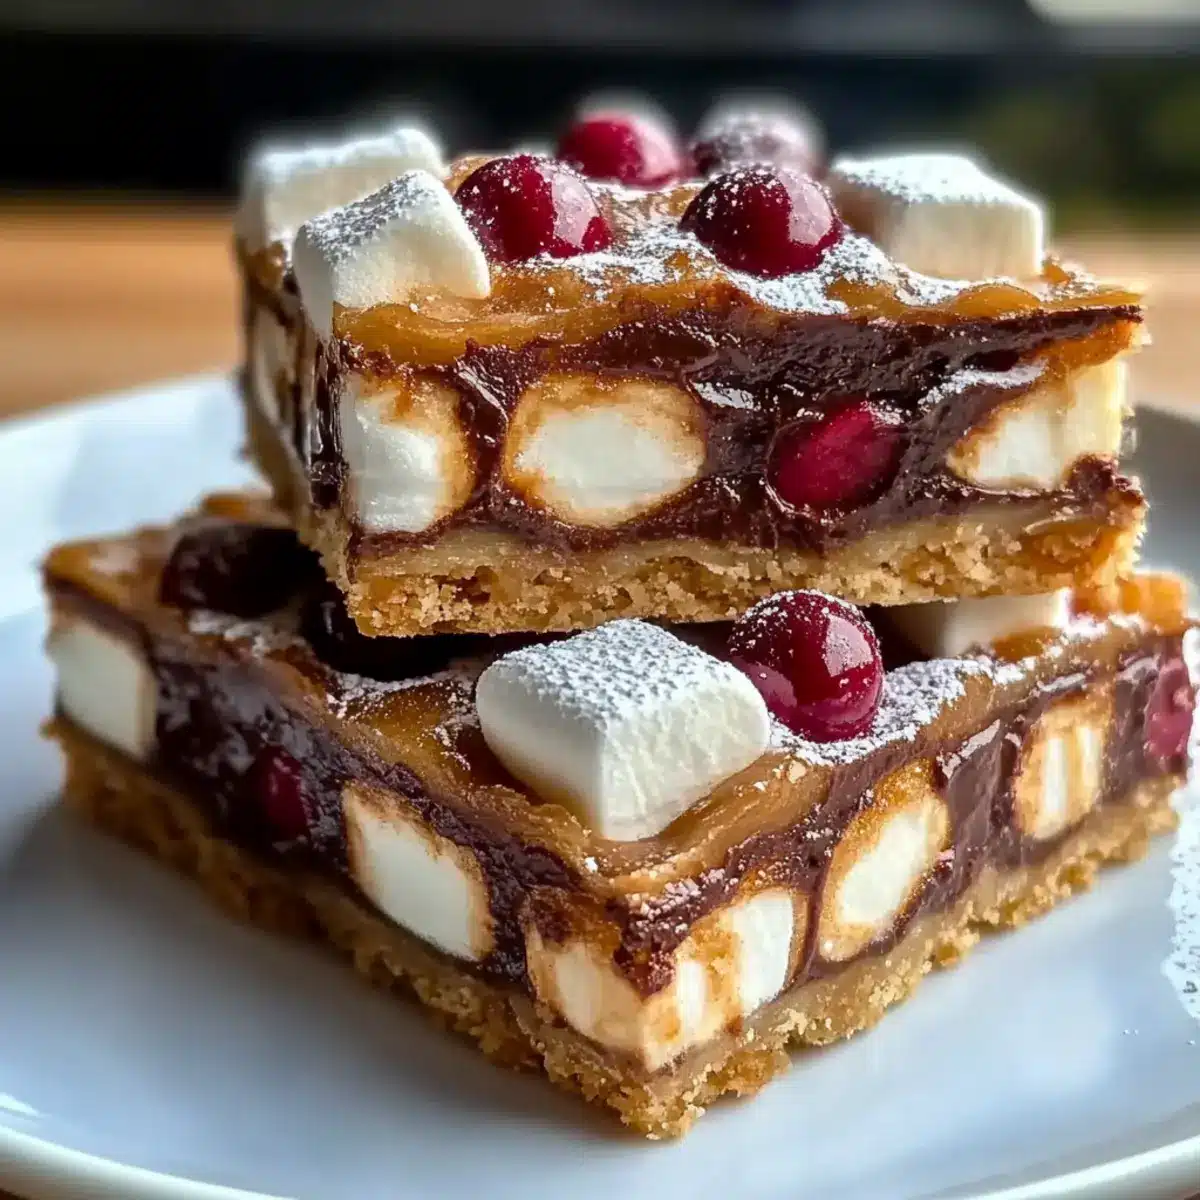
The aroma of melting chocolate and sweet marshmallows fills the air, instantly transporting me to holiday gatherings filled with laughter and joy. In just 45 minutes, you can make these delightful Christmas Bars, a quick and easy treat that will surely impress your guests and elevate your festive spirit. Bursting with rich chocolatey goodness, these bars are an absolute crowd-pleaser and can be easily customized to suit any dietary need—whether you’re looking for a nut-free, gluten-free, or vegan version. Perfect for celebrating or simply indulging during the busy holiday season, these bars will quickly become a cherished part of your annual traditions. What festive twist will you choose for your Christmas Bars?

Why Are These Christmas Bars So Irresistible?
Simplicity: In just 45 minutes, you can whip up these delicious bars with minimal effort. Perfect for busy holiday schedules!
Customizable: Tailor them to suit your preferences; choose from nut-free, gluten-free, or even vegan adaptations to make everyone happy.
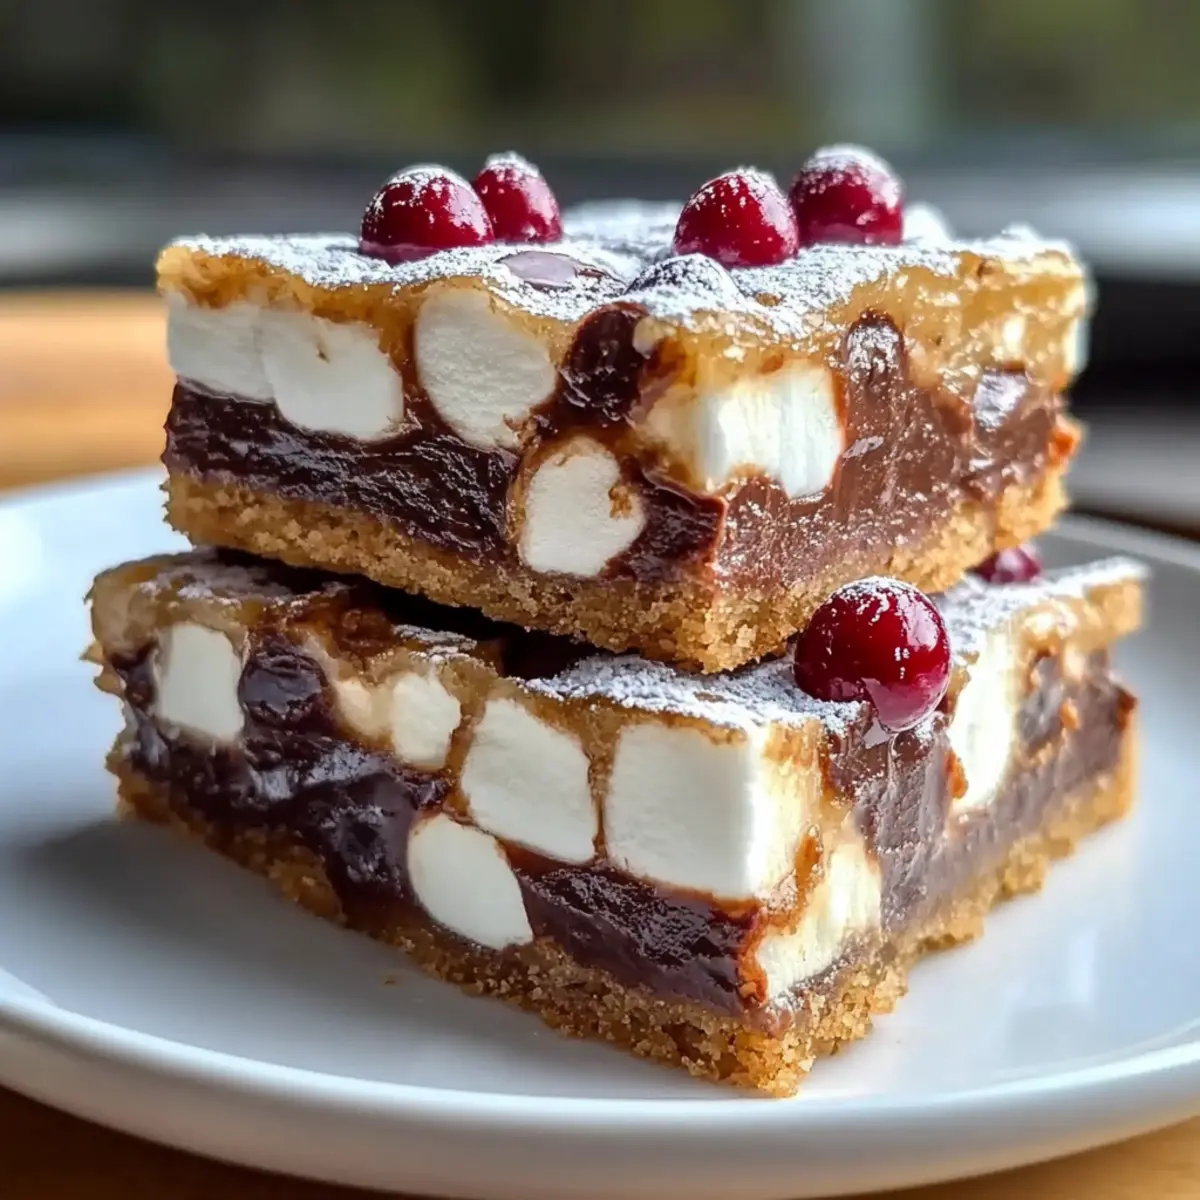
Crowd-Pleaser: With their rich chocolate flavor and chewy marshmallows, these bars are sure to impress guests at holiday parties or cozy family gatherings.
Unique Variations: Experiment with a mint chocolate twist or a fruit and nut medley for a fresh spin on a classic treat.
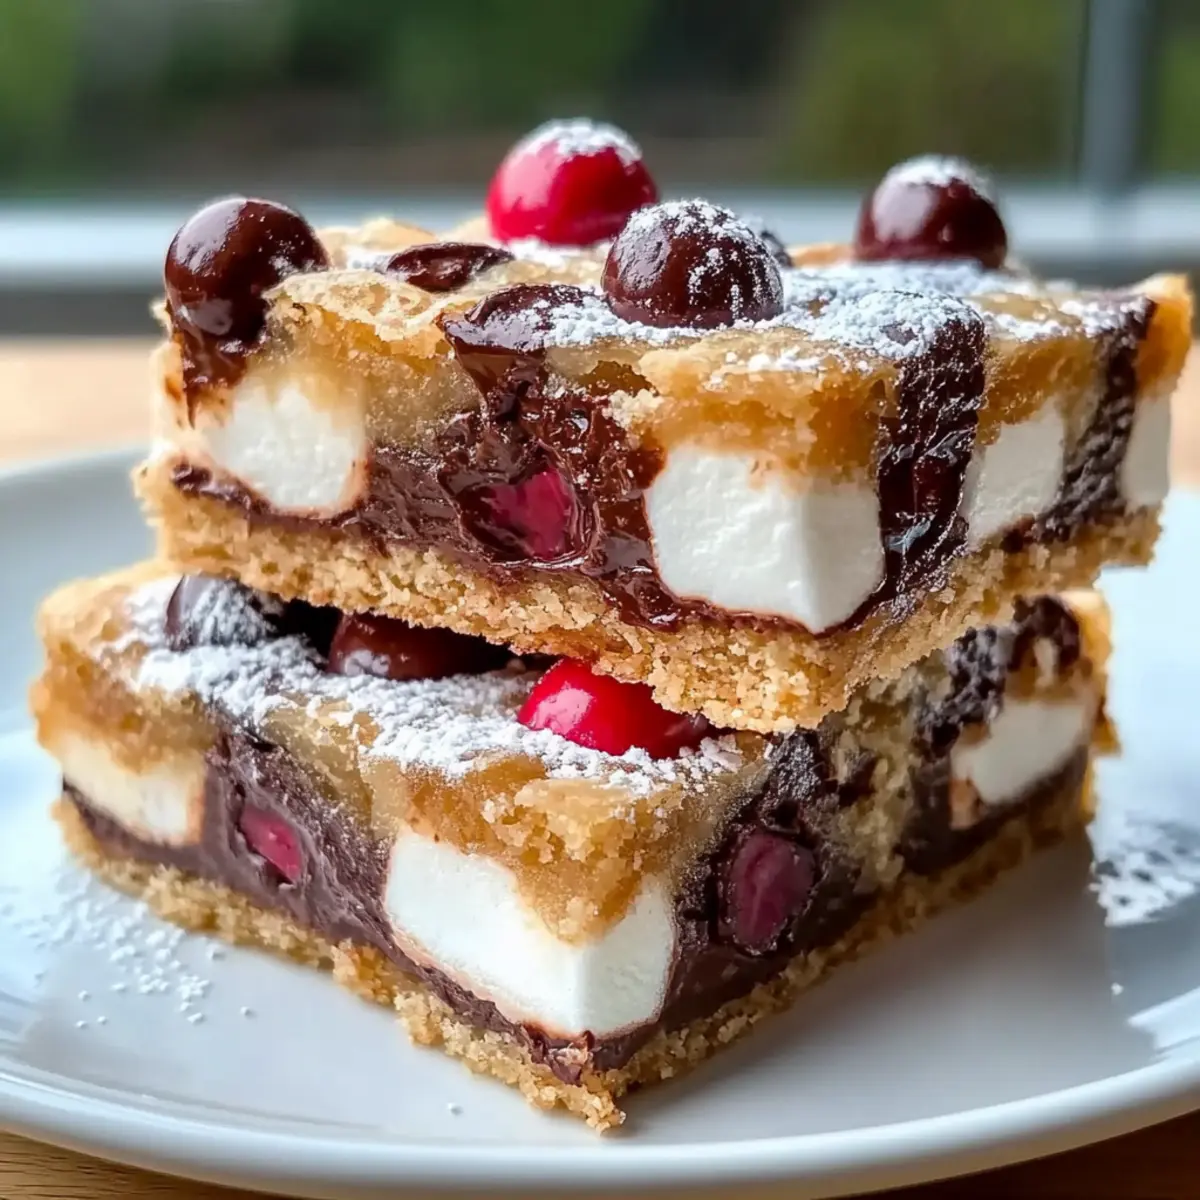
Whether enjoyed with a warm cup of cocoa or paired with a scoop of ice cream, these Christmas Bars are a festive delight that will make your holiday gatherings even sweeter.
Christmas Bars Ingredients
Get ready to make the sweetest holiday treat!
For the Base
• Graham Cracker Crumbs – Provides a sweet and crunchy base; substitution: Use whole graham crackers if preferred.
• Unsweetened Cocoa Powder – Adds rich chocolate flavor; note: Opt for high-quality cocoa for best taste.
• Powdered Sugar – Sweetens the bars for that smooth texture; essential for the melt-in-your-mouth experience.
• Unsalted Butter (melted) – Binds the mixture while adding richness; substitution: Replace with melted coconut oil for a dairy-free option.
• Sweetened Condensed Milk – Creates moisture and sweetness for that chewy texture; vital for the overall consistency.
For the Mix-ins
• Mini Marshmallows – Introduce a fun, chewy element; regular marshmallows can be used, but mini ones distribute better.
• Chocolate Chips – Enhance the chocolate flavor; substitutes: Dark, milk, or white chocolate chips work well.
• Chopped Nuts (optional) – Adds a delightful crunch; can be omitted for nut allergies.
These Christmas Bars are not only quick and easy to make but also customizable to delight everyone at your holiday gatherings!
Step‑by‑Step Instructions for Christmas Bars
Step 1: Preheat the Oven
Begin by preheating your oven to 350°F (175°C). This ensures even baking as you prepare your delicious Christmas Bars. While the oven warms up, gather your ingredients and equipment, including a greased 9×13 inch baking pan.
Step 2: Combine Dry Ingredients
In a large mixing bowl, combine graham cracker crumbs, unsweetened cocoa powder, and powdered sugar. Stir these dry ingredients together until well blended, ensuring there are no lumps. This mix forms the rich and crunchy base of your Christmas Bars and brings a delightful chocolate flavor.
Step 3: Mix Wet Ingredients
Pour in the melted unsalted butter and sweetened condensed milk to your dry ingredients. Use a spatula to mix thoroughly until everything is combined into a thick and sticky batter. This step is crucial, as the wet ingredients help bind the mixture together for a chewy texture in your Christmas Bars.
Step 4: Fold in Mix-Ins
Gently fold in the mini marshmallows, chocolate chips, and any optional chopped nuts you may want to include. Be careful not to overmix; you want to preserve the texture of the marshmallows for that delightful chewiness. This step will enhance your Christmas Bars with extra flavor and a fun twist.
Step 5: Spread the Mixture
Transfer the mixture into your prepared baking pan. Use your spatula to evenly spread the mixture across the pan and smooth the top. This ensures each piece of your Christmas Bars has a consistent texture and thickness after baking, setting the foundation for a treat everyone will love.
Step 6: Bake the Bars
Place the pan in your preheated oven and bake for 25-30 minutes. You’ll know it’s ready when the edges are set, and the center is slightly firm to the touch. The heavenly aroma of chocolate and marshmallows will fill your kitchen, creating a festive atmosphere as you await the delicious outcome.
Step 7: Cool Completely
Once baked, remove the pan from the oven and allow the Christmas Bars to cool completely in the pan. This cooling phase is essential; if cut too early, the bars may crumble. After about 30-45 minutes, your bars will be ready to cut into squares for a perfect holiday treat!
Make Ahead Options
These festive Chocolate Marshmallow Christmas Bars are perfect for busy home cooks looking to save time! You can prepare the base mixture up to 24 hours in advance by mixing the graham cracker crumbs, cocoa powder, powdered sugar, melted butter, and sweetened condensed milk. Simply store the mixture in an airtight container in the refrigerator to maintain its freshness. When you’re ready to bake, fold in the mini marshmallows and chocolate chips, then spread and bake as instructed. This allows you to enjoy the holiday cheer without the stress of last-minute preparations, resulting in delicious treats that are just as delightful!
How to Store and Freeze Christmas Bars
Room Temperature: Store your Christmas Bars in an airtight container at room temperature for up to one week to maintain their chewy texture and flavor.
Fridge: If you prefer them chilled, you can keep the bars in the refrigerator for up to 10 days. Just be sure they are sealed properly to avoid drying out.
Freezer: For longer storage, freeze your Christmas Bars wrapped tightly in plastic wrap, then place them in a freezer-safe container. They can last up to three months.
Reheating: To enjoy your bars warm, microwave individual pieces for about 15 seconds. This will revitalize their gooey goodness!
Expert Tips for the Best Christmas Bars
-
Melted Butter: Ensure your unsalted butter is fully melted for a smooth mixture; if it’s too cold, lumps can form in your batter.
-
Pan Preparation: Use non-stick spray or parchment paper to line your baking pan, making it easier to remove your Christmas Bars once cooled.
-
Cooling Time: Allow the bars to cool completely before cutting them into squares; this prevents them from crumbling and retains their chewy texture.
-
Mix-In Mayhem: Don’t hesitate to experiment with mix-ins! Dried fruits, coconut, or even different types of chocolate can elevate your Christmas Bars to new heights.
-
Storage Savvy: Store your bars in an airtight container at room temperature for optimal freshness, or freeze them for future indulgence.
Christmas Bars Variations & Substitutions
Feel free to unleash your creativity and customize these Christmas Bars to suit your tastes and dietary needs!
-
Nut-Free Version: Omit chopped nuts and add extra chocolate chips for a completely nut-free treat everyone can enjoy. A rich, chocolaty touch will satisfy any sweet tooth!
-
Gluten-Free Option: Use gluten-free graham cracker crumbs or almond flour to make this dessert accessible for gluten-sensitive friends. Each bite will still deliver that signature chewy goodness!
-
Vegan Adaptation: Replace butter with melted coconut oil and use vegan sweetened condensed milk for a delicious plant-based version. Indulging in festive flavors shouldn’t mean sacrificing dietary choices!
-
Mint Chocolate Twist: Adding a splash of peppermint extract can elevate your bars with a refreshing mint flavor that’s perfect for the holiday season. It’s like a candy cane embedded in chocolate bliss!
-
Fruit and Nut Medley: Toss in dried cranberries or cherries along with your choice of nuts for a delightful burst of flavor and texture. The mix of sweetness and crunch creates a sensational combination!
-
Coconut Delight: Incorporate shredded coconut for a tropical twist that complements the chocolate beautifully. These bars become a fun, flavorful treat that’ll whisk you away to paradise.
-
Spiced Version: Add warm spices like cinnamon or nutmeg for a festive kick. This twist wraps your bars in cozy holiday aromas, perfect for chilly nights around the fire.
-
Fudgy Brownie Style: Swap out a portion of the graham cracker crumbs for brownie batter for an indulgent, fudgy texture. This variation will leave chocolate lovers weak at the knees!
Explore these unique variations and don’t forget to serve your bars with a hot drink like spiced apple cider or a scoop of vanilla ice cream to make every moment special. For added inspiration, check out these delicious nut-free dessert ideas or discover more about gluten-free recipes to suit everyone at your table. Happy holiday baking!
What to Serve with Festive Chocolate Marshmallow Christmas Bars
Indulging in these sweet treats is only the beginning of a delightful holiday experience.
- Hot Cocoa: The creamy richness of hot cocoa pairs perfectly, balancing the bars’ sweetness while adding warmth to your festive gatherings.
- Spiced Apple Cider: This spiced drink enhances the holiday spirit and provides a refreshing contrast to the chocolatey bars. The cinnamon notes echo the warmth of the season perfectly.
- Ice Cream Scoop: A dollop of vanilla or peppermint ice cream adds a delightful creaminess, creating an irresistible combination that’s sure to satisfy any sweet tooth.
- Fruit Salad: A vibrant mix of seasonal fruits provides a fresh, tangy contrast that lightens the overall dessert experience, making every bite feel special.
- Cheese Platter: Pair with an assortment of cheeses for a delightful contrast in flavors that will impress guests and elevate your holiday spread.
- Gingerbread Cookies: Their spicy sweetness complements the rich chocolate flavors of your Christmas Bars, creating a festive sweet table that beckons for indulgence.
- Chocolate Milkshake: For a truly decadent twist, serve your bars alongside a chocolate milkshake for a nostalgic, indulgent treat that children and adults alike will adore.
- Peppermint Tea: A warm cup of peppermint tea provides a cozy finish to your dessert, refreshing the palate and rounding out your festive meal in style.
Christmas Bars Recipe FAQs
What kind of graham crackers should I use for the base?
You can use store-bought graham cracker crumbs for convenience, or crush whole graham crackers if you prefer a fresher taste. Just ensure that you measure them properly for the best texture!
How should I store my Christmas Bars?
Store your Christmas Bars in an airtight container at room temperature for up to 3 days. If you’d like to keep them fresh for longer, they can be stored in the refrigerator for up to a week. The bars will absorb moisture, so make sure the container is sealed well to maintain that delightful chewiness.
Can I freeze my Christmas Bars?
Absolutely! Wrap each cooled bar in plastic wrap and then place them in a freezer bag. Your Christmas Bars can be frozen for up to 3 months. When you’re ready to enjoy them, simply thaw them in the refrigerator overnight or warm them in the microwave for a few seconds—this helps bring back their chewy texture!
What if my bars turn out crumbly instead of chewy?
If your Christmas Bars turn out crumbly, it could be due to overbaking or not using enough moisture. Make sure to bake them until just set and allow them to cool completely in the pan before cutting. If they still seem dry, next time, try adding a touch more sweetened condensed milk for extra moisture.
Are these Christmas Bars suitable for people with nut allergies?
Yes! You can easily make these bars nut-free by omitting chopped nuts entirely. They are still delicious and chewy without compromising on flavor, so everyone can enjoy them!
Can I make these bars gluten-free?
Absolutely! To make gluten-free Christmas Bars, simply substitute regular graham cracker crumbs with gluten-free graham cracker crumbs or almond flour. Just be sure to check that all your other ingredients are gluten-free as well. Enjoy the festive treat worry-free!
Irresistibly Chewy Christmas Bars for Your Holiday Spread
Ingredients
Equipment
Method
- Preheat the oven to 350°F (175°C) and prepare a 9x13 inch baking pan.
- In a large mixing bowl, combine the graham cracker crumbs, unsweetened cocoa powder, and powdered sugar.
- Pour in the melted unsalted butter and sweetened condensed milk, stirring until fully integrated.
- Fold in the mini marshmallows, chocolate chips, and chopped nuts.
- Transfer the mixture to the prepared baking pan, spreading it evenly.
- Bake in the preheated oven for 25 to 30 minutes until the edges are set.
- Allow to cool completely in the pan on a wire rack before cutting.
Leave a Reply