
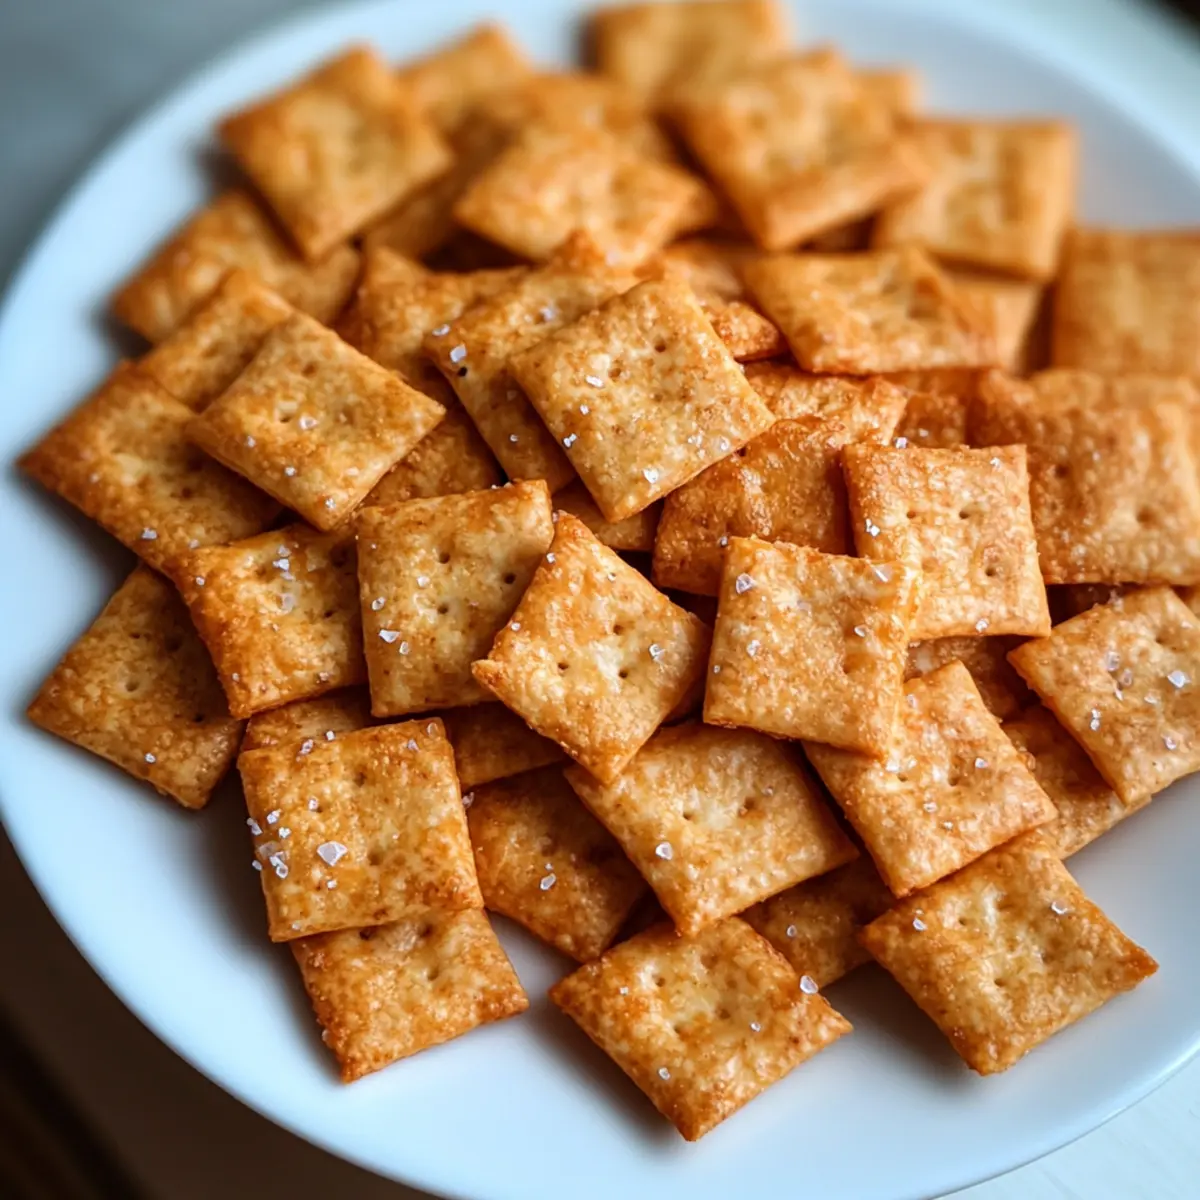
There’s something undeniably satisfying about transforming a humble sourdough discard into crunchy, cheesy delights. This Sourdough Cheez Its Recipe is not only a brilliant way to reduce waste but also an invitation to indulge in homemade goodness. These easy-to-make crackers bring that familiar snack-time nostalgia without the preservatives found in store-bought versions. With quick prep and the flexibility of using an active starter or leftover discard, they’re a fun choice for both kids and adults alike. You’ll love how they promote gut health as you savor each bite! Are you ready to embark on a crunchy adventure that elevates your snacking game?
Why Choose Homemade Sourdough Cheez Its?
Flavor Explosion: You’ll be delighted by the rich, cheesy taste of fresh cheddar complemented by the unique tang of sourdough.
Quick and Easy: With just a few simple steps, you can whip up a batch in no time—perfect for busy weeknights!
Waste Not, Want Not: This recipe makes fantastic use of sourdough discard, showing you how to reduce food waste creatively.
Crowd-Pleaser: Kids and adults alike will adore these snacks, making them the ideal addition to any gathering or lunchbox.
Versatile Twist: Experiment with different cheeses or spices to create your own signature flavor—try adding some cayenne for a kick! Give your family the joy of homemade snacks with these delightful Sourdough Cheez Its!
Sourdough Cheez Its Ingredients
For the Crackers
• Cheddar Cheese – Use sharp cheddar for a stronger taste and richer flavor.
• Sourdough Discard – This key ingredient contributes to the unique flavor profile and crunchy texture; can substitute with active sourdough starter by weight.
• Unsalted Butter – Ensures flakiness and moisture; make sure it’s cold and cubed for the best results.
• All-Purpose Flour – Forms the structure of the crackers; substitute up to half with whole wheat flour for a nuttier flavor.
• Garlic Powder – Enhances the savory flavor; optional but highly recommended for a deeper taste.
• Onion Powder – Complements garlic and boosts overall flavor; can be swapped with onion flakes if needed.
• Salt – Balances the flavors; consider adding flaky salt on top for extra texture and taste.
Give the Sourdough Cheez Its Recipe a try to enjoy the satisfaction of homemade, healthier snacks!
Step‑by‑Step Instructions for Sourdough Cheez Its Recipe
Step 1: Prepare Dough
In a food processor, combine 1 cup of shredded sharp cheddar cheese, ½ cup of sourdough discard, ½ cup of cold, cubed unsalted butter, 1 cup of all-purpose flour, ½ teaspoon of garlic powder, ½ teaspoon of onion powder, and ½ teaspoon of salt. Pulse the mixture until it reaches a wet sand texture, holding together when squeezed. This Sourdough Cheez Its dough should be well-blended but not overly sticky.
Step 2: Chill Dough
Transfer the combined dough onto a clean surface and shape it into a flat disc approximately 1 inch thick. Wrap the disc tightly in plastic wrap and refrigerate for at least 30 minutes, or up to 2 days for added flavor. The chilling process is key for firming up the dough, which will lead to perfectly crunchy Sourdough Cheez Its.
Step 3: Preheat Oven
While your dough chills, preheat your oven to 350°F (175°C). Line a baking sheet with parchment paper to prevent sticking and ensure even baking of your Sourdough Cheez Its. Preheating the oven is essential so that your crackers bake evenly and achieve the perfect golden brown color.
Step 4: Roll & Cut
Once the dough is chilled, lightly flour your working surface and roll the dough out to about 1/16 inch thickness. Use a sharp knife or a pizza cutter to cut the rolled-out dough into square shapes. Place the cut crackers on the prepared baking sheet and use a toothpick to dock each cracker—this allows for proper air circulation during baking.
Step 5: Bake
Before placing your baking sheet in the oven, sprinkle each cracker with flaky salt for added flavor. Bake the Sourdough Cheez Its for 18-22 minutes, or until they are golden brown and crisp. Keep a close eye on them towards the end of baking, as they can quickly go from golden to burnt.
Step 6: Cool & Store
Once baked, remove the crackers from the oven and allow them to cool completely on the baking sheet. This cooling step is crucial for maintaining their crunchiness. After they have cooled, store your Sourdough Cheez Its in an airtight container at room temperature for up to two weeks. Enjoy a delicious, homemade snack!
Tips for the Best Sourdough Cheez Its
- Dough Thickness Matters: Rolling the dough to about 1/16-inch thick ensures your Sourdough Cheez Its turn out crispy, preventing any chewy texture.
- Freshly Grated Cheese: Always opt for freshly grated sharp cheddar instead of pre-shredded. It delivers a superior melt and flavor, enhancing your crackers.
- Chill for Flavor: Letting the dough chill for at least 30 minutes, or up to two days, allows flavors to deepen, resulting in tastier Cheez Its.
- Monitoring Bake Time: Oven differences can affect baking time. Keep an eye on your crackers to catch them at that perfect golden brown without burning.
- Customize Your Cracker: Feel free to experiment! Swap cheddar for other cheese types or add spices for a unique twist on your Sourdough Cheez Its.
Sourdough Cheez Its Variations & Substitutions
Unleash your creativity in the kitchen by customizing these delightful Sourdough Cheez Its. Enjoy a crunchy journey filled with unexpected flavors!
-
Cheese Swap: Use Parmesan or Colby for unique taste variations; each cheese brings its own personality.
-
Herb Infusion: Add a pinch of dill or paprika for an aromatic twist; these herbs elevate the flavor profile beautifully.
-
Spicy Kick: Incorporate cayenne pepper or chili powder for a fiery alternative; the spiciness pairs remarkably well with the cheese.
-
Whole Grain: Substitute half the all-purpose flour with whole wheat flour; this brings in a nutty flavor and additional fiber.
-
Nutty Bliss: Introduce ground flaxseed for a nutritious twist; it adds a delightful texture while enhancing the health benefits.
-
Onion Finesse: Swap onion powder for dehydrated onion flakes for a chunkier texture; they add bursts of flavor throughout.
-
Baking Lift: Use baking powder for a lighter cracker; this small addition changes up the texture, making them even more enjoyable.
-
Gluten-Free Option: Substitute with gluten-free flour blend for a versatile snack; everyone can join the fun, even those with gluten sensitivities.
Explore the depths of flavor and texture with these variations, and perhaps get inspired by other recipes like Mushroom Stroganoff Hearty or Honey Garlic Tofu for unique dinner pairings!
How to Store and Freeze Sourdough Cheez Its
- Room Temperature: Store your Sourdough Cheez Its in an airtight container at room temperature for up to 2 weeks. Keep them away from direct sunlight to maintain their crunch.
- Freezer: For longer storage, freeze the crackers in a single layer on a parchment-lined baking sheet, then transfer to a freezer-safe bag. They can be frozen for up to 2 months.
- Re-crisping: If your Sourdough Cheez Its lose their crunch, simply reheat them in a 300°F (150°C) oven for about 5-10 minutes, ensuring they’re crisp and ready to enjoy again.
- Thawing: When ready to eat frozen crackers, let them thaw at room temperature for about 15-20 minutes before re-crisping, ensuring they don’t become soggy.
Make Ahead Options
These Sourdough Cheez Its are perfect for busy home cooks who want to save time during the week! You can prepare the dough and chill it in the refrigerator for up to 2 days before baking. Simply follow the initial steps of making the dough and wrap it tightly in plastic wrap to prevent drying out. When you’re ready to enjoy your homemade snacks, roll out the chilled dough, cut into squares, and bake them, ensuring you have crunchy crackers with minimal effort. This way, you can have fresh, delicious Sourdough Cheez Its ready to serve for those spontaneous snack cravings or gatherings, without the last-minute rush!
What to Serve with Sourdough Cheez Its
These homemade snacks are perfect for elevating your next gathering or casual snack time.
- Creamy Hummus: This dip adds a smooth texture that pairs beautifully with the crunchy Cheez Its, creating a delightful mouthfeel.
- Zesty Salsa: Bright and tangy, salsa complements the cheesy flavor with a refreshing kick. It’s perfect for those who enjoy a burst of flavor.
- Savory Spinach Artichoke Dip: The creamy richness of this classic dip contrasts with the brittle texture of the crackers, offering a delicious party option.
- Classic Vegetable Soup: Serve alongside a warm bowl of soup for a cozy meal. The Cheez Its add a satisfying crunch and cheesy flavor to each spoonful.
- Crisp Green Salad: Light and refreshing, a salad balances the richness of the Cheez Its, making for a complete meal when paired together.
- Sparkling Lemonade: A bright, fizzy drink with a hint of sweetness enhances the cheese flavor while refreshing your palate.
- Chocolate-Covered Strawberries: For a sweet finish, these strawberries make a delightful contrast to the savory crackers, creating a well-rounded snack experience.
Sourdough Cheez Its Recipe FAQs
What kind of cheese works best for Sourdough Cheez Its?
Absolutely! Sharp cheddar cheese is my go-to for these crackers as it provides a rich flavor that really shines through. However, feel free to experiment with other hard cheeses like Parmesan or Colby for a different taste sensation.
How do I properly store Sourdough Cheez Its?
To maintain their delightful crunch, store your Sourdough Cheez Its in an airtight container at room temperature for up to 2 weeks. Make sure to keep them in a cool, dry place away from direct sunlight. This way, you’ll be able to enjoy them fresh for as long as possible!
Can I freeze Sourdough Cheez Its?
Certainly! To freeze your Sourdough Cheez Its, spread them out in a single layer on a parchment-lined baking sheet first, and freeze until solid. Then, transfer them to a freezer-safe bag. They’ll stay good for up to 2 months! When you’re ready to munch on them again, simply thaw them at room temperature for about 15-20 minutes and then re-crisp in a 300°F (150°C) oven for about 5-10 minutes.
How can I adjust the dough if I use an active sourdough starter?
Very good question! If you choose to use an active sourdough starter instead of discard, simply weigh it out to match the amount of discard in the recipe. Make sure your starter is bubbly and fresh. After combining all ingredients, let the dough rest at room temperature for 30 minutes to allow the gluten to relax, making it easier to roll out.
What should I do if my Sourdough Cheez Its turn out chewy instead of crispy?
Oh no! If your crackers are chewy, it may be due to the dough being too thick. Make sure to roll the dough out to about 1/16 inch thick before cutting into squares. Also, keep an eye on the baking process—bake them until they’re golden brown and appropriately crisp. If they still seem chewy after baking, pop them back in the oven at 300°F (150°C) for a few more minutes to help dry them out.
Are these crackers safe for kids with gluten allergies?
It’s important to note that the Sourdough Cheez Its recipe contains all-purpose flour, which is not gluten-free. If you have someone with gluten allergies, consider using a gluten-free flour blend to enjoy this treat safely. Just keep in mind that texture and flavor may slightly differ from the original recipe!
Crunchy Sourdough Cheez Its Recipe for Cheesy Bliss
Ingredients
Equipment
Method
- In a food processor, combine 1 cup of shredded sharp cheddar cheese, ½ cup of sourdough discard, ½ cup of cold, cubed unsalted butter, 1 cup of all-purpose flour, ½ teaspoon of garlic powder, ½ teaspoon of onion powder, and ½ teaspoon of salt. Pulse until it reaches a wet sand texture.
- Transfer the combined dough onto a clean surface and shape it into a flat disc approximately 1 inch thick. Wrap in plastic wrap and refrigerate for at least 30 minutes.
- Preheat the oven to 350°F (175°C) and line a baking sheet with parchment paper.
- Roll the dough out to about 1/16 inch thickness and cut into square shapes. Dock each cracker using a toothpick.
- Sprinkle each cracker with flaky salt and bake for 18-22 minutes, or until golden brown and crisp.
- Remove from the oven and allow to cool completely on the baking sheet before storing in an airtight container.
Leave a Reply