
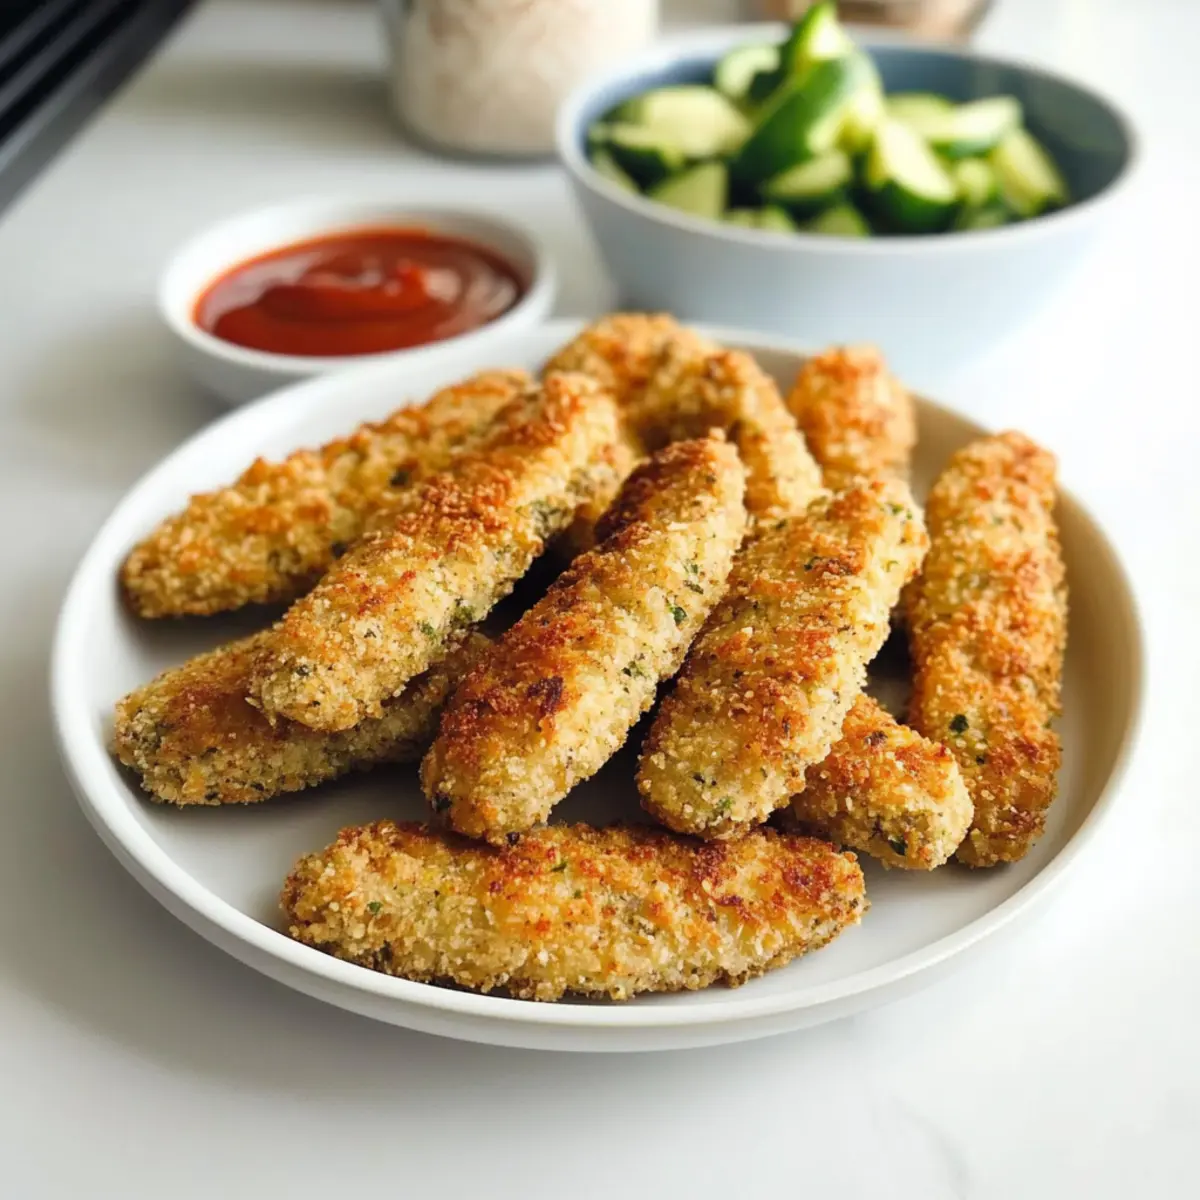
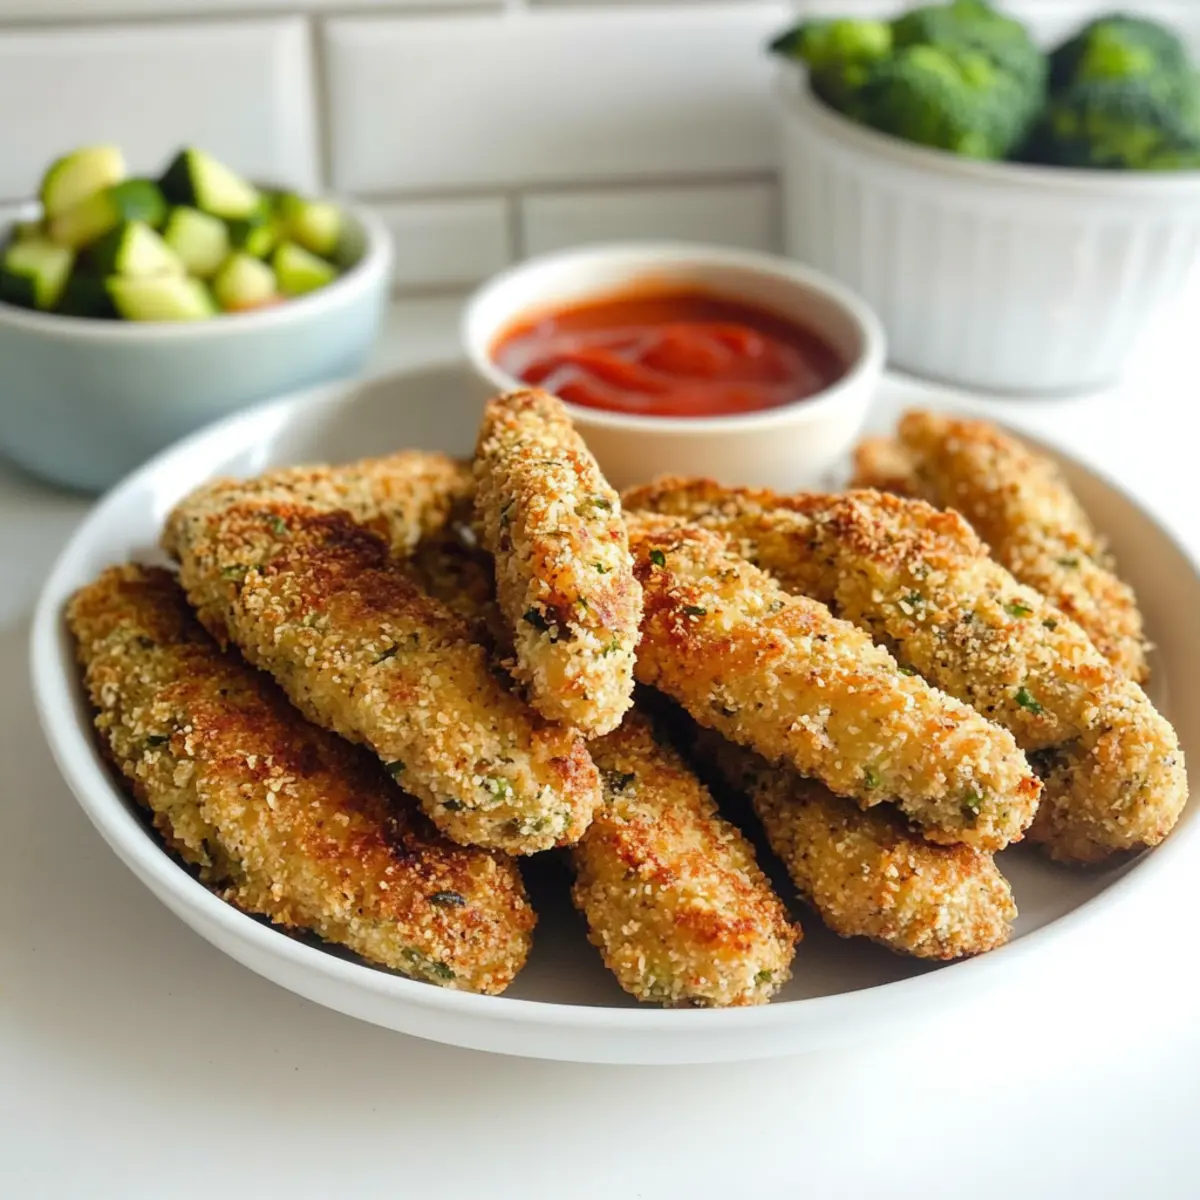
In the midst of a busy weeknight, I found myself trying to appease both my cravings and my little one’s picky palate. That’s when I stumbled upon the idea of making Vegetable Chicken Fingers, a delightful spin on the traditional favorite. Packed with shredded zucchini and carrots, and formed with protein-rich quinoa, these blissful bites strike the perfect balance between health and taste. The best part? They’re not just a hit with the kids; they’re easy to whip up for a quick meal or a fun snack. Whether you bake them in the oven or pop them in the air fryer for a crispier finish, these healthy finger foods are perfect for early eaters or anyone tired of fast food. Ready to discover more about how to make these deliciously nutritious Vegetable Chicken Fingers? Let’s dive into the recipe!
Why are Vegetable Chicken Fingers a must-try?
Nutritious Twist: Packed with veggies like zucchini and carrots, these chicken fingers sneak in essential nutrients, making mealtime fun without compromising health.
Kid-Approved: Kids love the crispy texture, and you’ll love that it’s a great way to engage them in learning about healthy eating.
Easy to Customize: With flexible ingredient options, feel free to mix and match different vegetables or add cheese for an even tastier bite.
Quick Cooking: Whether you choose to bake or air fry, these tasty bites come together fast, perfect for busy weeknight dinners or after-school snacks.
Meal Prep Friendly: Make a big batch and freeze leftovers for hassle-free future meals, ensuring that nutritious eating is always within reach! Check out my Million Dollar Chicken Casserole for another kid-friendly option you can prep ahead too!
Vegetable Chicken Fingers Ingredients
• Here’s what you need to create these nutritious bites!
For the Chicken Mix
- Ground Chicken – The primary protein source; you can substitute with ground turkey for a leaner option.
- Shredded Carrots – Adds sweetness and a pop of color; use fresh or pre-packaged for convenience.
- Shredded Zucchini – Contributes moisture and essential nutrients; swap with shredded yellow squash for a different taste.
- Cooked Quinoa – Offers complete protein and fiber; substitute with cooked rice if needed.
- Garlic (2 cloves) – Enhances flavor and aroma; feel free to use garlic powder (1/2 tsp) as an alternative.
- Yellow Onion (1/2 small) – Adds natural sweetness and depth; shallots can be used as a milder substitute.
- Dried Parsley (1/2 tsp) – Provides herbal notes; can be replaced with fresh parsley or omitted if unavailable.
For Seasoning
- Paprika (1/2 tsp) – Infuses flavor and vibrant color; smoked paprika adds a great twist.
- Salt and Pepper – Season to taste; adjust based on dietary preferences or restrictions.
For Coating
- Breadcrumbs (optional) – Creates an extra crispy coating; gluten-free breadcrumbs are a great option if needed.
These Vegetable Chicken Fingers are not just delicious but also a wholesome choice for little ones! They make a perfect introduction to healthy eating while being simple and fun to prepare.
Step‑by‑Step Instructions for Vegetable Chicken Fingers
Step 1: Preheat the Oven
Begin by preheating your oven to 400°F (200°C). While it heats, take a baking sheet and line it with parchment paper to prevent sticking and ensure easy cleanup. This prepping step will set the stage for perfectly baked Vegetable Chicken Fingers, giving them a crispy exterior and tender inside.
Step 2: Prepare the Quinoa
Next, cook the quinoa according to the package instructions, usually about 15 minutes. This fluffy, protein-rich grain will serve as a nutritious base for your vegetable chicken fingers. Once cooked, fluff it with a fork and set it aside to cool slightly before mixing it into your chicken mixture.
Step 3: Shred the Vegetables
Using a food processor, finely shred or chop the zucchini, carrots, onion, and garlic until you achieve a uniform consistency. Aim for small pieces to easily blend and incorporate into the ground chicken. This colorful medley not only brings flavor but also ensures that your Vegetable Chicken Fingers are packed with nutrients and moisture.
Step 4: Mix the Chicken Mixture
In a large bowl, combine the ground chicken, shredded vegetables, cooled quinoa, garlic, onion, dried parsley, paprika, salt, and pepper. Mix thoroughly until everything is evenly incorporated. You want a cohesive mixture that holds together well; this will form the base for your delicious Vegetable Chicken Fingers.
Step 5: Shape the Chicken Fingers
With clean hands, take small portions of the mixture and shape them into finger-sized pieces, about 2-3 inches long. If you prefer extra crispiness, roll each piece in optional breadcrumbs to create a delicious crust. This step helps to elevate the texture of your Vegetable Chicken Fingers, making them more appealing to both kids and adults.
Step 6: Arrange on Baking Sheet
Carefully arrange your shaped chicken fingers on the prepared baking sheet, ensuring there’s space between each piece for even cooking. Lightly spray them with oil to enhance browning and crispiness during baking. This step is key for achieving the perfect golden-brown finish on your Vegetable Chicken Fingers.
Step 7: Bake to Perfection
Place the baking sheet in the preheated oven and bake for 15-20 minutes. Keep an eye on the fingers, and look for a golden-brown color and an internal temperature of 165°F (74°C) to ensure they are thoroughly cooked. Your Vegetable Chicken Fingers should come out crispy and inviting!
Step 8: Cool and Serve
Once baked, allow the Vegetable Chicken Fingers to cool slightly on the baking sheet for a couple of minutes. This helps them firm up a bit, making them easier to serve. Pair with your favorite dipping sauces, such as ketchup or yogurt dip, for a delicious, family-friendly meal!

Storage Tips for Vegetable Chicken Fingers
-
Fridge: Store leftovers in an airtight container for up to 4 days. Ensure they are cooled entirely before sealing to maintain freshness.
-
Freezer: Freeze the vegetable chicken fingers for up to 3 months. Lay them out on a baking sheet to freeze individually before transferring to a freezer bag or container.
-
Reheating: To enjoy them again, reheat in the oven at 375°F (190°C) for about 10-15 minutes. This helps maintain their crispy texture—perfect for a quick snack!
-
Make-Ahead: You can make the mixture in advance and refrigerate it overnight. Form the fingers the next day for a simple and speedy meal!
Make Ahead Options
These Vegetable Chicken Fingers are fantastic for meal prep, helping busy cooks save precious time! You can prepare the mixture and shape the fingers up to 24 hours in advance; simply store them in an airtight container in the refrigerator. For optimal freshness and to prevent moisture accumulation, place parchment paper between layers if stacking. If you wish to freeze them, arrange the shaped fingers in a single layer on a baking sheet, freeze until firm, then transfer to a freezer-safe bag. When you’re ready to serve, bake them straight from the freezer, adding an extra 5-7 minutes to the cooking time. Enjoy quick and easy family meals with just a little prep ahead!
Expert Tips for Vegetable Chicken Fingers
-
Crunchy Air Frying: For a crunchier texture, use an air fryer. Preheat to 400°F (200°C) and cook for 10-12 minutes, flipping halfway through for even crispiness.
-
Shaping with Ease: If your mixture feels sticky, coat your hands with a little oil to help shape the vegetable chicken fingers without them falling apart.
-
Crispy Coating: For extra crunch, roll the fingers in breadcrumbs, but ensure they are evenly coated for the best texture. Gluten-free options work well!
-
Storage Savvy: Store leftovers in an airtight container for up to 4 days, or freeze for up to 3 months. Reheat in the oven to retain crispness when serving.
-
Mix It Up: Feel free to vary the veggies you include—spinach or sweet potatoes can add a different flair to your vegetable chicken fingers!
What to Serve with Vegetable Chicken Fingers
These delightful bites are the perfect centerpiece for a nutritious family meal, so let’s explore some wonderful pairings!
-
Crispy Sweet Potato Fries: The slight sweetness of sweet potatoes contrasts beautifully with the savory chicken fingers, enhancing every bite.
-
Fresh Veggie Sticks: Crisp carrot and celery sticks provide a refreshing crunch and color, making your meal vibrant and healthy. Pair with dip for extra fun!
-
Creamy Greek Yogurt Dip: This tangy yet smooth dip balances the flavors perfectly, and it adds protein to your meal, making it more satisfying.
-
Simple Green Salad: A light salad of mixed greens drizzled with olive oil and lemon brightens the plate and adds a fresh, crisp element to your meal.
-
Roasted Broccoli: The nutty crispy edges of roasted broccoli add a delightful texture and pair perfectly with the fluffy vegetable chicken fingers.
-
Fruit Salad: A sweet mix of seasonal fruits complements the savory flavors and offers a bright finish to your meal that kids will love.
-
Homemade Applesauce: This classic side brings a touch of sweetness to balance the savory chicken fingers, making it a kid-friendly favorite!
-
Chilled Lemonade: A refreshing glass of lemonade rounds off the meal beautifully, balancing the flavors with its citrusy zing and sweet notes.
-
Mini Chocolate Chip Cookies: For a playful dessert, serve a small cookie alongside your meal—because who doesn’t love a sweet treat after a delicious dinner?
Vegetable Chicken Fingers Variations & Substitutions
Feel free to get creative and tailor these Vegetable Chicken Fingers to your family’s tastes and dietary needs!
- Veggie Swap: Substitute zucchini with other vegetables like spinach or sweet potatoes for a fun twist in flavor and nutrition.
- Cheesy Delight: Add cheese, such as mozzarella or cheddar, to the mixture for a gooey, kid-friendly version that kids will love.
- Spicy Kick: Mix in a pinch of chili powder or cayenne pepper for those who enjoy a little heat in their finger foods.
- Quinoa-Free: If quinoa is unavailable, swap in cooked rice or even finely chopped oats for a different texture that still holds together beautifully.
- Herb Boost: Enhance flavor with fresh herbs like cilantro or basil instead of dried parsley; this adds vibrant freshness.
- Crunchy Coating: Opt for gluten-free breadcrumbs or crushed cornflakes for a delightful crispy texture on the outside. For a lighter option, use crushed almonds or nuts.
- Air Fryer: For an even quicker prep and an ultra-crispy crunch, try air-frying at 400°F (200°C) for 10-12 minutes, flipping them halfway through.
- Dipping Sauce: Pair with a variety of dips, from tangy yogurt sauces to creamy peanut sauce; consider making a simple avocado dip for a healthy side.
Want more fun ideas? Check out my Cream Cheese Chicken Taquitos or the irresistible Cheesy Chicken Garlic Wraps for more versatile recipes that your family will love!

Vegetable Chicken Fingers Recipe FAQs
How can I select ripe vegetables for this recipe?
Absolutely! For the best flavor and texture, choose firm zucchinis and bright orange carrots. Zucchini should be free of dark spots and should feel slightly heavy for its size. Fresh carrots should be crisp and vibrant, with a smooth skin—these visual cues ensure you’re using the freshest ingredients!
What is the best way to store leftover Vegetable Chicken Fingers?
Very! Once your Vegetable Chicken Fingers are cooled, store them in an airtight container in the refrigerator for up to 4 days. Make sure to let them cool entirely before sealing to retain their crispness. If you want to keep them longer, you can freeze them instead!
Can I freeze the Vegetable Chicken Fingers?
Sure! To freeze, arrange the shaped chicken fingers on a baking sheet in a single layer and place them in the freezer until solid, which usually takes about 1-2 hours. Once frozen, transfer them to a freezer bag or container, where they can last for up to 3 months. When you’re ready to enjoy them, just pop them straight into the oven or air fryer from frozen!
What do I do if the mixture is too sticky to shape?
No worries! If you find the mixture a bit sticky, simply coat your hands with a little oil before shaping the chicken fingers. This will help prevent the mixture from sticking and make the process much easier!
Are there any dietary considerations for these Vegetable Chicken Fingers?
Absolutely! While these vegetable chicken fingers are gluten-free due to quinoa, always double-check ingredient labels, especially for breadcrumbs. If you’re serving these to children with allergies, you can easily substitute any vegetables out; just choose options that are safe for their dietary needs. You can also use ground turkey instead of chicken if preferred!
How should I reheat the Vegetable Chicken Fingers to keep them crispy?
To maintain that delightful crunch, reheat the chicken fingers in the oven at 375°F (190°C) for about 10-15 minutes. This method retains their crispy exterior, making them just as delicious as when they were first made!
Crispy Vegetable Chicken Fingers for Happy, Healthy Kids
Ingredients
Equipment
Method
- Preheat your oven to 400°F (200°C) and line a baking sheet with parchment paper.
- Cook the quinoa according to package instructions, usually about 15 minutes.
- Finely shred or chop the zucchini, carrots, onion, and garlic using a food processor.
- In a large bowl, combine the ground chicken, shredded vegetables, cooled quinoa, garlic, onion, dried parsley, paprika, salt, and pepper. Mix thoroughly.
- Shape small portions of the mixture into finger-sized pieces, about 2-3 inches long.
- Arrange the chicken fingers on the prepared baking sheet, ensuring space between each piece. Lightly spray them with oil.
- Bake for 15-20 minutes until golden brown and internal temperature reaches 165°F (74°C).
- Allow the vegetable chicken fingers to cool slightly before serving with your favorite dipping sauces.
Leave a Reply